Jar cuffs

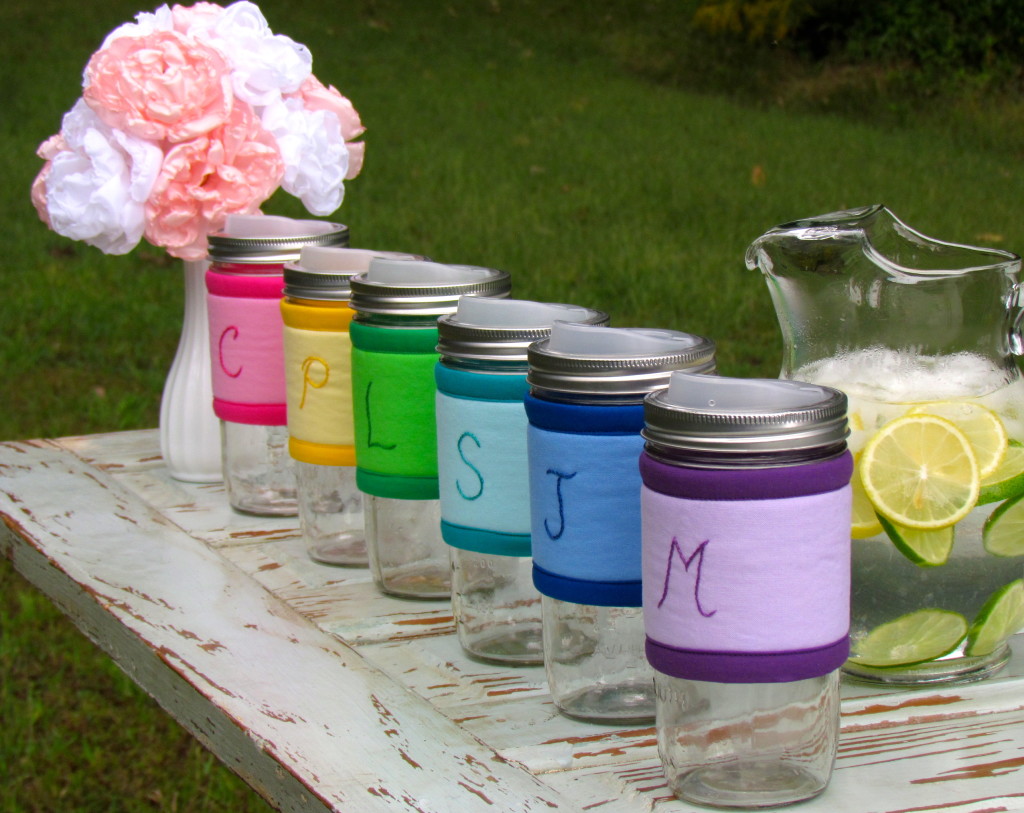
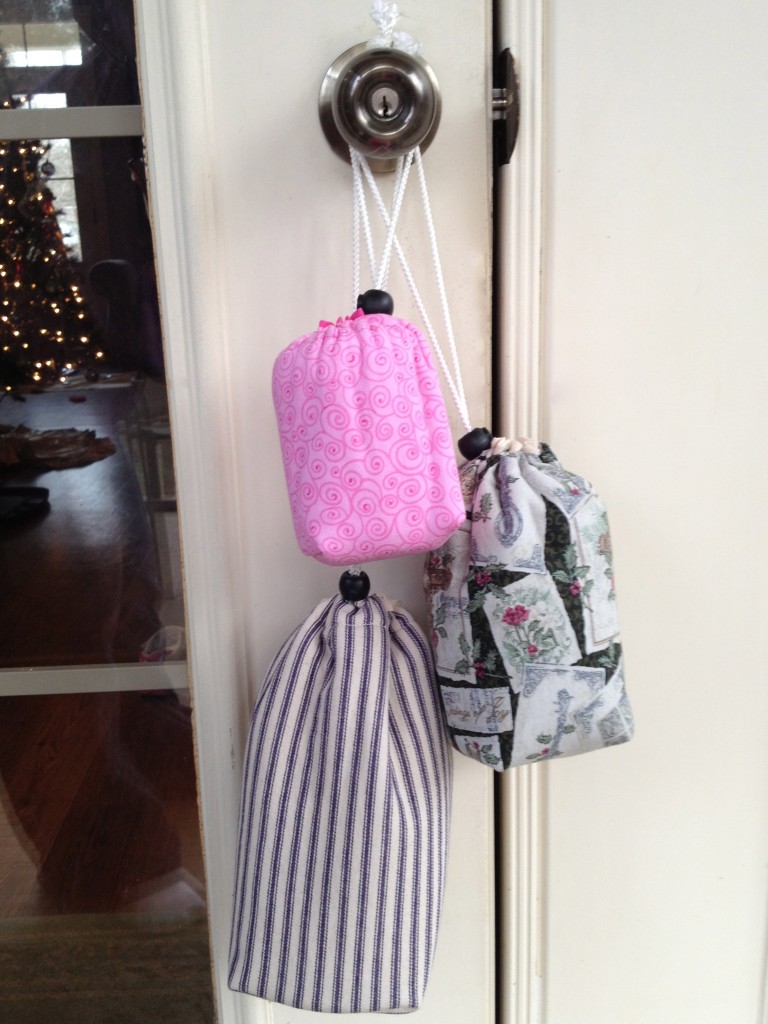
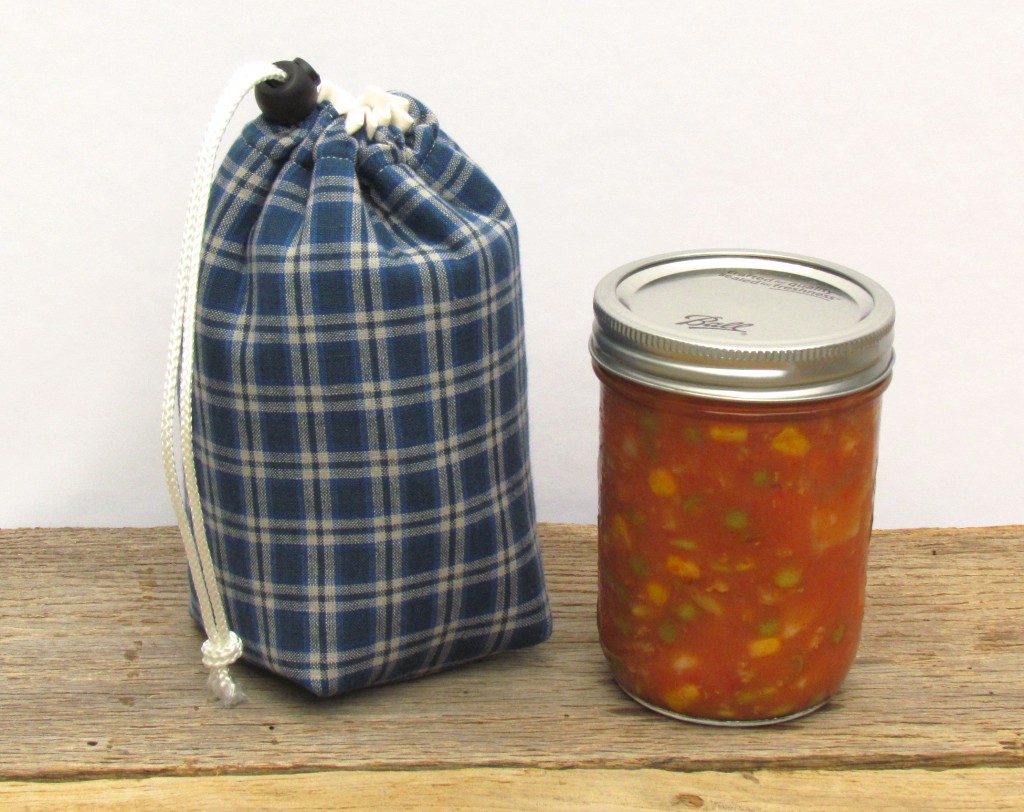
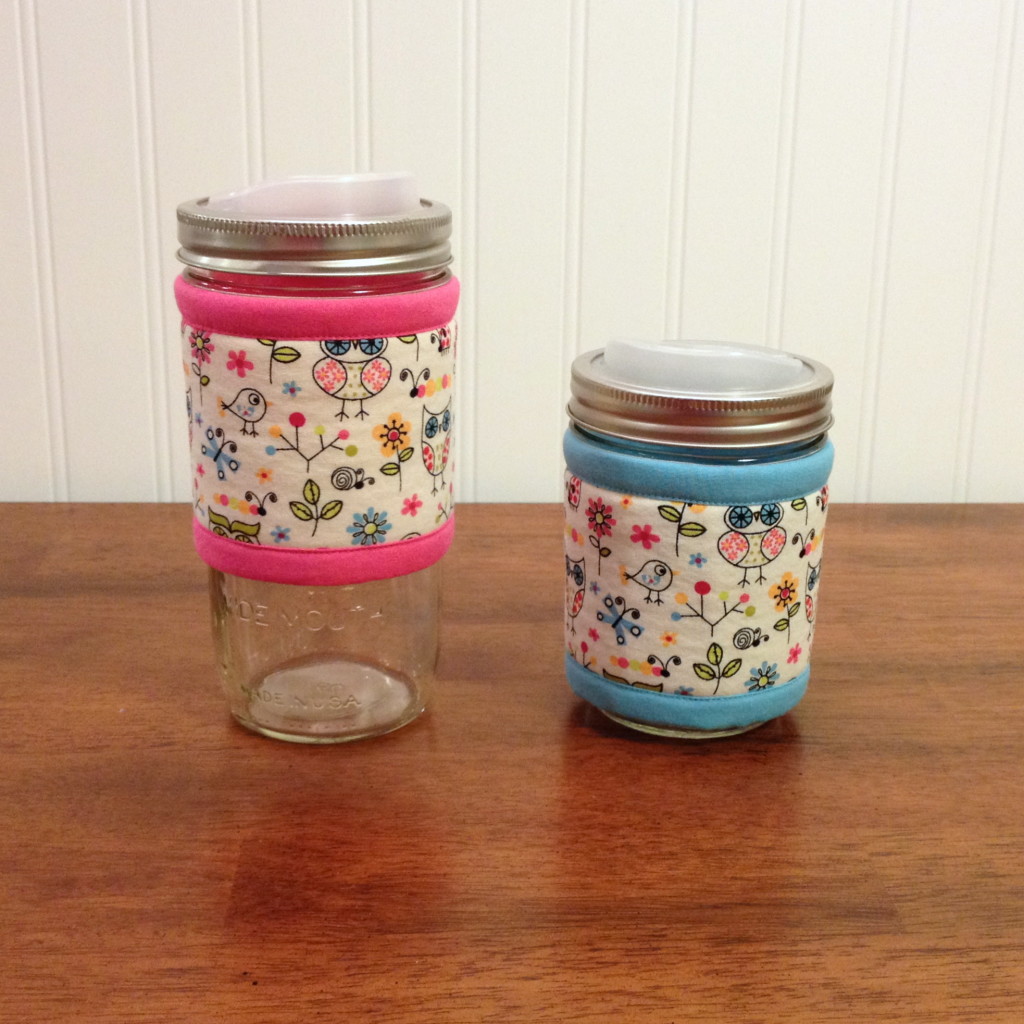
IMG_3076 With a growing pile of bag fabric scraps too small for any kind of bag, but too big for my frugal nature to throw away, I started thinking about making jar cuffs.  Considering all my other mason jar items, it seemed a natural thing to do.  Besides, they are cute and keep your hands happy when you are carrying a hot or icy drink.

The process turned out to be sort of a long, bumpy road.  Friends helped me out with getting the right size jars, trying out samples, and taking photos of their findings.  (Thanks, y’all!)  The cuffs themselves have to be EXACTLY the right size, or they just don’t work – there’s not much margin for error (or variations in fabric, or how it takes steam from the iron).  But at long last, there are a few ready-to-ship cuffs to choose from in the shop.  They fit a wide-mouth pint or pint-and-a-half jar.  As much difficulty as I’ve had with my own pattern, I’m not sure if it would be a good idea to sell a pattern for these; we’ll see where the bumpy road leads.

And then another idea came.  Simple, tone-on-tone cuffs with hand-embroidered monograms.  I just love them so much.  I hand-draw the initial before embroidering, so each one is unique and slightly wonky, just like my handwriting.  I can just see these lined up for a bridesmaid luncheon, or for drip-free sipping the morning of the wedding. IMG_0010Or hey, just pick your favorite color, and I’ll stitch your initial on it!  😉


headwear how-to


Here’s another free project I’ve moved over from my old blog, original post date was 12/22/09.  Enjoy!
DSCN1201

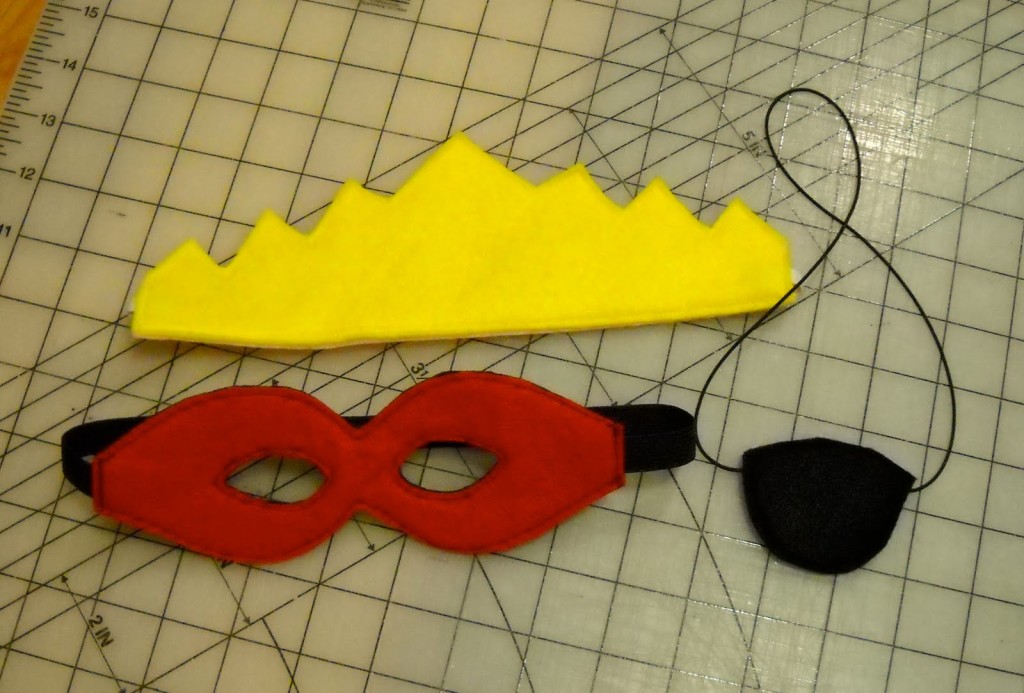
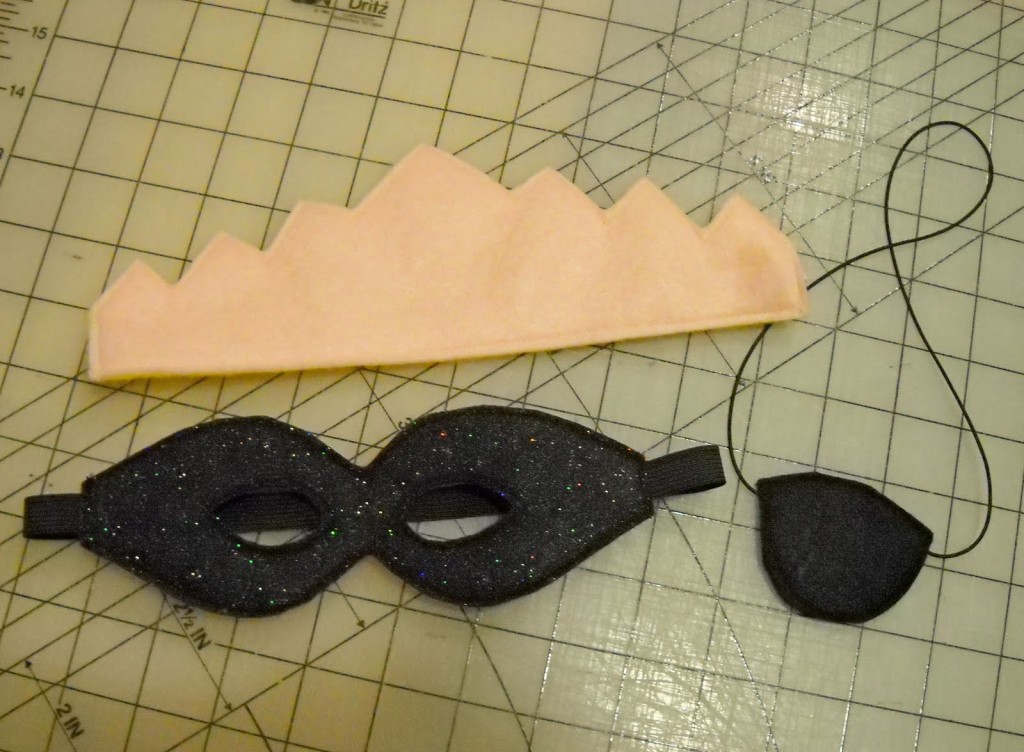
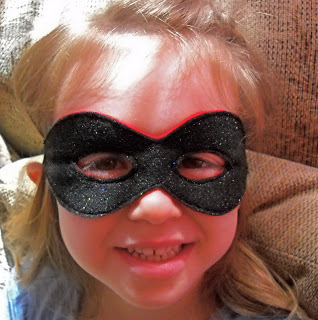
Today’s quick kids’ gift is actually three – the construction is so similar, I decided to lump them all together. There’s a superhero mask, a crown, and a pirate eye patch. As always, read through the instructions to the end before you begin! I show the project on the sewing machine, but this could be done by hand sewing. You’ll need some pieces of felt and elastic, a fabric marking pen or chalk, and of course thread.DSCN1162
And here’s your pattern, to print. Since the size is rather critical on this project, I’ve included a 1″ square on the page so you can make sure it’s the right size.

IMG

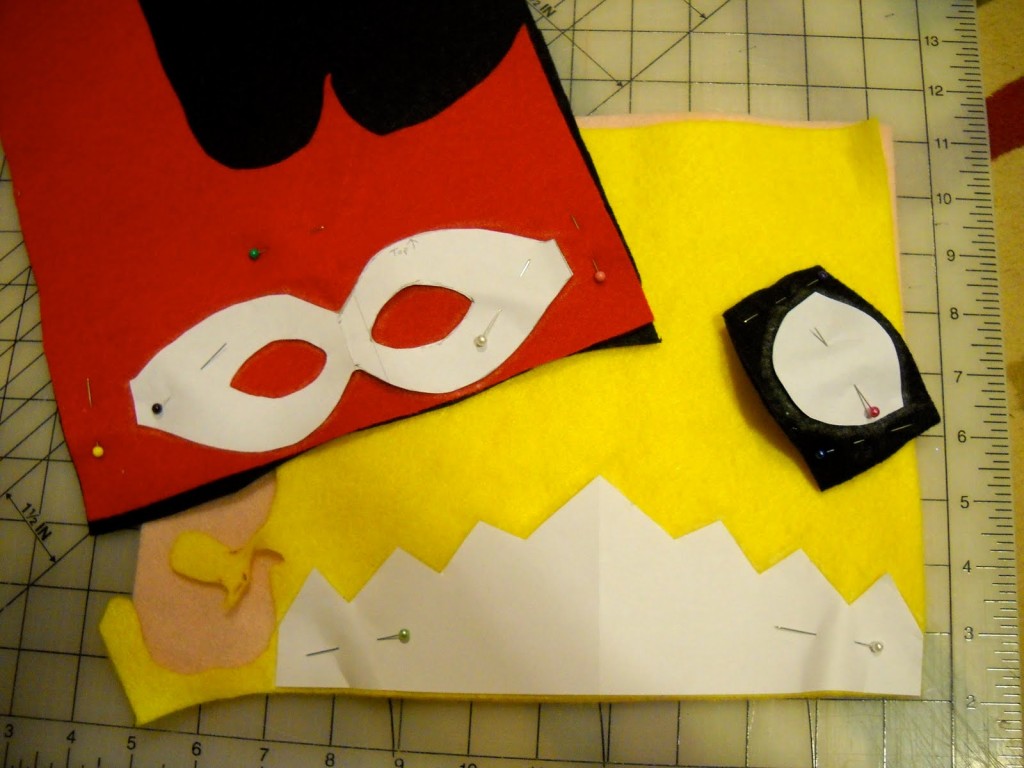
This project is easily made reversible, as each is two layers of felt. Just use different colors for the front and back, and it’s like having two of each! Layer your two pieces of felt (wrong sides together, if it has a right and wrong side) and pin on the pattern. Also pin the fabric together outside of the pattern area. Trace around the patterns using your favorite fabric marking implement. Don’t cut it out yet!DSCN1163
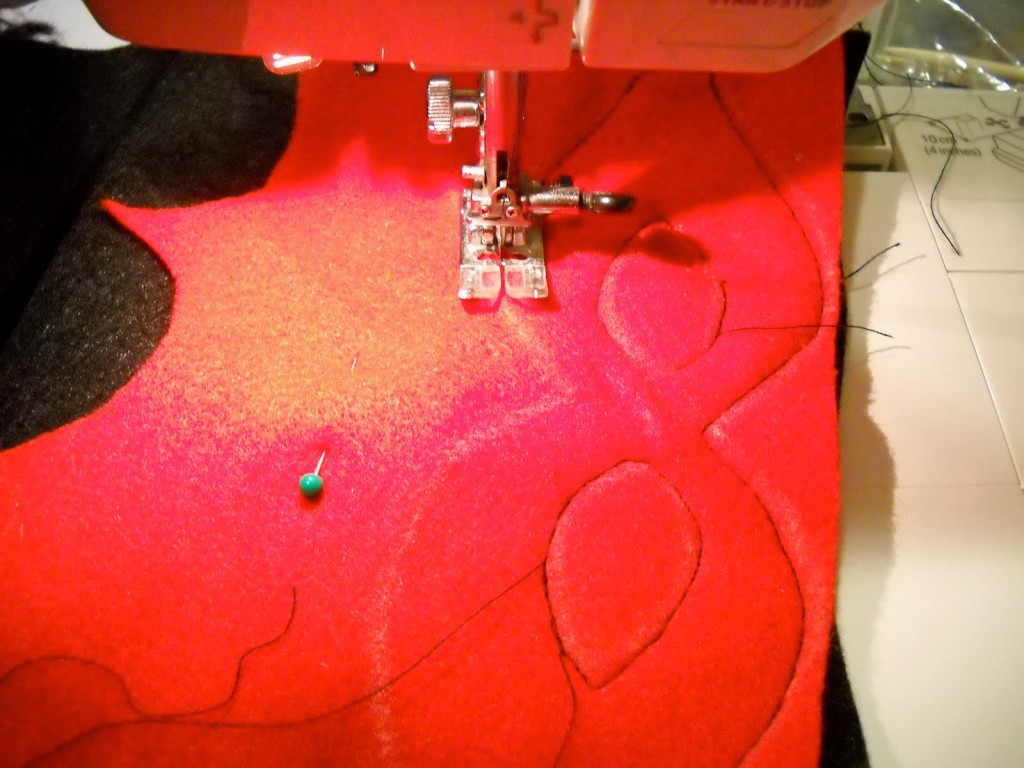
Remove the patterns, but not the pins holding the two layers of felt together. Stitch just inside the lines you’ve drawn, as they are your cutting lines. Leave a gap in the stitching at the areas marked “leave open” on the pattern. This is where your elastic will go.DSCN1165
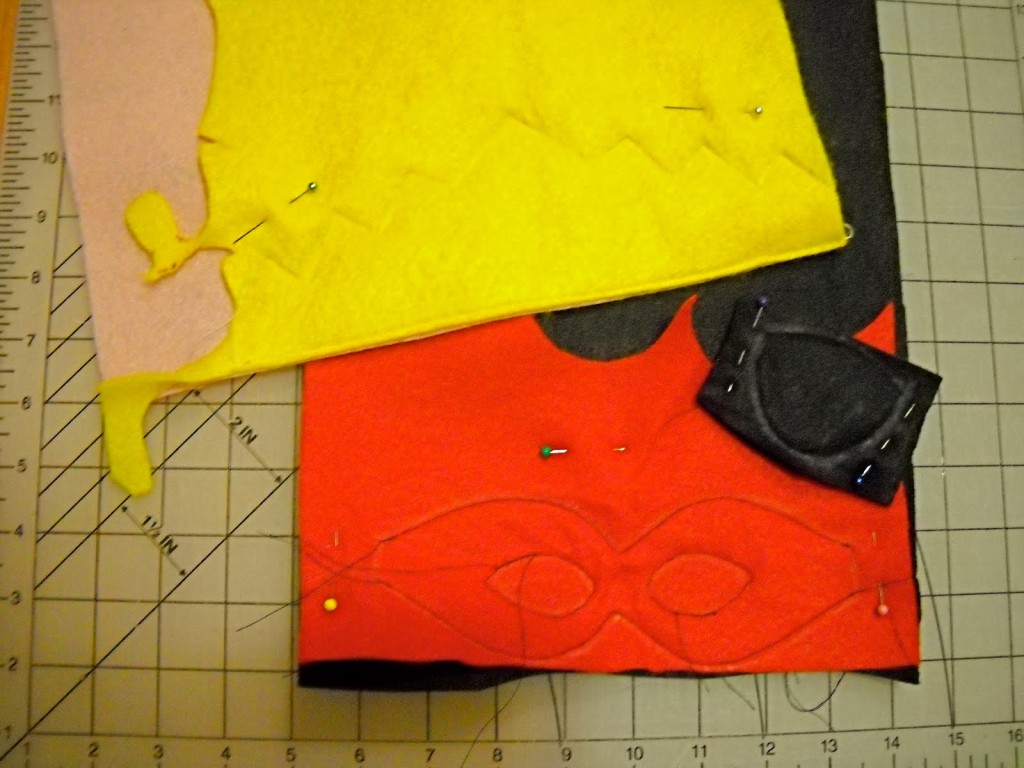
It should look like this after stitching:DSCN1166
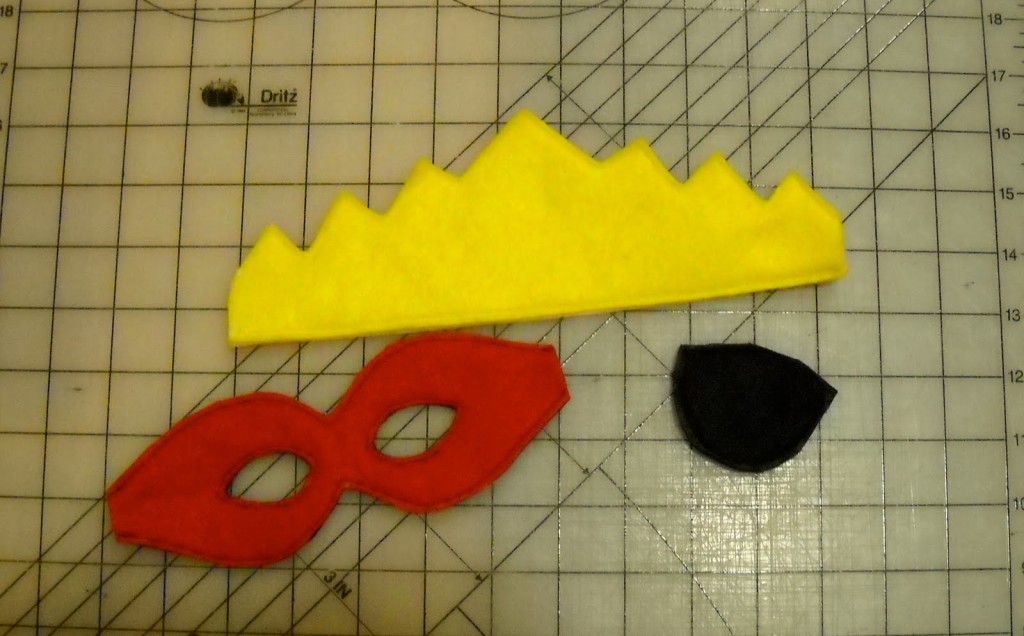
Now we cut. Trim on the drawn lines, being careful not to cut your stitching. Also cut on the lines at the spots you left open for the elastic.DSCN1172
Now measure and tuck your elastic into the openings. Ideally, you should try it on the child; but if it’s a surprise, you can’t do that. Bev’s Country Cottage has an excellent reference page with all sorts of measurements that should help. Remember that elastic needs to be a bit smaller than the actual head measurement to fit well.

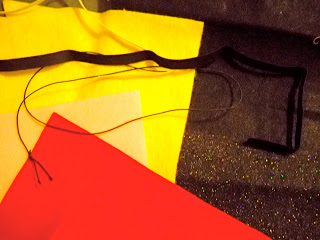
A note if you are using elastic cord for any of these, such as shown on the eye patch: since even when you knot and stitch this stuff, it tends to pop out, I recommend you run the cord all the way through the piece, tie the two ends of the cord together with a square knot, and pull the knot back into the center of the felt piece to hide it. You can see the knot in the cord of the eye patch in the photo below, before it was pulled inside. And a tip – sometimes when we buy shoes, they are attached together with elastic cord – always save it! I use that for projects like this.
For small children: To reduce the possibility of strangulation, you may wish to cut the elastic, apply a bit of hook and loop fastener such as Velcro to the cut ends, and use that to fasten the elastic back together. The fastener should give way under pressure.
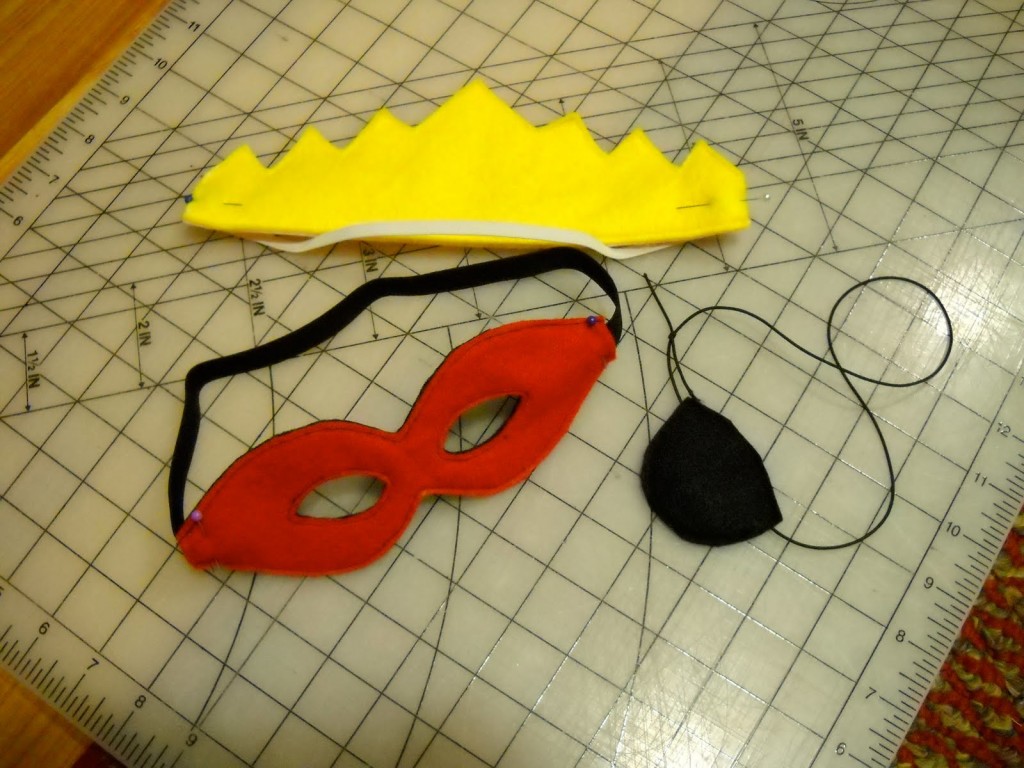
DSCN1192

Once you have the elastic cut to the proper length and tucked into the openings, take it to the sewing machine and stitch back and forth over the opening to secure the elastic.DSCN1193
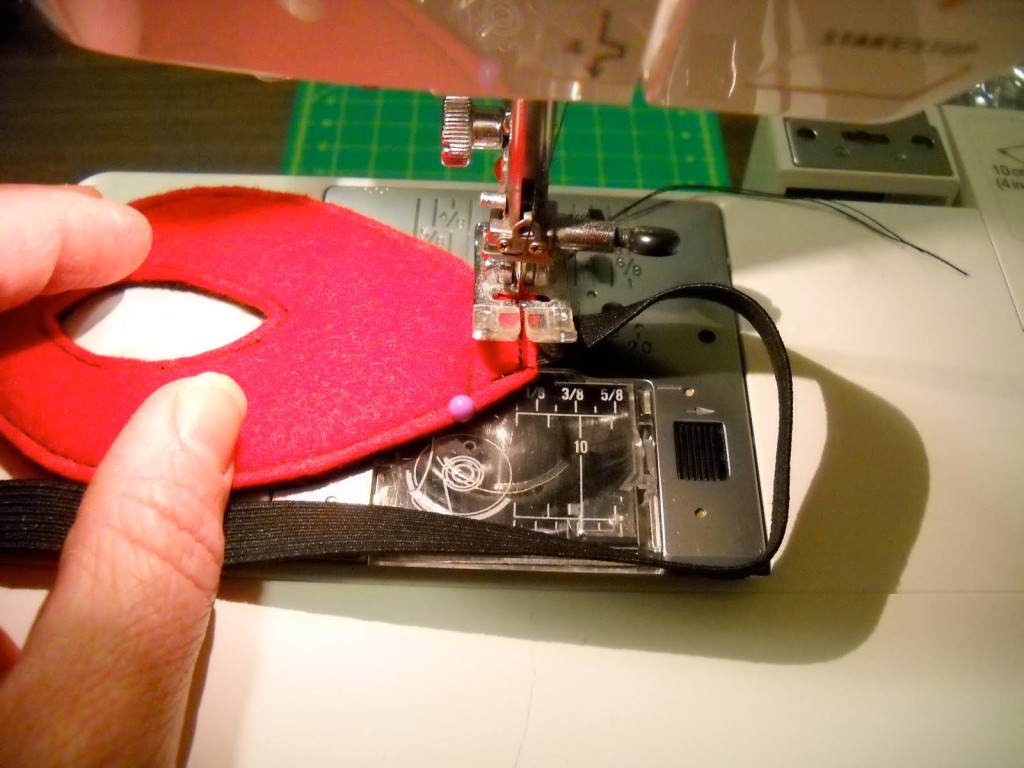
And done!DSCN1194

And here’s the reverse side:DSCN1195Feel free to embellish as you like, especially the crown!
 

new sizes!

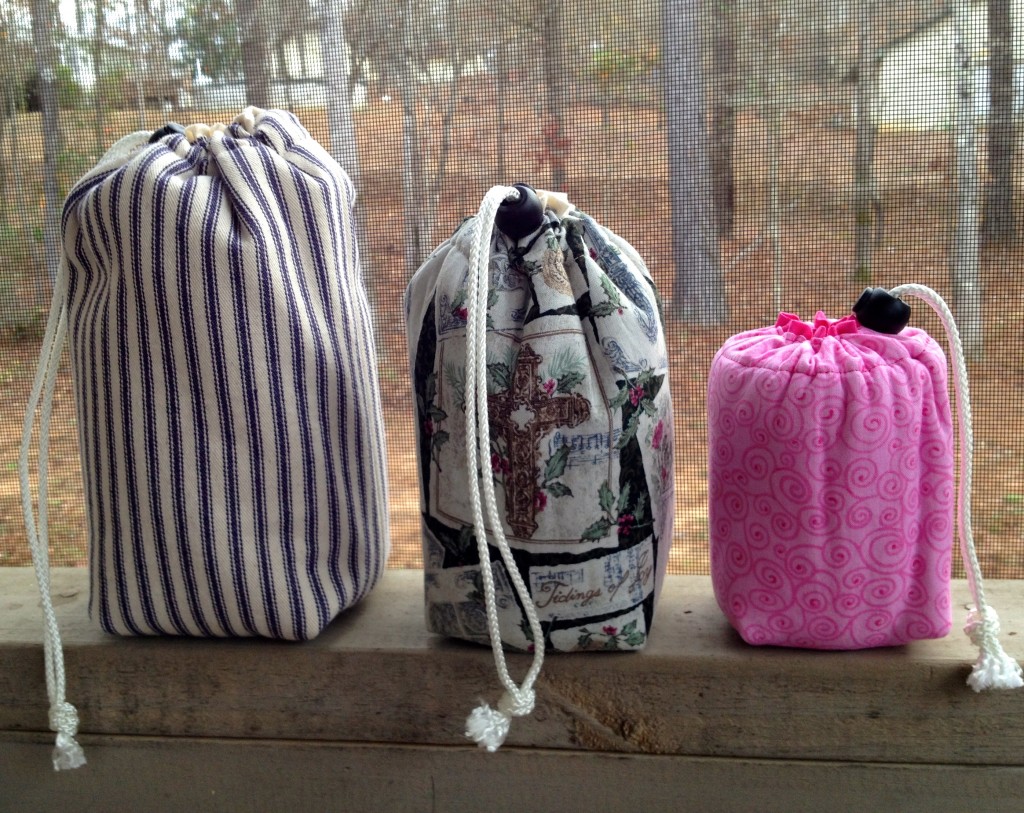
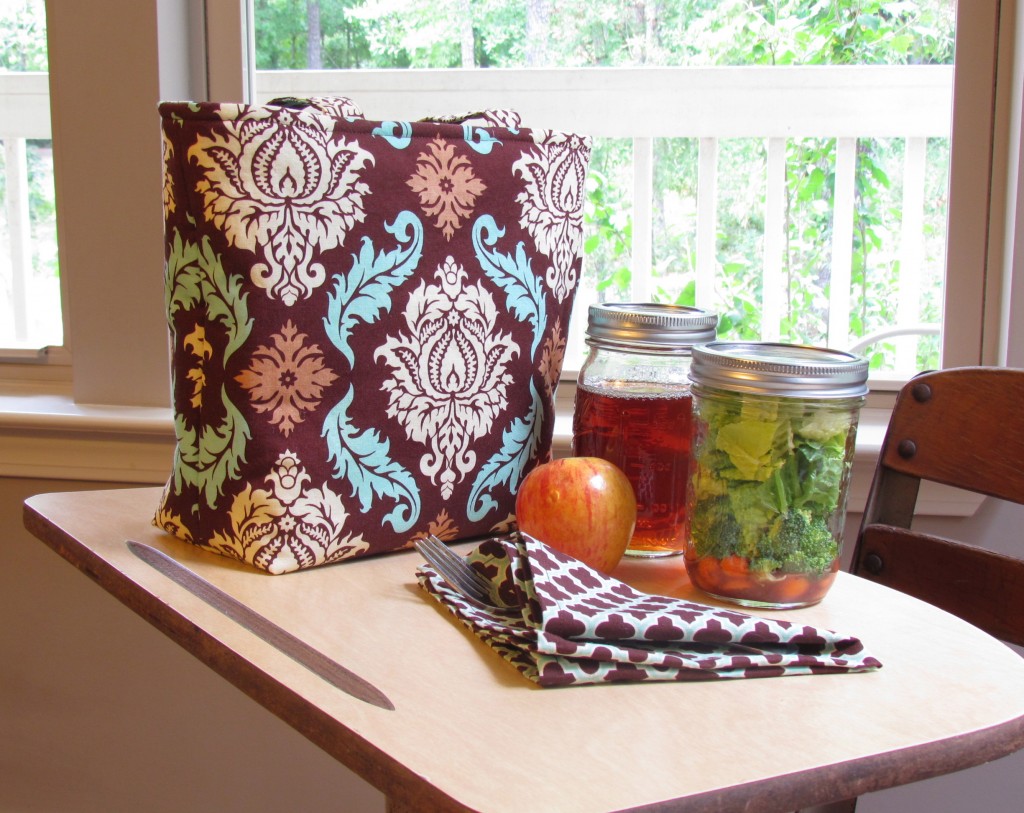
Over the past few days, I’ve had several requests for bags to fit quart size jars.  I updated the Jars to Go Single pattern yesterday, adding a quart size.  Lots of people like to bring salad in a wide-mouth quart jar, so there you go!

But I kept on thinking… why stop there?  Wouldn’t a regular-mouth half pint be adorable?  It’s not overwhelmingly useful for bringing lunch, but:

  • Cute doesn’t need a reason.
  • Would be great for those jars of jelly or jam that I KNOW you’re giving as a Christmas gift to the postal carrier, or the neighbor, or the teacher.
  • You could bring a snack?  Yogurt?  Trail mix?
  • Baby food?  Especially if you make your own.
  • Or a little one who wants a jar bag “just like mommy’s” or “just like daddy’s”?
So now we have these bags in three sizes!  Enjoy!  You could make bags for the Three Bears or something, right?  😉

Just a note:  These photos show my prototype quart and half pint bags.  You might notice that the half pint seems a little “tight”.  I added a little height to the finished pattern, after making this one.  So, no worries – bags made by the current pattern should be just right.

hard to let go!

A few days ago, I asked my Facebook buddies: “Did this fabric really just tell me it wants a bright color, like lime green, for the lining?” Well, I wrote a little story about what happened. The whole process has been so endearing to me, I’m having a hard time letting this one go!

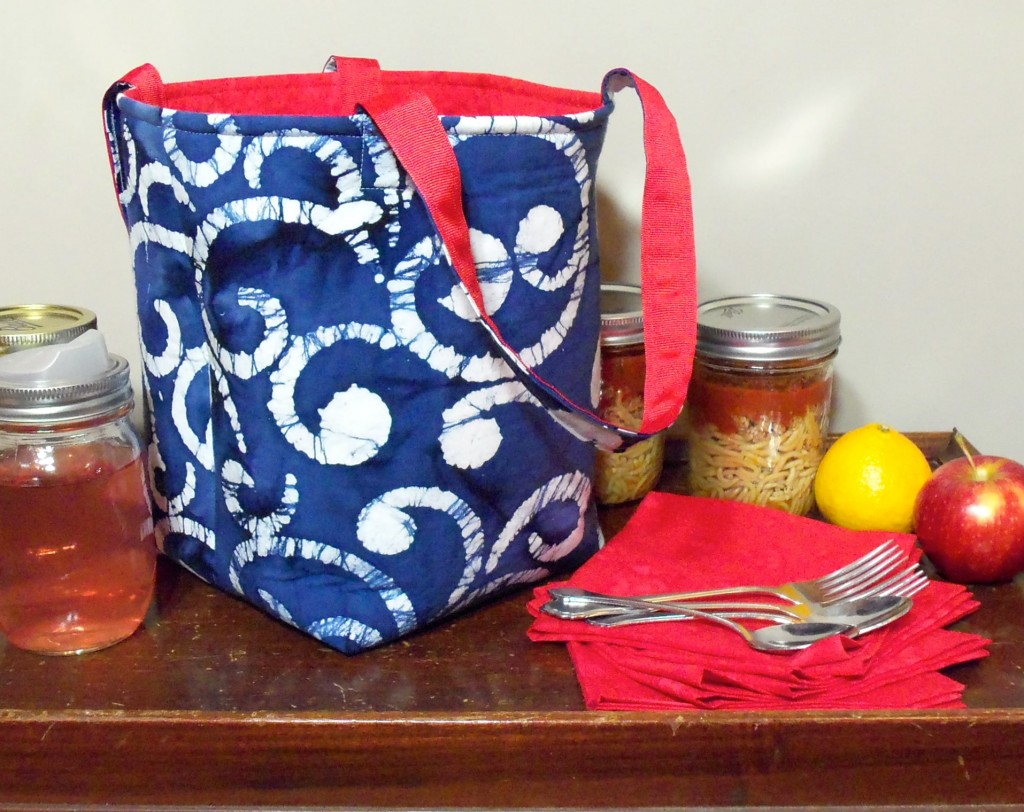
I was at my usual fabric place, when I saw this fabric on the sale shelf – a beautiful blue batik. “What on earth are you doing over here?” I said. Sometimes fabric “talks” to me, but Batik said nothing. He was just lovely, and a good price, so I bought what little was left on the bolt.

A few days later, I said “Batik, you would make a fantastic 4-jar bag. But what to use for lining? Would you like muslin?” Again, Batik said nothing. He’s a very quiet sort – despite his flamboyant appearance, I think he’s actually quite shy.

I cut the pieces for the bag, and just as I started to work with them, I heard just a whisper: “I don’t want muslin. Maybe lime green?” Well! Batik has a voice after all. But lime green? Did I hear correctly? I asked my facebook buddies – did this fabric just say what I think it said? I got varying opinions, and I’m sure any one of them would have turned out lovely. But it all depended on what I could find, of course.

So a few days later, I stood in the fabric store once again, with a scrap of Batik. We looked at all the greens, none of them quite right. But there, in the remnant basket, was a beautiful, vivacious Red. Her dye pattern was very much like Batik’s, and I thought they might be happy together. But what about the green? And would there be enough? I asked Batik, “Do you want to try this one?” “Yes” Batik said, in a very assured way. And I think he smiled.

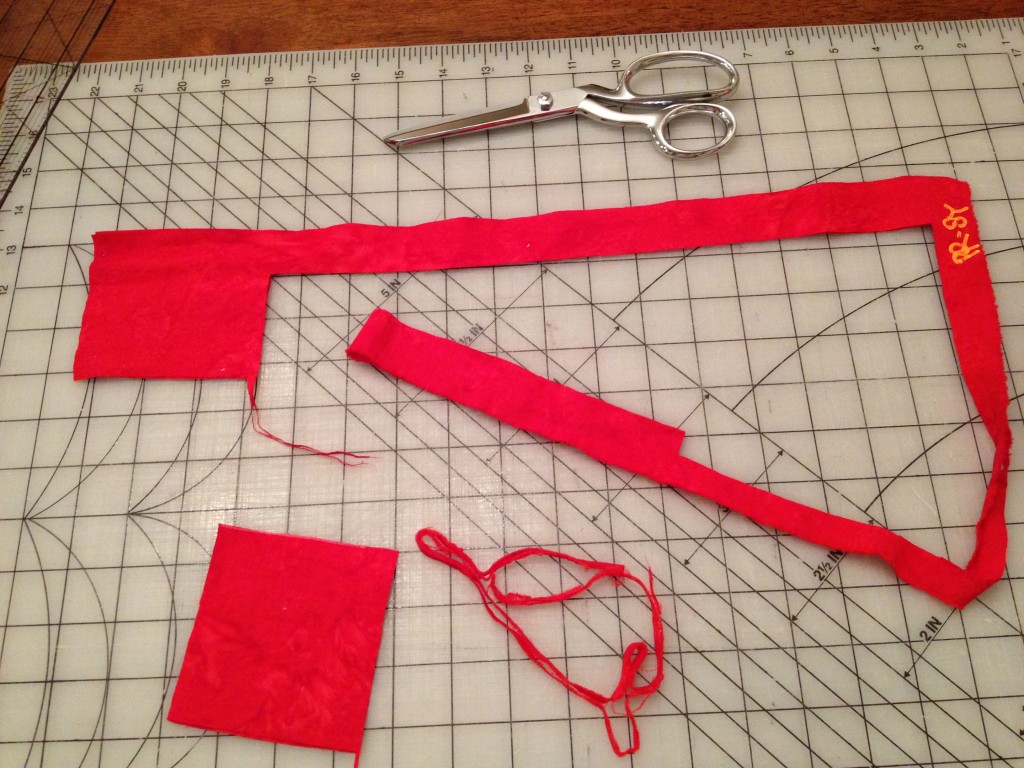
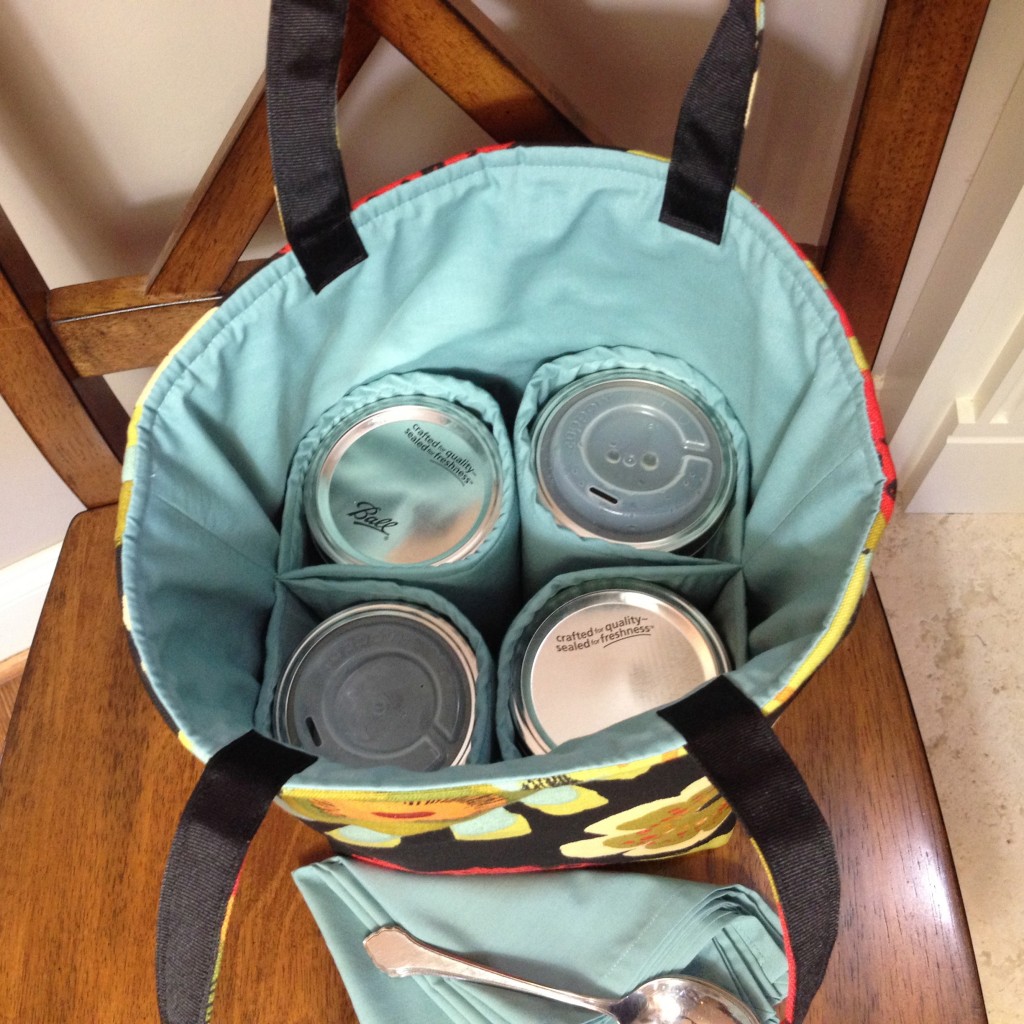
So Red came home with us. It must have been meant to be, because she was precisely enough for the lining, and 4 napkins! (See the photo at the end – that’s all that was left! It was close!) It’s hard to let Batik and Red go, but I think they are very much looking forward to beginning their adventure out in the wide world. But then, they could go on adventures with us instead?

update: Both DH and the 15yo came to me and said that if I list this bag, they’re just gonna buy it and give it back to me. (To stop the sobbing, I’m sure, but still sweet.) So it looks like Batik and Red will be adventuring with us! 😀

And yes, they seem happy with that arrangement too. 😉

New patterns!

Have you ever had an idea that had to wait… and wait… and wait?  And it feels like it’s gonna burn a hole in your head and your heart until you get it out?  This is one of those.

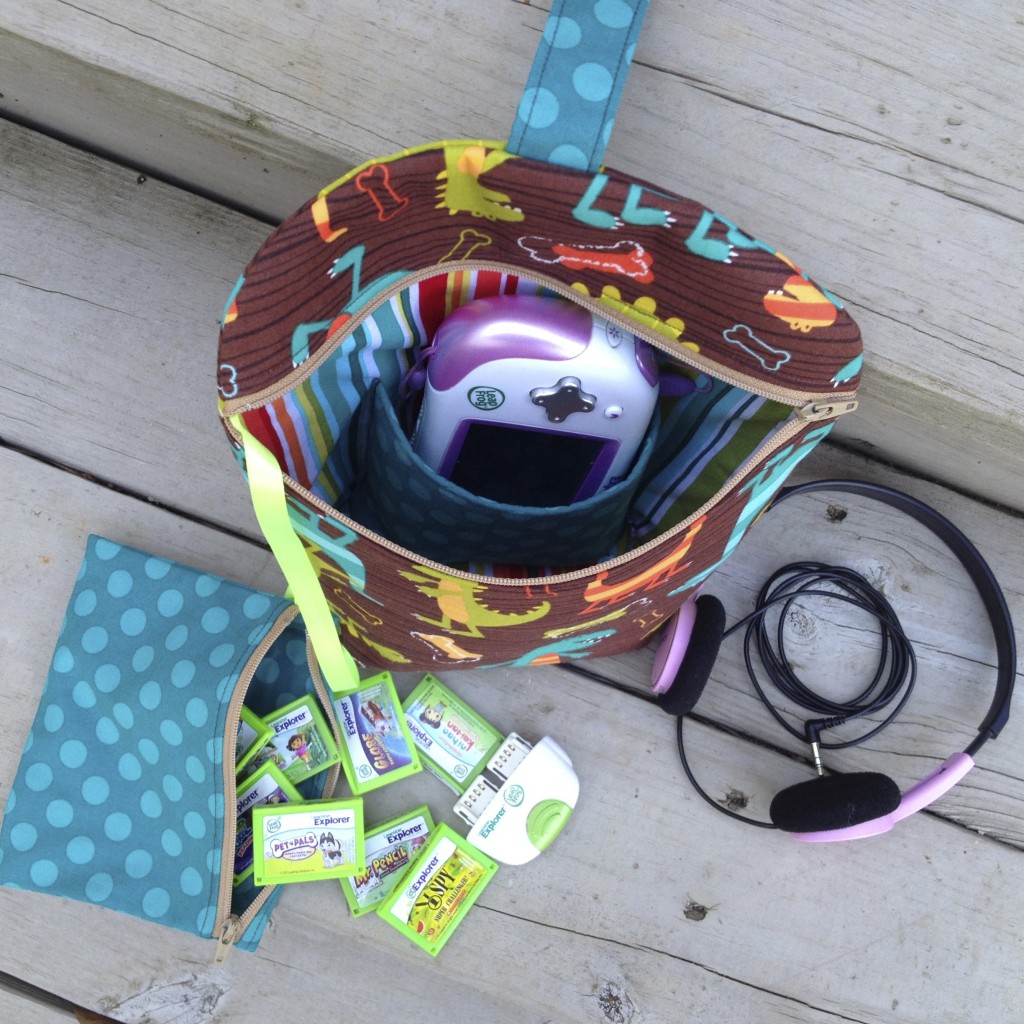
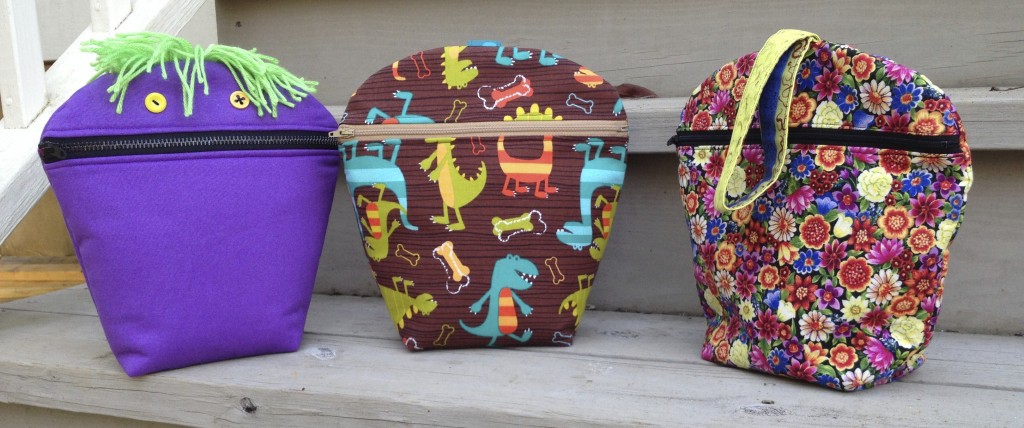
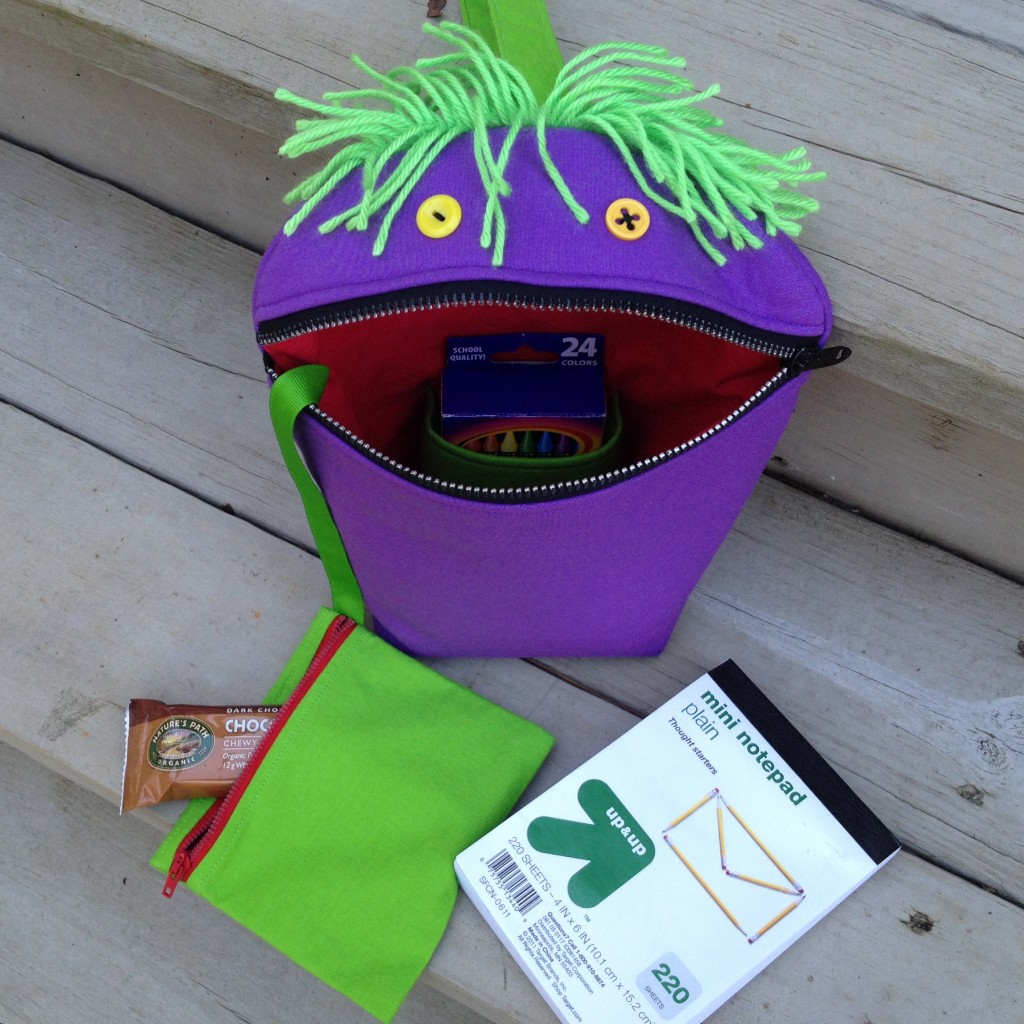
Even though the “jars” patterns and bags and the embroidered pendants came first, this is the idea that really started the new Etsy shop.  This little bag.  I originally designed it to hold the 7yo’s Leapster Explorer, with all its games and accessories.  (It’s curved at the top to accommodate headphones, and padded to help keep electronics safe.)  But then, I thought, with just the change of a pocket, it could hold the 15yo’s DSi… or a box of crayons… or my sock yarn… or an apple…  it was just such a perfect little size for so many things!  This little bag needed to be a pattern.

And then, I thought, it needs hair and eyes to go with its zipper “mouth”!  Cleaning up is fun when a monster eats your stuff, right?  😉

And now, here it is, out of my head and into the real world!  Finally!  And just in time for your Christmas gift sewing!

There’s also a pattern for the 4-jar Jars to Go bag – I can just see this one used for picnics, or potlucks, or just breakfast and lunch for a long day at work.

And there’s the Jars to Go Single.  Very useful to carry just one jar for a quick lunch.  It would also make a nice gift wrap for your canned goods, I think?

So, three new patterns for your sewing pleasure!  And of course, there’s bundles at a bit of a discount, if you need more than one.  Enjoy!

Just a note about the headphones:  Before I get any concerned comments, these headphones are specifically designed for children.  They do not get loud enough to damage sensitive little ears.  If you choose to allow your child (or yourself) to use earphones or ear buds, please use caution!  Loud music may seem cool, but hearing loss is not!!

modifications

Know where I get some of my best ideas?  From my customers!  Over the past couple of weeks, I’ve been asked to make slight modifications to the basic Jars to Go Bag, all of them great and I’m glad I have a plan for the next time it comes up.  But this one?  This one’s going to become a staple in the shop, because I LOVE it.

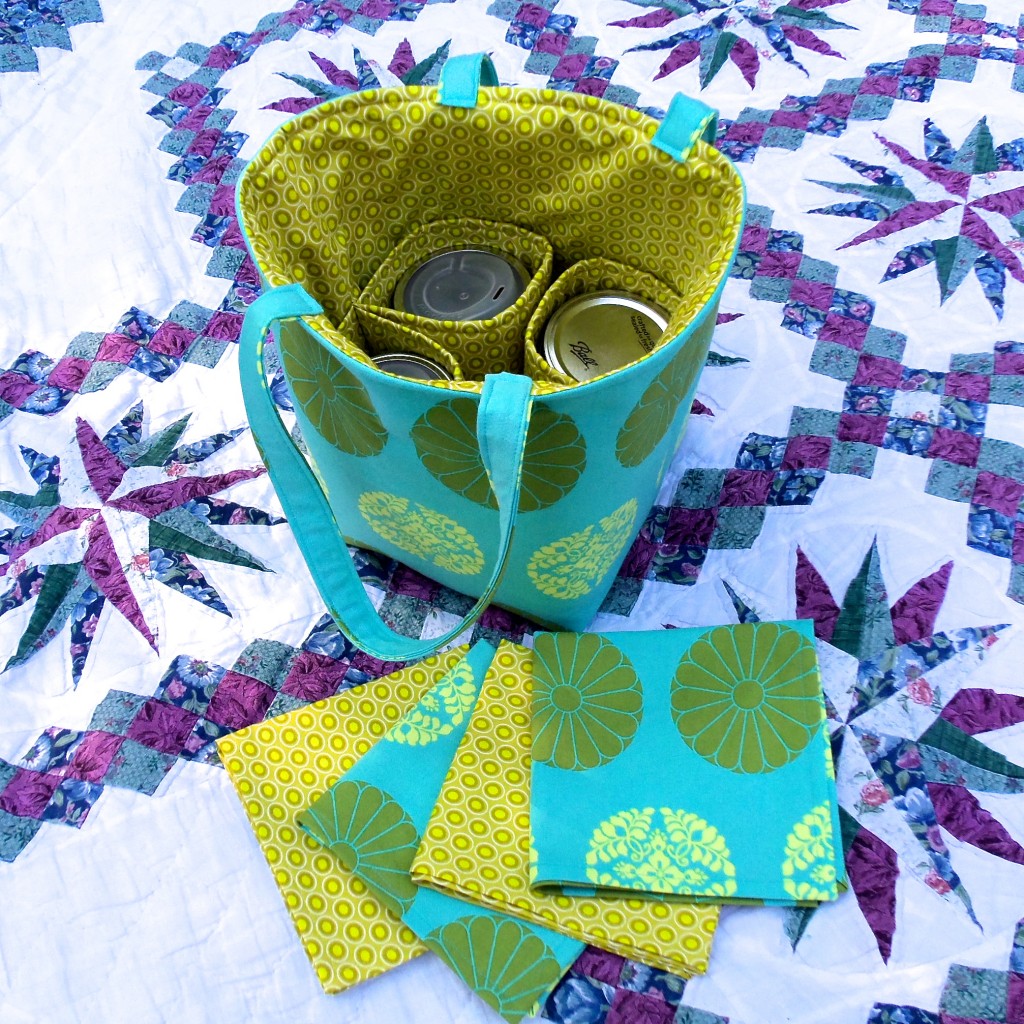
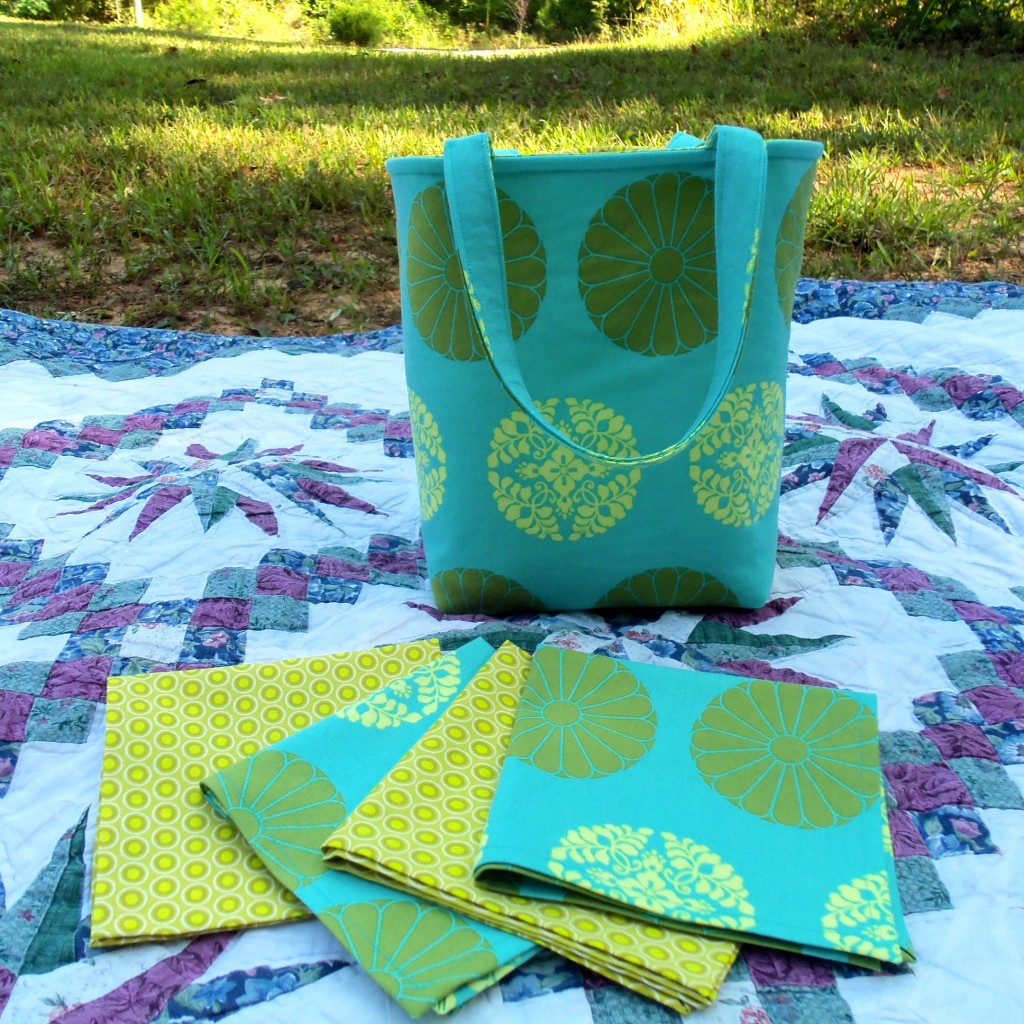
I was asked to make a Jars to Go bag to hold 4 pint jars instead of 2.  I love the combination of fabrics more and more as I work with them – Amy Butler’s Pressed Flowers and Pat Bravo’s Oval Elements from Hawthorne Threads.  As with any pattern, there’s a little figuring out as I go along – for example, I added another layer to the handles for strength (four jars are pretty heavy!)  But I just adore how it turned out.  I can see this as a picnic basket, or to take to a potluck.  It seems there’s room in the top for some small plates or bowls.  And of course, it needed extra matching napkins!

Enjoy!

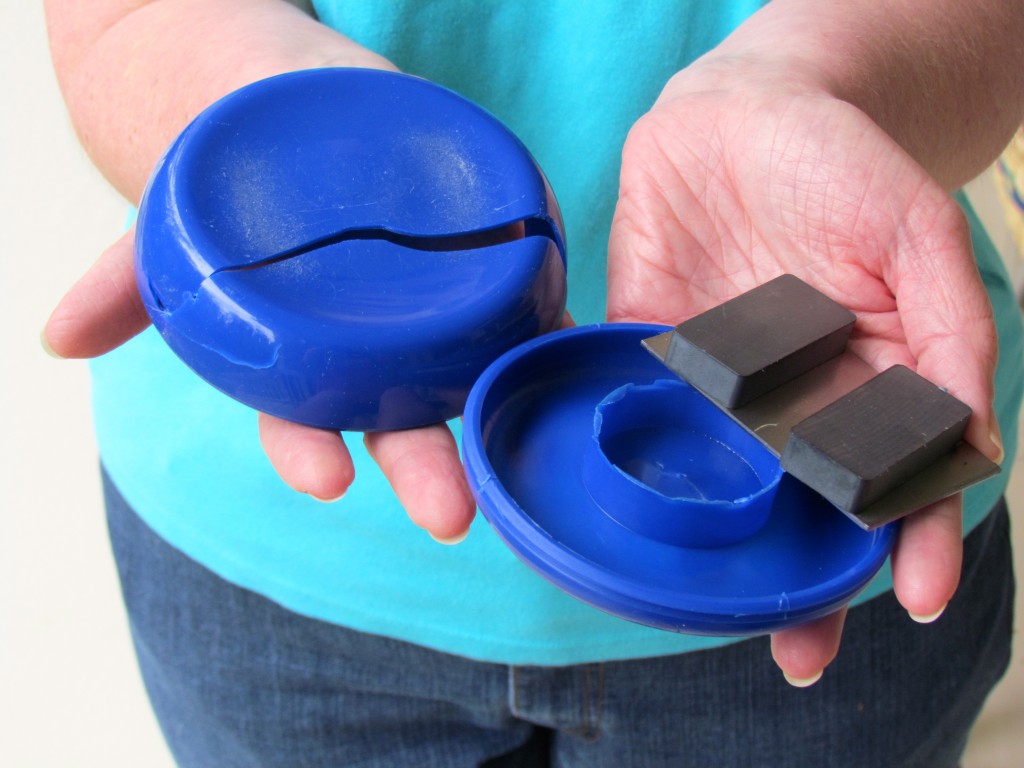
RIP pin magnet

In case you haven’t noticed, I’m making lots of bags lately.  Yesterday I cut out a few more at the kitchen table.  When I finished, I (rather precariously) stacked my cut-out bags, shears, pins, etc. on the cutting board and headed back down the stairs.  At the bottom step I heard a CRASH; my pin magnet thingy had fallen to its death.

Now, the pin magnet has been with me for many years.  Normally if something breaks that I’ve had such a long time, I’m sad about it.  It’s like losing a friend.  But not this time.  Pin magnets are great… for pins that actually stick to it.  There’s always those few in the mix that won’t stick, and fall into the carpet for you to find the hard way.  And the ones that do stick, become magnetized.  That means that they stick to your scissors and anything else metal.  Joy.  And you can’t even call it a pincushion, because there’s nothing cushiony about them.

For a long time I’ve wanted to replace the pin magnet.  But in a busy, frugal life, when something is at least functional, I often put up with its flaws rather than replace it with something I’d rather have.

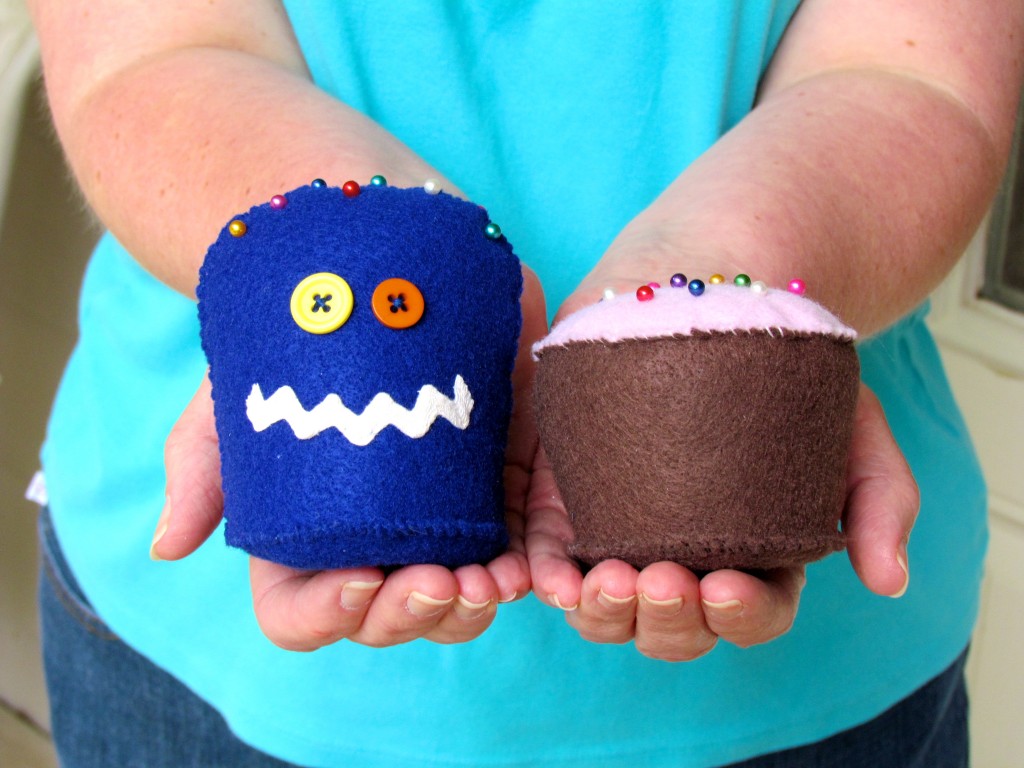
Last fall I taught a basic sewing skills class to a few teens.  For their “final exam” I created a pattern for them to follow and gave them all the supplies they would need to make their choice of pincushions:  a monster with silly pin hair, or a cupcake with pin sprinkles.  (Of course, the girls wanted to make the monsters, and the boys wanted to make the cupcakes.  That’s fine.)  I did my best to not step in and help, and let them do it all on their own just to see if they could.  They all did a fine job, and had SO much fun!  But I felt left out – I wanted a cute pincushion too!  But I couldn’t have one.  I had the pin magnet, and it was good enough.  *sigh*

But no more – NOW is my chance to have a cute pincushion!  Or a dozen, all over my sewing room, if I want!  And now you can too, because here’s the same pattern I gave to them – Happy Sewing!

Monster Pattern PDF             Cupcake Pattern PDF

I will be keeping the magnets from the pin magnet, because they do come in handy for finding dropped pins and needles.  But for storage, I’ll be using these!  Rest in pieces, pin magnet.

blue jean backpack tutorial

This is a repost of a pattern from my old blog, that I wanted to share here.  Enjoy!
Wow, this post has been a long time coming!  I’ve actually been working on this post for a while, and nearly gave up because it’s taken so long.  But I did want to share a more complete tutorial for the blue jean backpack. This is another backpack I made for charity, and I took photos of the steps this time!  Disclaimer:  I’ve worked on this post in such fits and starts, please let me know if I’ve left out a step or if something is unclear!

To make this backpack, you will need an adult sized pair of jeans, a little fabric, a zipper, and something to use for straps.  The exact measurements will depend on the size jeans you use, so read through the tutorial to see how much you will need.  Theoretically, you could get two backpacks out of one pair of jeans.

Here you see the jeans, with one leg marked for cutting. I cut off one hem and laid the leg out flat, with the fold at the side seam.  I measured over from the fold to cut the straightest, largest rectangle possible. If your jeans are smaller and you really need the room, you can take out the hem stitching and press it flat for a little more fabric (instead of cutting off the hem). My finished rectangle of fabric, once laid flat, was 17″ x 30″.  The rectangle will be folded in half, and the fold will form the bottom of the backpack.
Then, cut off one of the back pockets. Instead of taking out the stitching, it’s much easier just to cut around it. Leave a little extra fabric for fraying, if you like that look.
Then cut your other pieces from fabric: one piece for the big front pocket, this one was 17″ x 12″; and 2 casings, these were 17″ x 6″.  Note that your pocket and casings should be the same width as your rectangle.  You’ll also need a zipper. Here are all the pieces, laid out as they will be assembled. (You will notice that my zipper is too long – that’s okay. It will be cut off.)
First, stitch one side of the zipper to the top of the pocket, then flip up and topstitch.  If your zipper is too long, line up one end with the edge of the fabric, and we’ll cut off the other end later.  You’ll notice that my zipper is a separating jacket zipper, so I had to cut off the bottom end.  Just using what I have on hand, here!
Pin jeans pocket in center of large fabric pocket and stitch around the sides and bottom, following the original stitching lines.
Place pocket assembly on one end of your denim rectangle. Pin in place at top and bottom.
Turn under the bottom edge of the pocket and make a couple of rows of topstitching, so it will be nice and sturdy.  The sides of your pocket will be sewn into the side seams of the backpack, so don’t worry about them right now.
Now stitch the top edge of the zipper to the top edge of the backpack. If your zipper is too long, like mine, carefully stitch over the end of the zipper within the side seam allowance. Cut even with the edge of the fabric.
Now, prepare your casings for the drawstring at the top of the bag.  Make a small hem on each short side of your rectangles.  Fold the casing in half, and line up the raw edges with one of the top edges of your backpack.  Be sure to center it – you should have the seam allowance of the backpack extending past the hemmed edge of the casing on both sides.  Sew the seam and finish the raw edges.  Flip up the casing and topstitch.  Repeat for the other casing, at the other top edge of the backpack.
Measure your strap/drawstring.  I am using ribbon here; you may use any kind of sturdy ribbon or trim, or make straps out of fabric.  You will need one piece for each side, and each piece needs to be twice as long as the measurement across the top of the backpack and down the side.  Add just a smidge for a seam allowance.  In my case, each piece is about 66″ long.
Run your ribbons through the casings for the drawstring, with the ends of one coming out on the left side, and the other coming out the right side.  Take the ends and baste near the bottom corners, so that they will be attached in your side seam.
Now sew your side seams, stitching a couple of extra times over those drawstring/strap ends.  Finish the raw edges.
Turn right side out, fill with your stuff, and go!
To recap:  Your backpack should have a large interior area, closed with the drawstring; a large front pocket, closed with the zipper; and one front pocket that used to be the jean back pocket.
 If you make a backpack, I’d love to see it!  Send me a photo or leave a link to a photo of your backpack in the comments!