headwear how-to


Here’s another free project I’ve moved over from my old blog, original post date was 12/22/09.  Enjoy!

DSCN1201

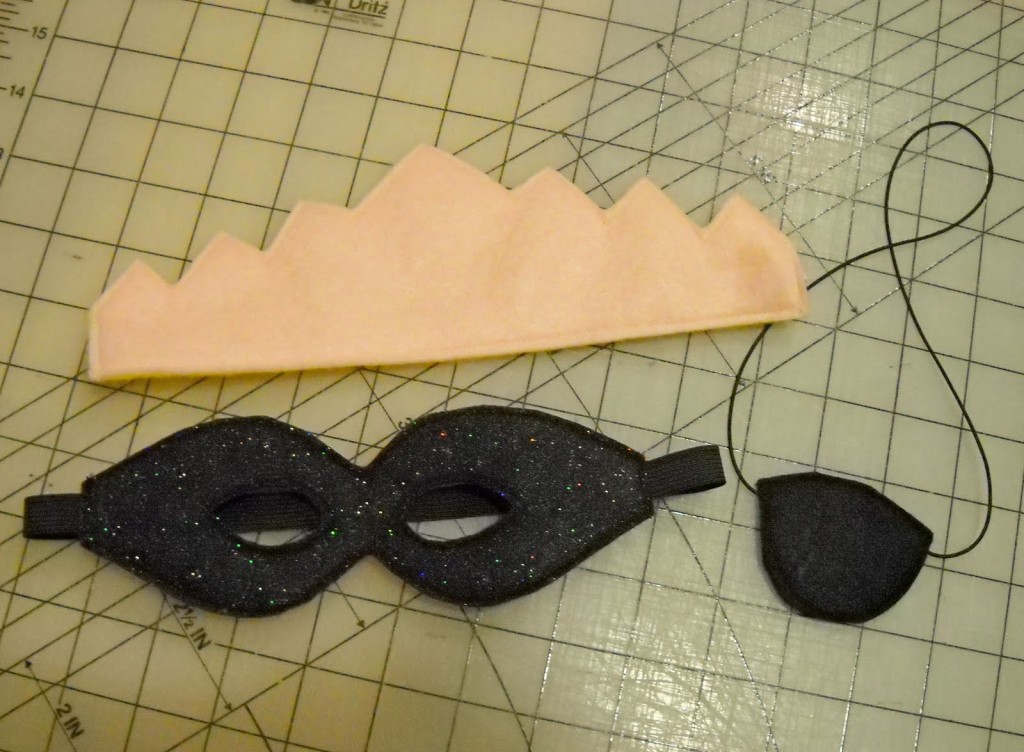
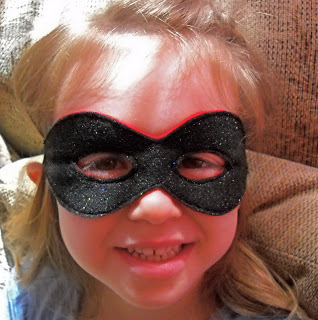
Today’s quick kids’ gift is actually three – the construction is so similar, I decided to lump them all together. There’s a superhero mask, a crown, and a pirate eye patch. As always, read through the instructions to the end before you begin! I show the project on the sewing machine, but this could be done by hand sewing. You’ll need some pieces of felt and elastic, a fabric marking pen or chalk, and of course thread.DSCN1162
And here’s your pattern, to print. Since the size is rather critical on this project, I’ve included a 1″ square on the page so you can make sure it’s the right size.

IMG

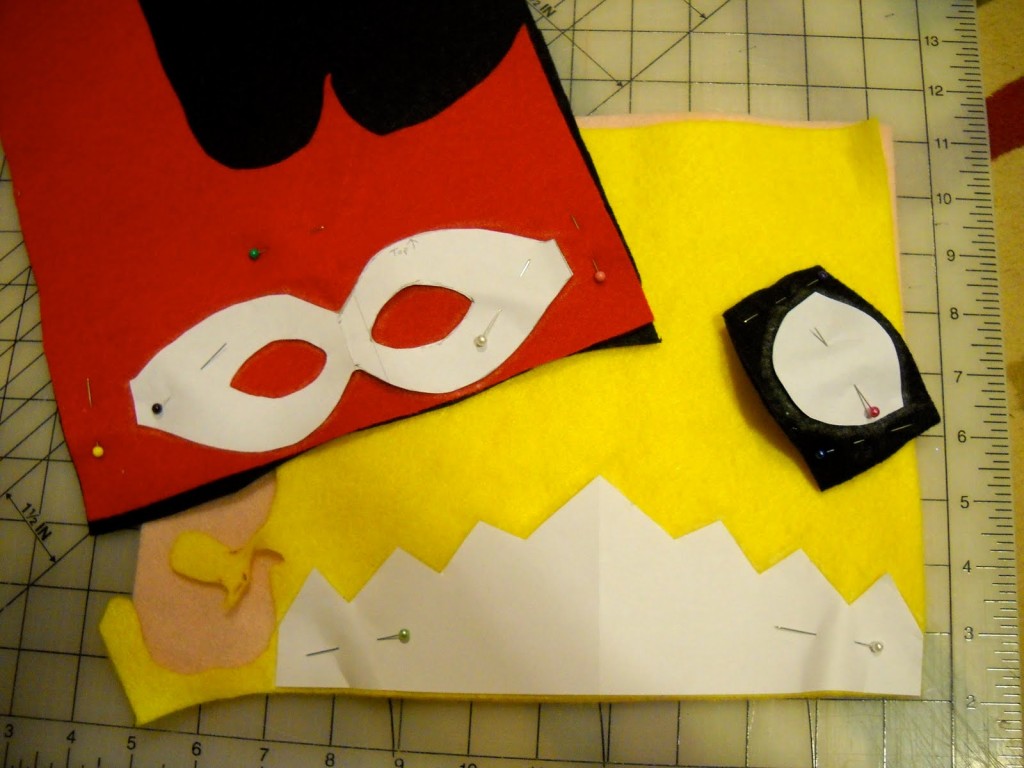
This project is easily made reversible, as each is two layers of felt. Just use different colors for the front and back, and it’s like having two of each! Layer your two pieces of felt (wrong sides together, if it has a right and wrong side) and pin on the pattern. Also pin the fabric together outside of the pattern area. Trace around the patterns using your favorite fabric marking implement. Don’t cut it out yet!DSCN1163
Remove the patterns, but not the pins holding the two layers of felt together. Stitch just inside the lines you’ve drawn, as they are your cutting lines. Leave a gap in the stitching at the areas marked “leave open” on the pattern. This is where your elastic will go.DSCN1165
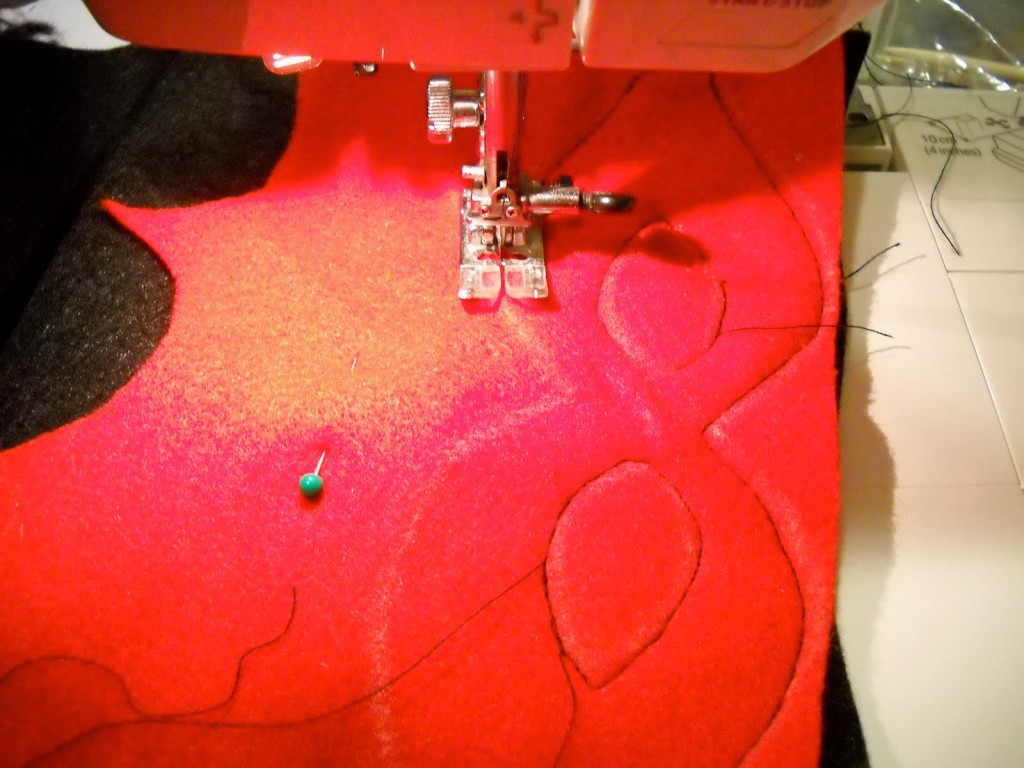
It should look like this after stitching:DSCN1166
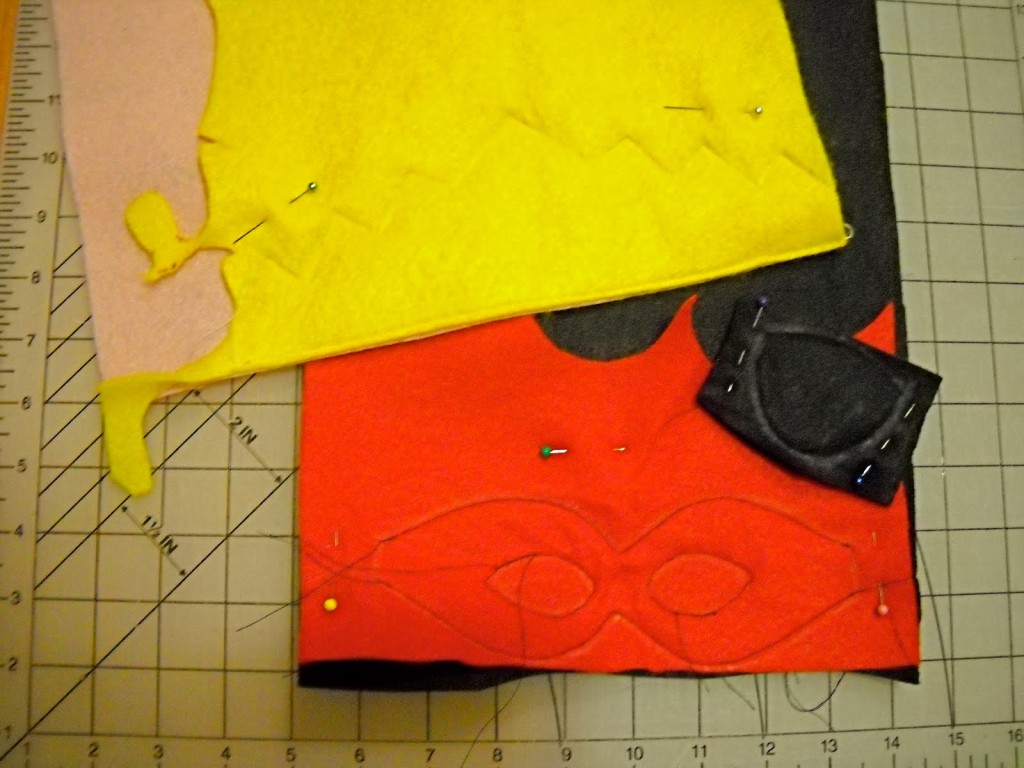
Now we cut. Trim on the drawn lines, being careful not to cut your stitching. Also cut on the lines at the spots you left open for the elastic.DSCN1172
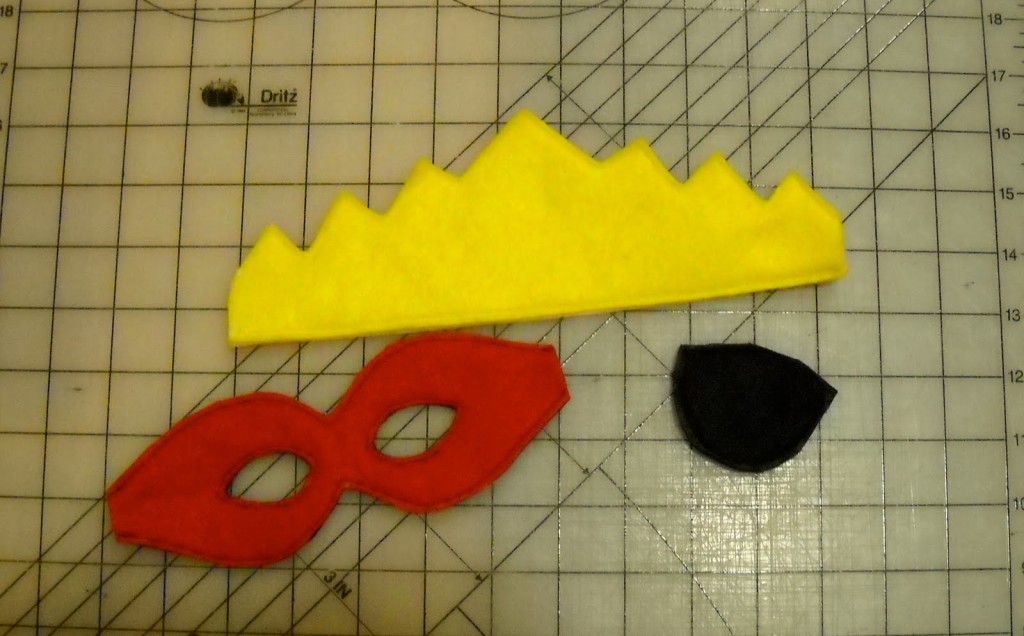
Now measure and tuck your elastic into the openings. Ideally, you should try it on the child; but if it’s a surprise, you can’t do that. Bev’s Country Cottage has an excellent reference page with all sorts of measurements that should help. Remember that elastic needs to be a bit smaller than the actual head measurement to fit well.

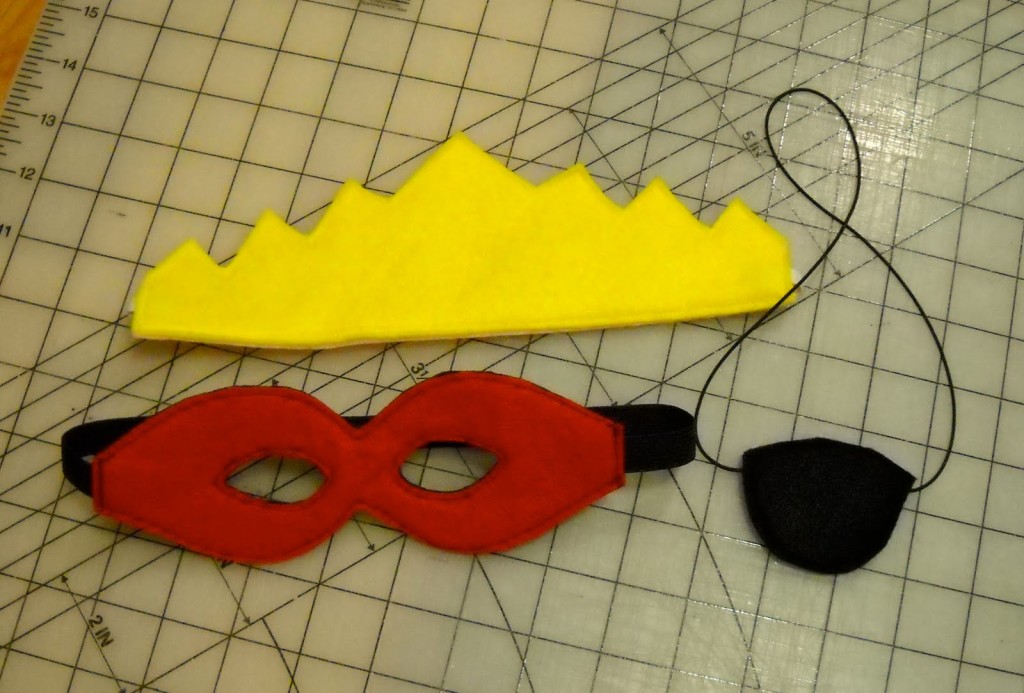
A note if you are using elastic cord for any of these, such as shown on the eye patch: since even when you knot and stitch this stuff, it tends to pop out, I recommend you run the cord all the way through the piece, tie the two ends of the cord together with a square knot, and pull the knot back into the center of the felt piece to hide it. You can see the knot in the cord of the eye patch in the photo below, before it was pulled inside. And a tip – sometimes when we buy shoes, they are attached together with elastic cord – always save it! I use that for projects like this.
For small children: To reduce the possibility of strangulation, you may wish to cut the elastic, apply a bit of hook and loop fastener such as Velcro to the cut ends, and use that to fasten the elastic back together. The fastener should give way under pressure.

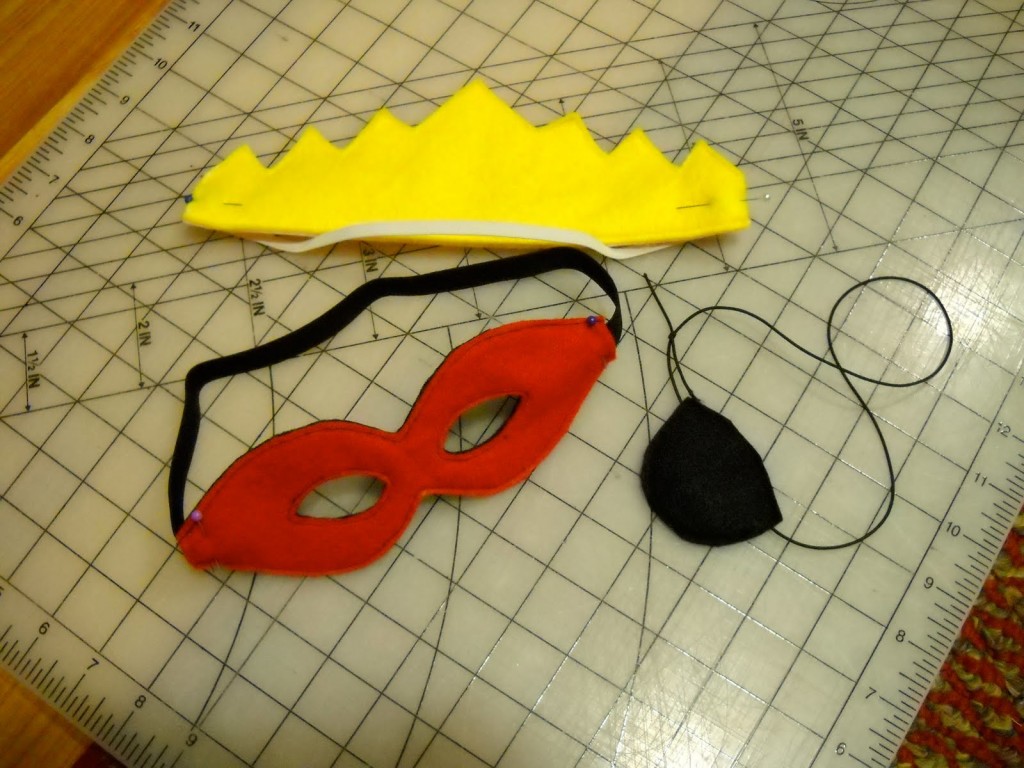
DSCN1192

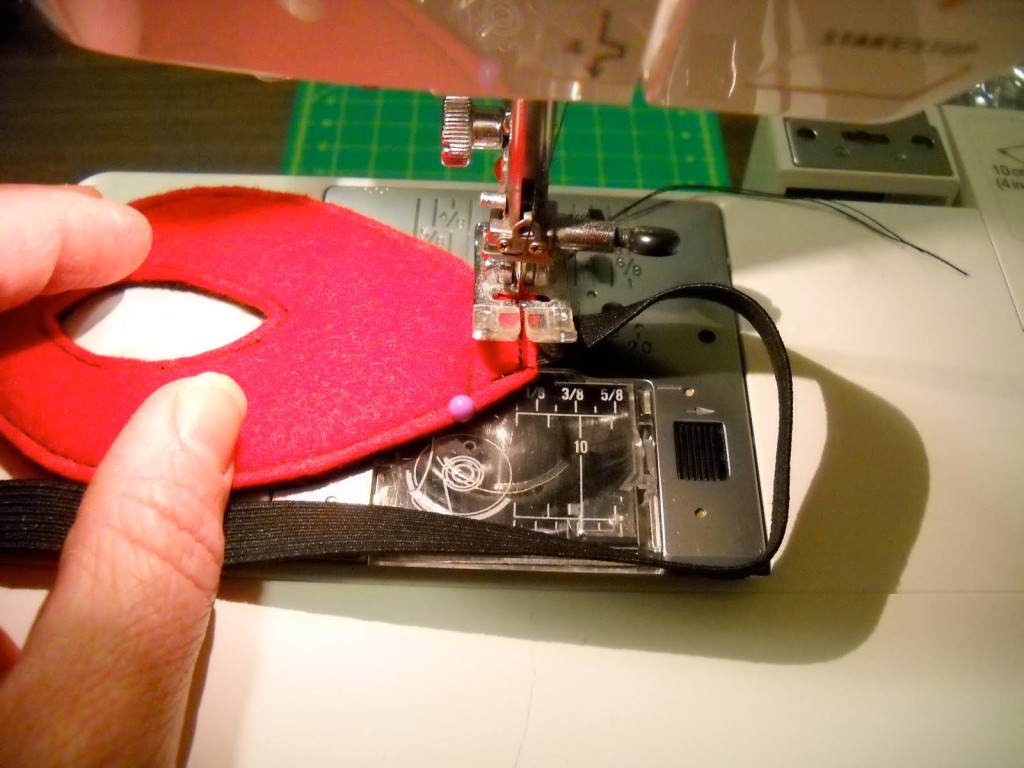
Once you have the elastic cut to the proper length and tucked into the openings, take it to the sewing machine and stitch back and forth over the opening to secure the elastic.DSCN1193
And done!DSCN1194

And here’s the reverse side:DSCN1195Feel free to embellish as you like, especially the crown!


RIP pin magnet

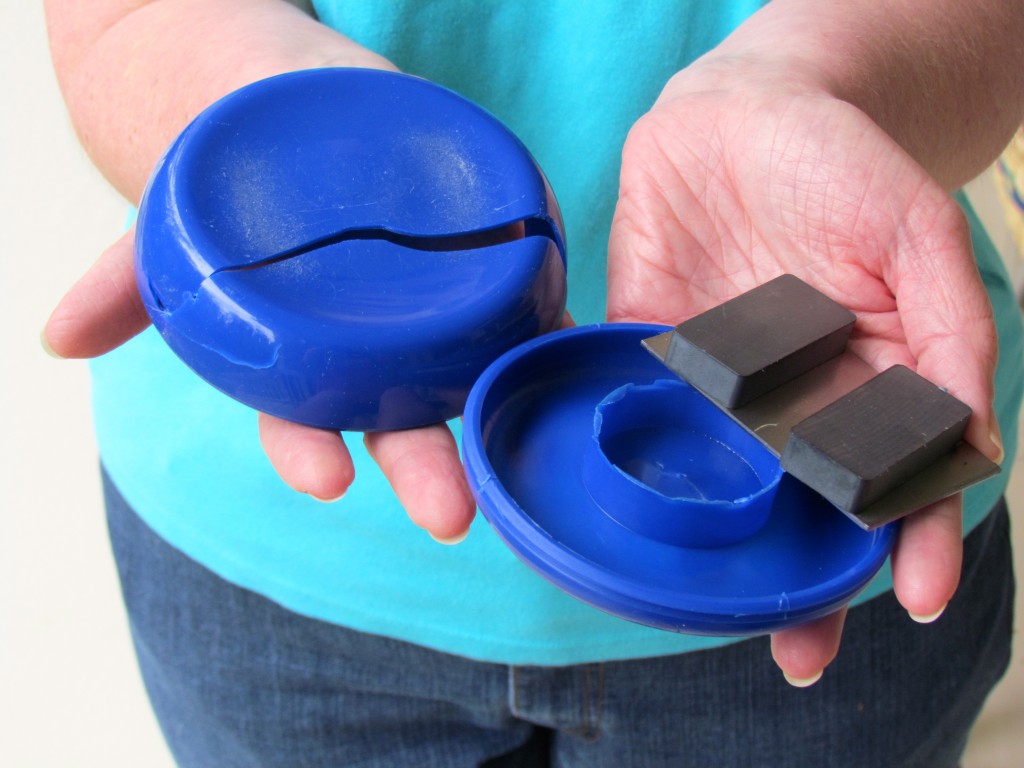
In case you haven’t noticed, I’m making lots of bags lately.  Yesterday I cut out a few more at the kitchen table.  When I finished, I (rather precariously) stacked my cut-out bags, shears, pins, etc. on the cutting board and headed back down the stairs.  At the bottom step I heard a CRASH; my pin magnet thingy had fallen to its death.

Now, the pin magnet has been with me for many years.  Normally if something breaks that I’ve had such a long time, I’m sad about it.  It’s like losing a friend.  But not this time.  Pin magnets are great… for pins that actually stick to it.  There’s always those few in the mix that won’t stick, and fall into the carpet for you to find the hard way.  And the ones that do stick, become magnetized.  That means that they stick to your scissors and anything else metal.  Joy.  And you can’t even call it a pincushion, because there’s nothing cushiony about them.

For a long time I’ve wanted to replace the pin magnet.  But in a busy, frugal life, when something is at least functional, I often put up with its flaws rather than replace it with something I’d rather have.

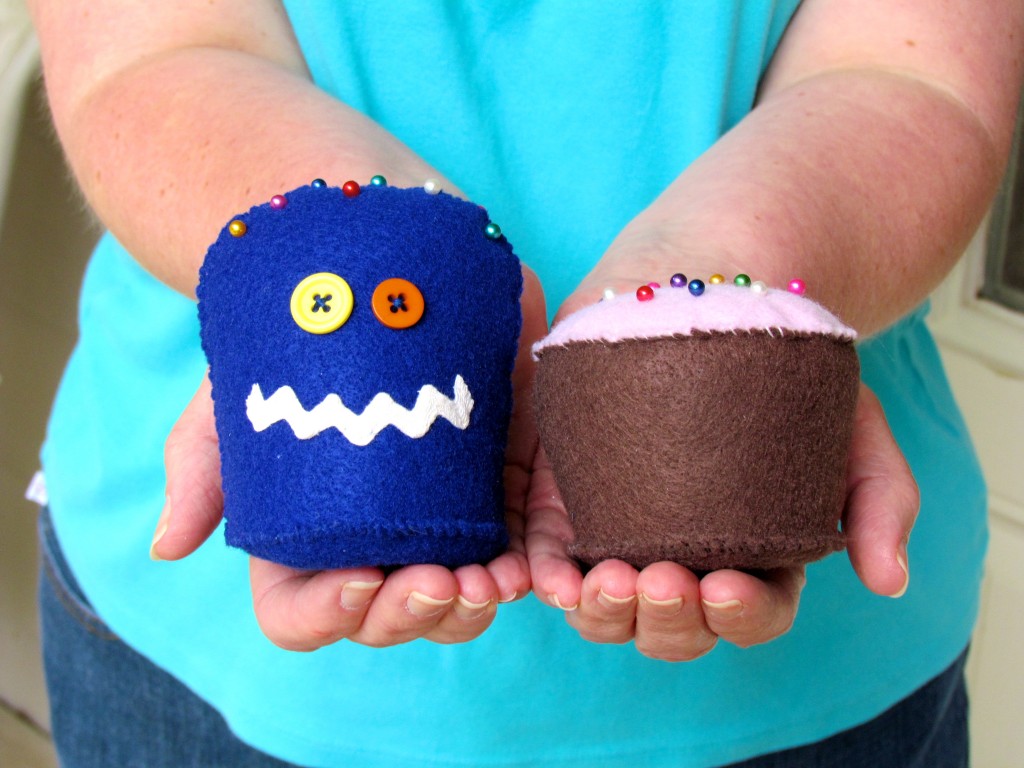
Last fall I taught a basic sewing skills class to a few teens.  For their “final exam” I created a pattern for them to follow and gave them all the supplies they would need to make their choice of pincushions:  a monster with silly pin hair, or a cupcake with pin sprinkles.  (Of course, the girls wanted to make the monsters, and the boys wanted to make the cupcakes.  That’s fine.)  I did my best to not step in and help, and let them do it all on their own just to see if they could.  They all did a fine job, and had SO much fun!  But I felt left out – I wanted a cute pincushion too!  But I couldn’t have one.  I had the pin magnet, and it was good enough.  *sigh*

But no more – NOW is my chance to have a cute pincushion!  Or a dozen, all over my sewing room, if I want!  And now you can too, because here’s the same pattern I gave to them – Happy Sewing!

Monster Pattern PDF             Cupcake Pattern PDF

I will be keeping the magnets from the pin magnet, because they do come in handy for finding dropped pins and needles.  But for storage, I’ll be using these!  Rest in pieces, pin magnet.

Kim’s Bulky Yarn Two-Needle Cap

Here’s another pattern from my old blog that I’ve moved here for your crocheting pleasure.  Original date of post was 12/29/09.  Once again, while I’m at it, I’ve put the pattern instructions into an easier-to-print PDF:  Two-Needle Cap

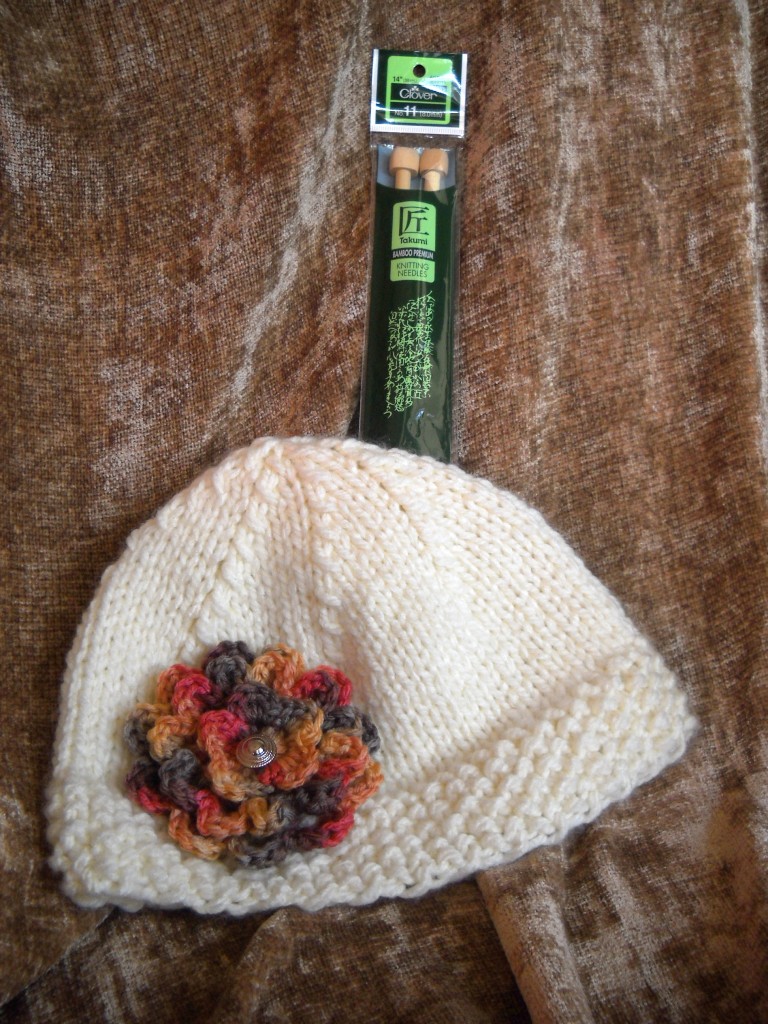
Here’s one of my favorite Christmas gifts – no, not the hat, the knitting needles! My dear, sweet husband went to an unfamiliar store and asked around to try to find a good Christmas surprise for a knitter. He’s a keeper! The needles are bamboo, my first pair, and I really like them.

 So that’s how the hat project started – a new pair of needles I wanted to test out. My mother-in-law works with a program called Look Good Feel Better, and I wanted to make a chemo cap for them. I had some Serenity Chunky Weight yarn left over from my Wild Thing hat that I intended to use. But could I find a hat pattern, suitable for chemo patients, for two needles, size 11, and bulky yarn? Of course not. So I made up my own. And since I could not find such a pattern when I needed it, I thought I would share it here so that maybe someone else could use it.

 Kim’s Bulky Yarn Two-Needle Chemo Cap (for lack of a better title)

 Size 11 needles, Serenity Chunky Weight yarn or other similar bulky weight yarn; small amount of worsted yarn, button, and size J crochet hook for flower; yarn sewing needle.

 Gauge: 3 stitches and 4 rows to the inch in stockinette stitch

 Cast on 63 stitches.

 Rows 1-9 – work in seed stitch, *k1, p1* across.

 Rows 10-21 – stockinette stitch (knit one row, purl one row)


Begin decreases:

Row 22: *knit 7, knit 2 together*, repeat across

Row 23: purl

Row 24: *knit 6, knit 2 together*, repeat across

Row 25: purl

Row 26: *knit 5, knit 2 together*, repeat across

Row 27: purl

Row 28: *knit 4, knit 2 together*, repeat across

Row 29: purl

Row 30: *knit 3, knit 2 together*, repeat across

Row 31: purl

Row 32: *knit 2, knit 2 together*, repeat across

Row 33: purl

Row 34: *knit 1, knit 2 together*, repeat across

Row 35: purl

Row 36: *knit 2 together*, repeat across

 You should end up with 7 stitches. Break off your yarn, leaving a long tail for sewing. Thread the yarn through the remaining stitches and pull up tightly. Sew the seam and weave in ends.

 For the flower, I use the flower in this pattern, omitting the felting and adding a button in the center. They are unreasonably fun to make. If you only knit and do not crochet, here are some knitted flowers you might use.

And of course, if you prefer knitting in the round without a seam, just switch the purl rows to knit rows. You’ll also need to *p1, k1* on the even rows on the seed stitch portion to make it come out right (knit the purls, purl the knits).

 Happy Knitting!

 Note:  I am hearing from a few knitters that this hat has turned out short.  There is at least one reason for this:  It was first designed as a chemo cap, and therefore needed to be a bit small.  Chemo patients do not have the bulk of hair to fill out a cap.  So by all means, if you have hair, and if it looks short to you, work a few more rows before beginning the decreases!

Also, different types of yarn will have a different gauge on the rows per inch, so if you use a different yarn you may want to account for that as well.

blue jean backpack tutorial

This is a repost of a pattern from my old blog, that I wanted to share here.  Enjoy!
Wow, this post has been a long time coming!  I’ve actually been working on this post for a while, and nearly gave up because it’s taken so long.  But I did want to share a more complete tutorial for the blue jean backpack. This is another backpack I made for charity, and I took photos of the steps this time!  Disclaimer:  I’ve worked on this post in such fits and starts, please let me know if I’ve left out a step or if something is unclear!

To make this backpack, you will need an adult sized pair of jeans, a little fabric, a zipper, and something to use for straps.  The exact measurements will depend on the size jeans you use, so read through the tutorial to see how much you will need.  Theoretically, you could get two backpacks out of one pair of jeans.

Here you see the jeans, with one leg marked for cutting. I cut off one hem and laid the leg out flat, with the fold at the side seam.  I measured over from the fold to cut the straightest, largest rectangle possible. If your jeans are smaller and you really need the room, you can take out the hem stitching and press it flat for a little more fabric (instead of cutting off the hem). My finished rectangle of fabric, once laid flat, was 17″ x 30″.  The rectangle will be folded in half, and the fold will form the bottom of the backpack.
Then, cut off one of the back pockets. Instead of taking out the stitching, it’s much easier just to cut around it. Leave a little extra fabric for fraying, if you like that look.
Then cut your other pieces from fabric: one piece for the big front pocket, this one was 17″ x 12″; and 2 casings, these were 17″ x 6″.  Note that your pocket and casings should be the same width as your rectangle.  You’ll also need a zipper. Here are all the pieces, laid out as they will be assembled. (You will notice that my zipper is too long – that’s okay. It will be cut off.)
First, stitch one side of the zipper to the top of the pocket, then flip up and topstitch.  If your zipper is too long, line up one end with the edge of the fabric, and we’ll cut off the other end later.  You’ll notice that my zipper is a separating jacket zipper, so I had to cut off the bottom end.  Just using what I have on hand, here!
Pin jeans pocket in center of large fabric pocket and stitch around the sides and bottom, following the original stitching lines.
Place pocket assembly on one end of your denim rectangle. Pin in place at top and bottom.
Turn under the bottom edge of the pocket and make a couple of rows of topstitching, so it will be nice and sturdy.  The sides of your pocket will be sewn into the side seams of the backpack, so don’t worry about them right now.
Now stitch the top edge of the zipper to the top edge of the backpack. If your zipper is too long, like mine, carefully stitch over the end of the zipper within the side seam allowance. Cut even with the edge of the fabric.
Now, prepare your casings for the drawstring at the top of the bag.  Make a small hem on each short side of your rectangles.  Fold the casing in half, and line up the raw edges with one of the top edges of your backpack.  Be sure to center it – you should have the seam allowance of the backpack extending past the hemmed edge of the casing on both sides.  Sew the seam and finish the raw edges.  Flip up the casing and topstitch.  Repeat for the other casing, at the other top edge of the backpack.
Measure your strap/drawstring.  I am using ribbon here; you may use any kind of sturdy ribbon or trim, or make straps out of fabric.  You will need one piece for each side, and each piece needs to be twice as long as the measurement across the top of the backpack and down the side.  Add just a smidge for a seam allowance.  In my case, each piece is about 66″ long.
Run your ribbons through the casings for the drawstring, with the ends of one coming out on the left side, and the other coming out the right side.  Take the ends and baste near the bottom corners, so that they will be attached in your side seam.
Now sew your side seams, stitching a couple of extra times over those drawstring/strap ends.  Finish the raw edges.
Turn right side out, fill with your stuff, and go!
To recap:  Your backpack should have a large interior area, closed with the drawstring; a large front pocket, closed with the zipper; and one front pocket that used to be the jean back pocket.
 If you make a backpack, I’d love to see it!  Send me a photo or leave a link to a photo of your backpack in the comments!

water jar cozy

 This is a post from my old blog, on Feb. 21, 2011.  I re-post it here for your crocheting pleasure.  I’ve also put the instructions into an easier-to-print PDF – you’re welcome.  🙂  Canning jar cozy PDF pattern

We’ve recently stopped buying bottled water, and bought a pitcher to filter our water instead.  I have reusable bottles for water, but honestly?  When I’m just hanging around the house, I prefer a pint jar.  The water seems to taste cleaner out of the glass, to me.

Then we were at Starbucks the other day, and I saw a glass water bottle sheathed in some sort of plastic or silicone, to be less breakable.  So I thought, why can I not make a cover for my humble canning jar, so it can go places with me?  And the idea for a water jar cozy was born.

So I’m putting the (very simple) pattern here in case anyone else would like to make one.  You will need about an ounce of worsted weight cotton yarn, a size F crochet hook, and a hair elastic.

Gauge is 15 stitches / 8 rows to 4 inches, in double crochet.

Abbreviations in this pattern:
sl st = slip stitch
ch = chain
sc = single crochet
dc = double crochet

Round 1:  Sl st into hair elastic, ch 3, then dc 35 into hair elastic.  Sl st into top of ch-3.  You should have 36 stitches if you count the ch-3 as a dc.  (This is the top of your cozy.)  Do not turn your work at the ends of the rounds.

Rounds 2-8 – Ch 3, dc in each dc, sl st into top of ch-3.  Again, you should have 36 stitches counting the ch-3.

Round 9:  Now we begin decreases for the bottom.  Ch 3, dc 1, dc 2 tog;  *dc 2, dc 2 tog* to end of round.  Sl st into top of ch-3.  (26 stitches, counting ch-3.)

Round 10:  Ch 3, dc 2 tog; *dc 1, dc 2 tog* to end of round.  Sl st into top of ch-3.  (18 stitches, counting ch-3.)

Round 11:  Ch 3, dc 2 tog; *dc 3 tog* to end of round.  Sl st into top of ch-3.  ( 7 stitches, counting ch-3)  Fasten off.  Use yarn tail to sew up the hole as you weave it in.  Weave in top tail also.

I like a handle on my water container.  If you would like one as shown, make a chain about 2″ longer than you want your handle to be.  (Mine is about 15″.)  Now you’re going to sc on both sides of your foundation chain:  Sc in the back loop of the second ch from hook, and in back loop of each remaining ch.  Sc 5 in end ch.  Turn and sc in the remaining loops of your foundation chain.  Sc 4 in the end loop, and sl st into first sc.  Fasten off.  Stitch the ends very securely to sides of your cozy – if you made your yarn tails long enough, you can just use those for the sewing.

I like this one so much, I think I’m going to make several of them.  I think next I’ll make one in a solid color, with an applique of some sort.

If you make one of these, then you are a pattern tester.  🙂  Let me know if you find any mistakes, or if you think of a way to make this clearer.

Update:  here’s the second, in ecru, with a leaf applique.  The leaf pattern is from Crochet with Raymond, and can be found here.  Here’s the ravelry link, if you prefer.