Here’s another free project I’ve moved over from my old blog, original post date was 12/22/09. Enjoy!
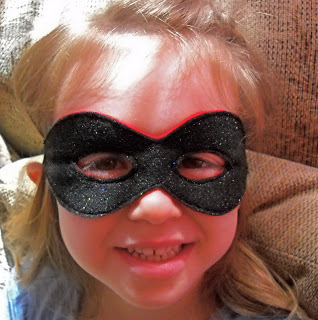
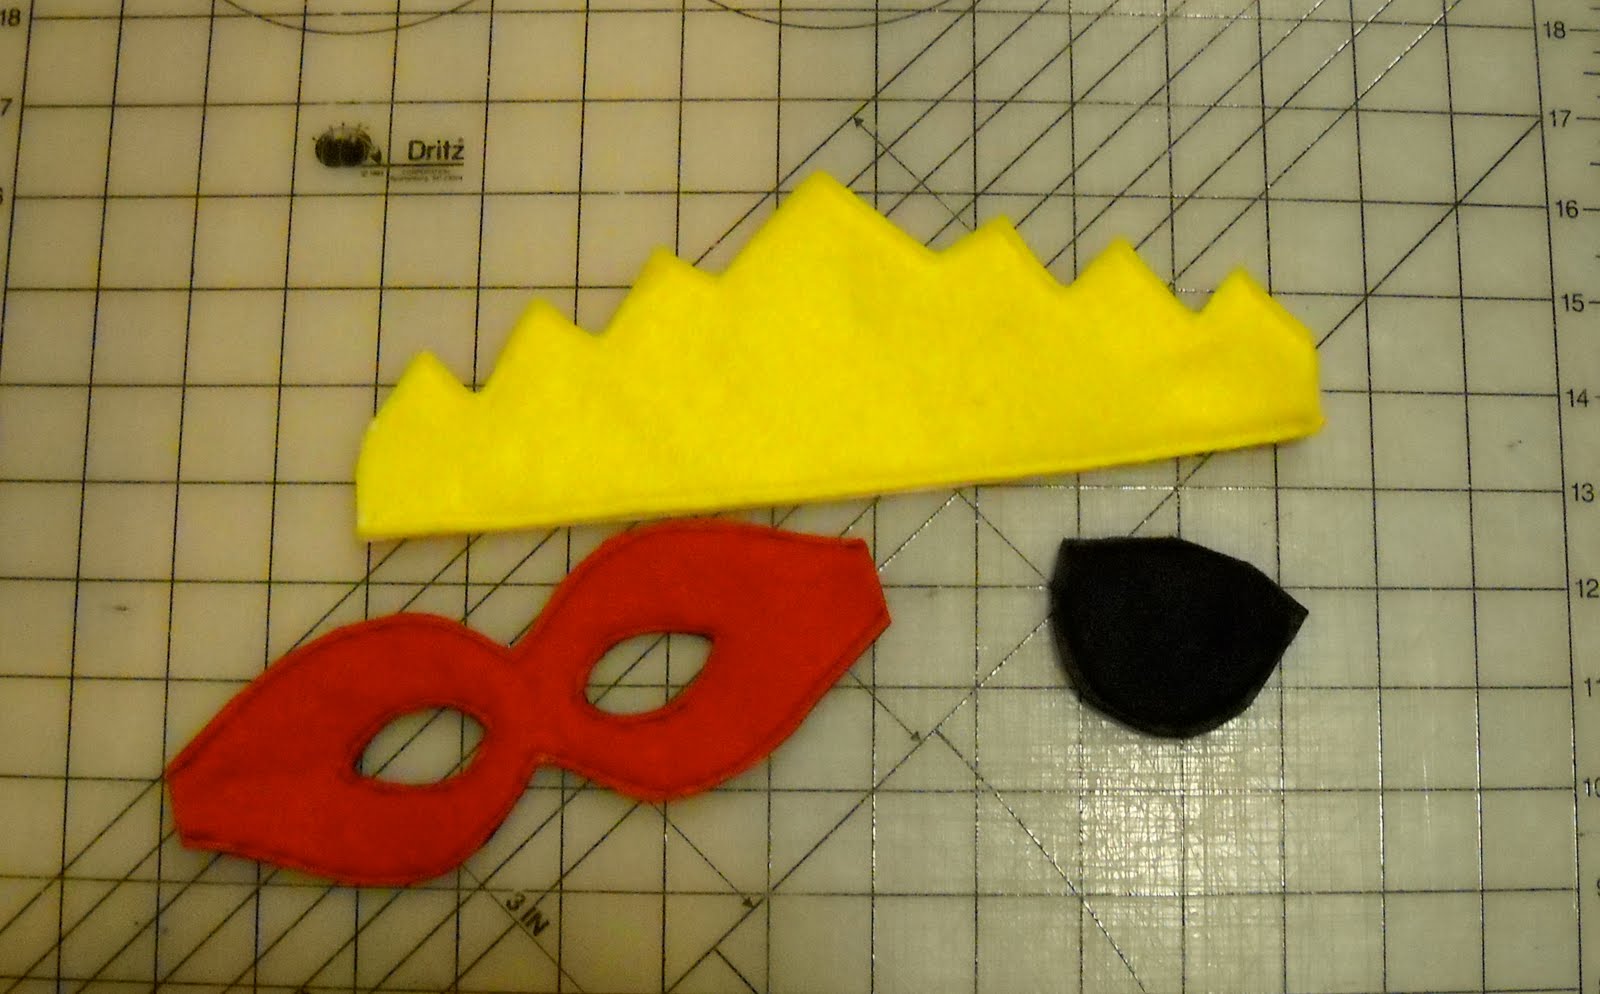
Today’s quick kids’ gift is actually three – the construction is so similar, I decided to lump them all together. There’s a superhero mask, a crown, and a pirate eye patch. As always, read through the instructions to the end before you begin! I show the project on the sewing machine, but this could be done by hand sewing. You’ll need some pieces of felt and elastic, a fabric marking pen or chalk, and of course thread.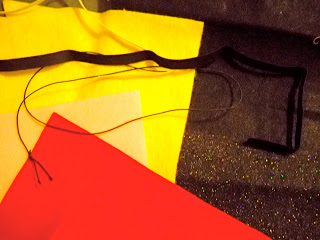
And here’s your pattern, to print. Since the size is rather critical on this project, I’ve included a 1″ square on the page so you can make sure it’s the right size.

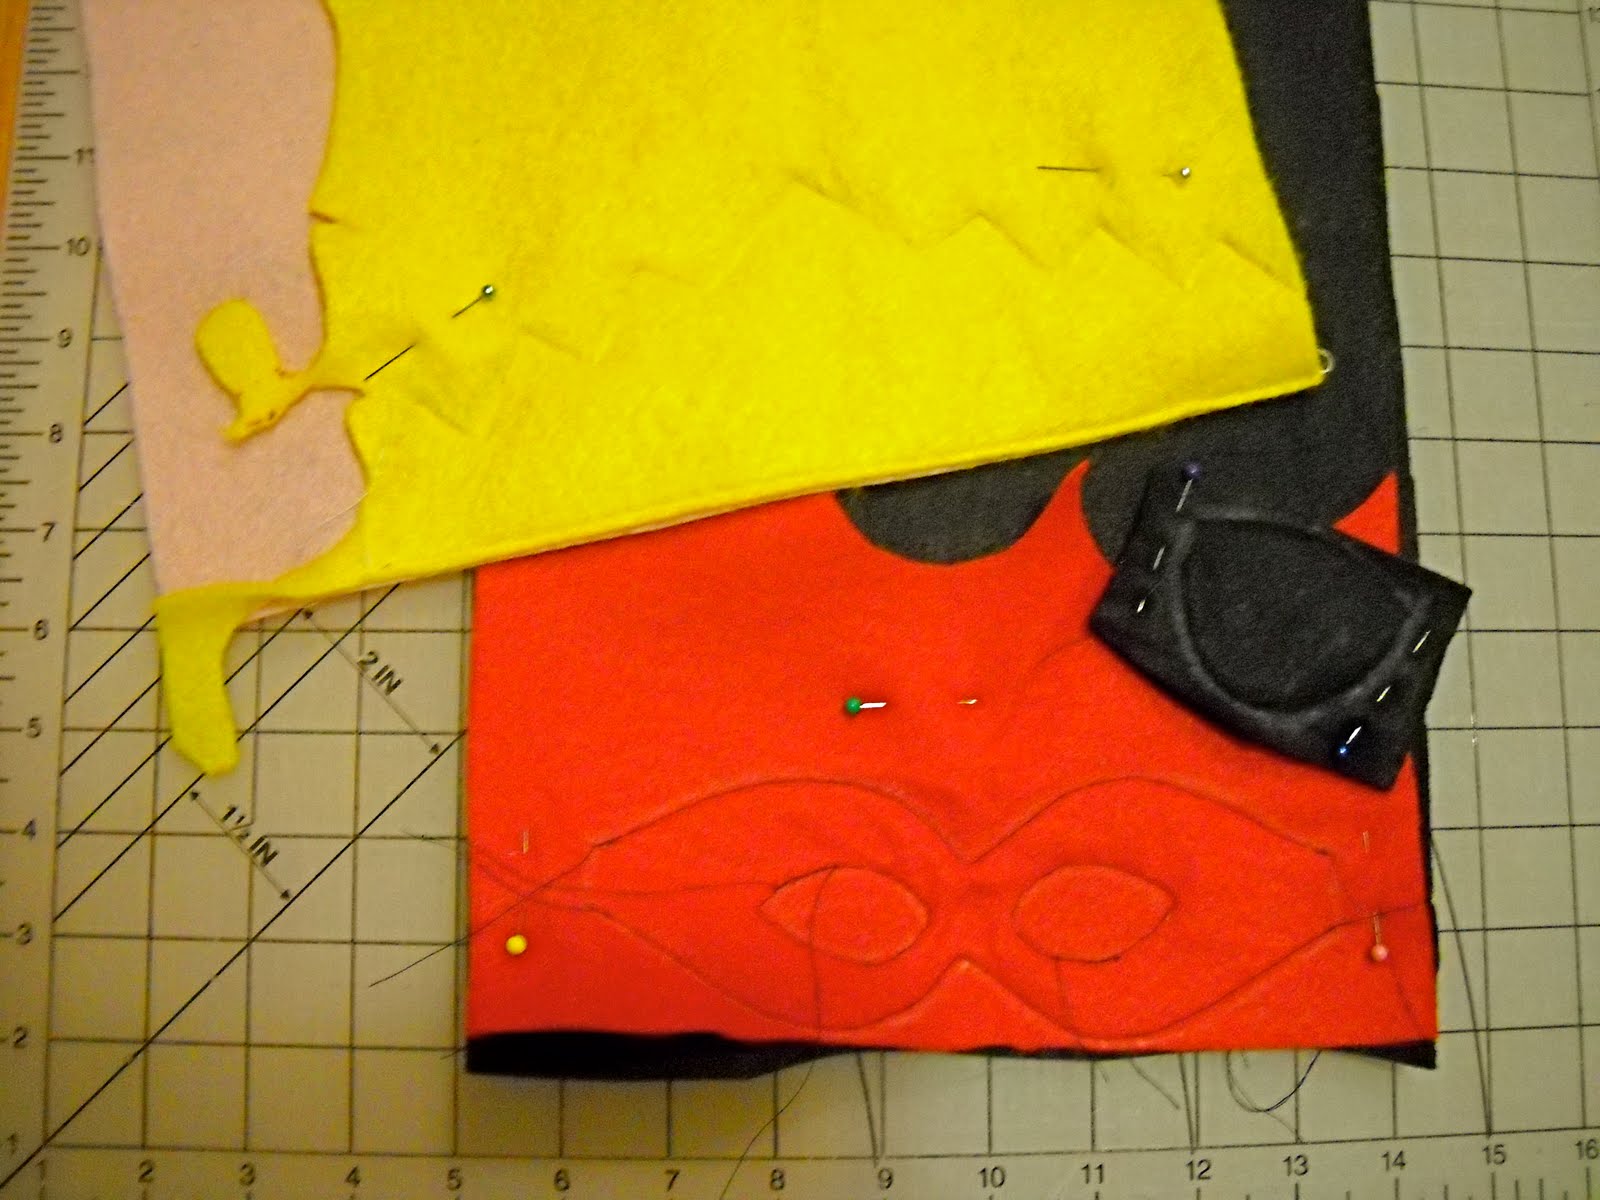
This project is easily made reversible, as each is two layers of felt. Just use different colors for the front and back, and it’s like having two of each! Layer your two pieces of felt (wrong sides together, if it has a right and wrong side) and pin on the pattern. Also pin the fabric together outside of the pattern area. Trace around the patterns using your favorite fabric marking implement. Don’t cut it out yet!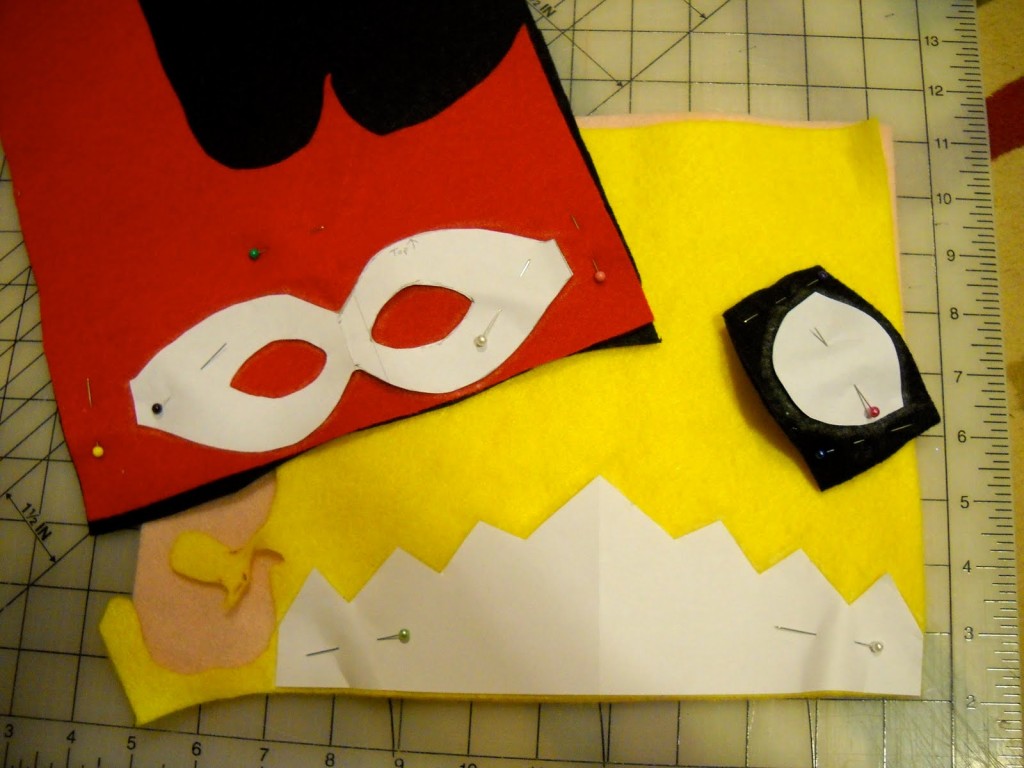
Remove the patterns, but not the pins holding the two layers of felt together. Stitch just inside the lines you’ve drawn, as they are your cutting lines. Leave a gap in the stitching at the areas marked “leave open” on the pattern. This is where your elastic will go.
It should look like this after stitching:
Now we cut. Trim on the drawn lines, being careful not to cut your stitching. Also cut on the lines at the spots you left open for the elastic.
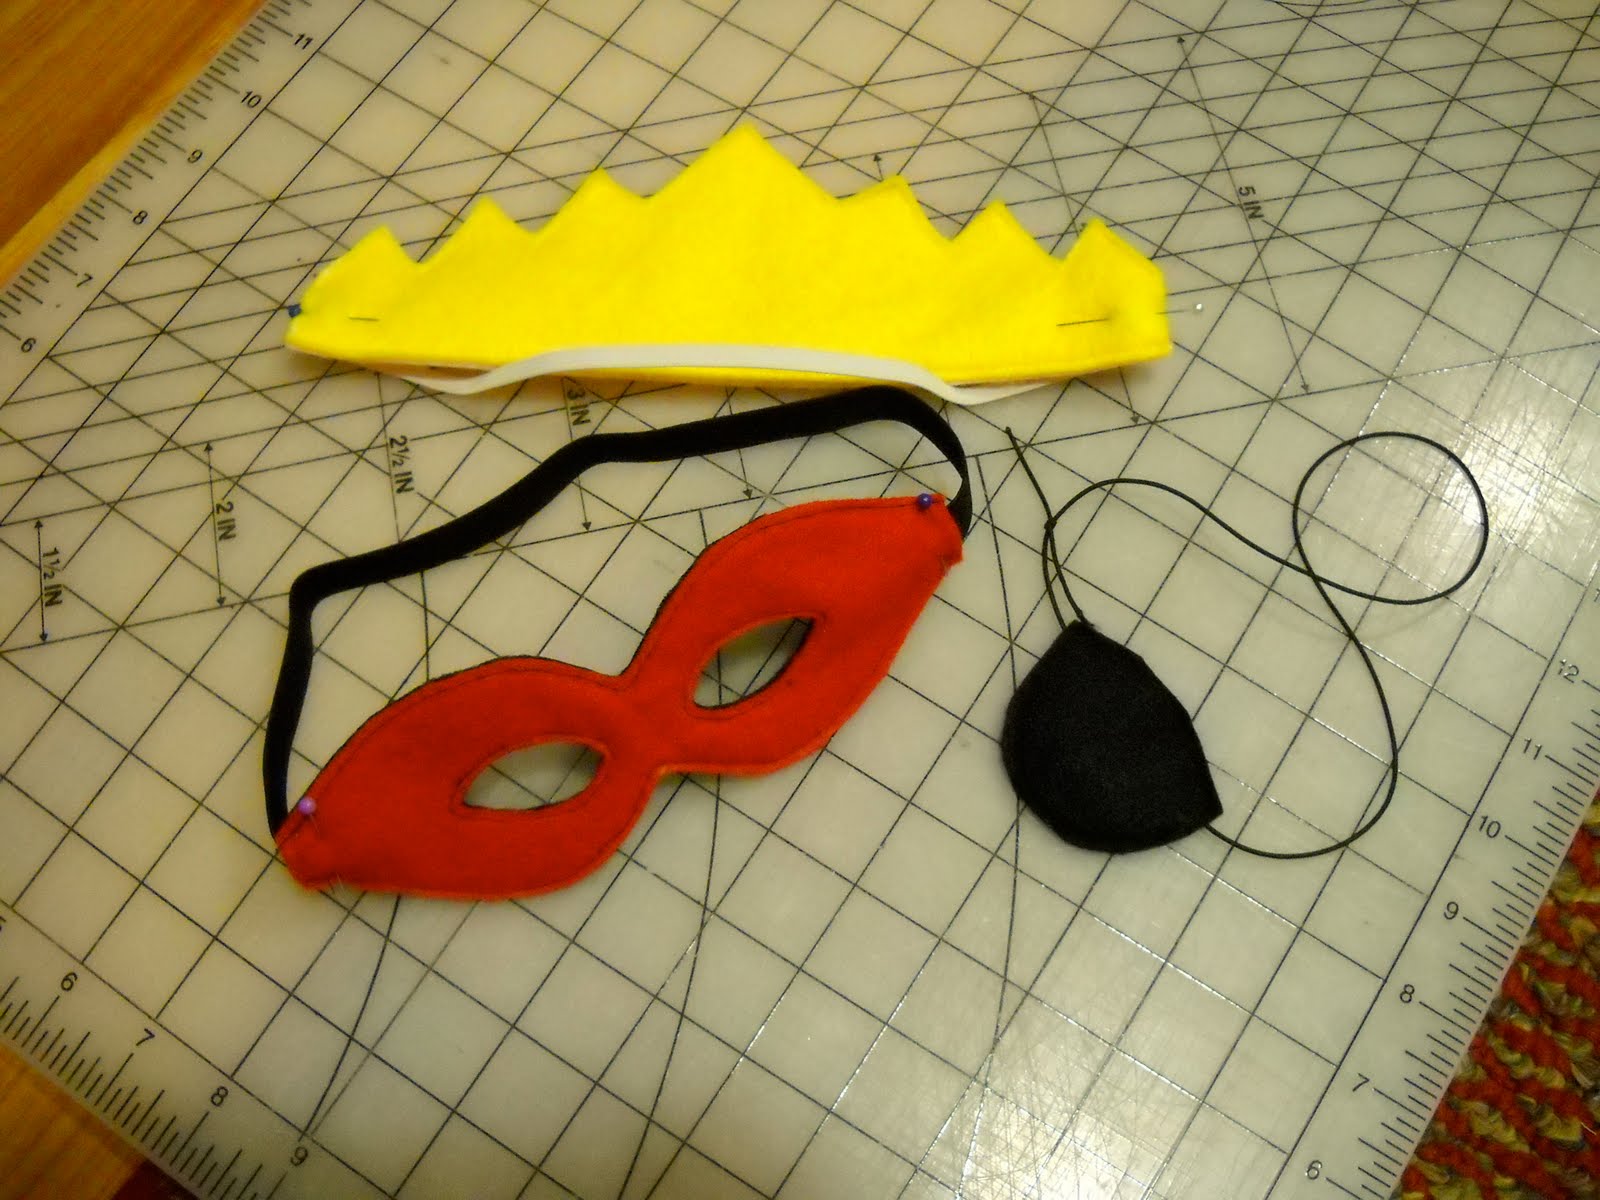
Now measure and tuck your elastic into the openings. Ideally, you should try it on the child; but if it’s a surprise, you can’t do that. Bev’s Country Cottage has an excellent reference page with all sorts of measurements that should help. Remember that elastic needs to be a bit smaller than the actual head measurement to fit well.
A note if you are using elastic cord for any of these, such as shown on the eye patch: since even when you knot and stitch this stuff, it tends to pop out, I recommend you run the cord all the way through the piece, tie the two ends of the cord together with a square knot, and pull the knot back into the center of the felt piece to hide it. You can see the knot in the cord of the eye patch in the photo below, before it was pulled inside. And a tip – sometimes when we buy shoes, they are attached together with elastic cord – always save it! I use that for projects like this.
For small children: To reduce the possibility of strangulation, you may wish to cut the elastic, apply a bit of hook and loop fastener such as Velcro to the cut ends, and use that to fasten the elastic back together. The fastener should give way under pressure.

Once you have the elastic cut to the proper length and tucked into the openings, take it to the sewing machine and stitch back and forth over the opening to secure the elastic.
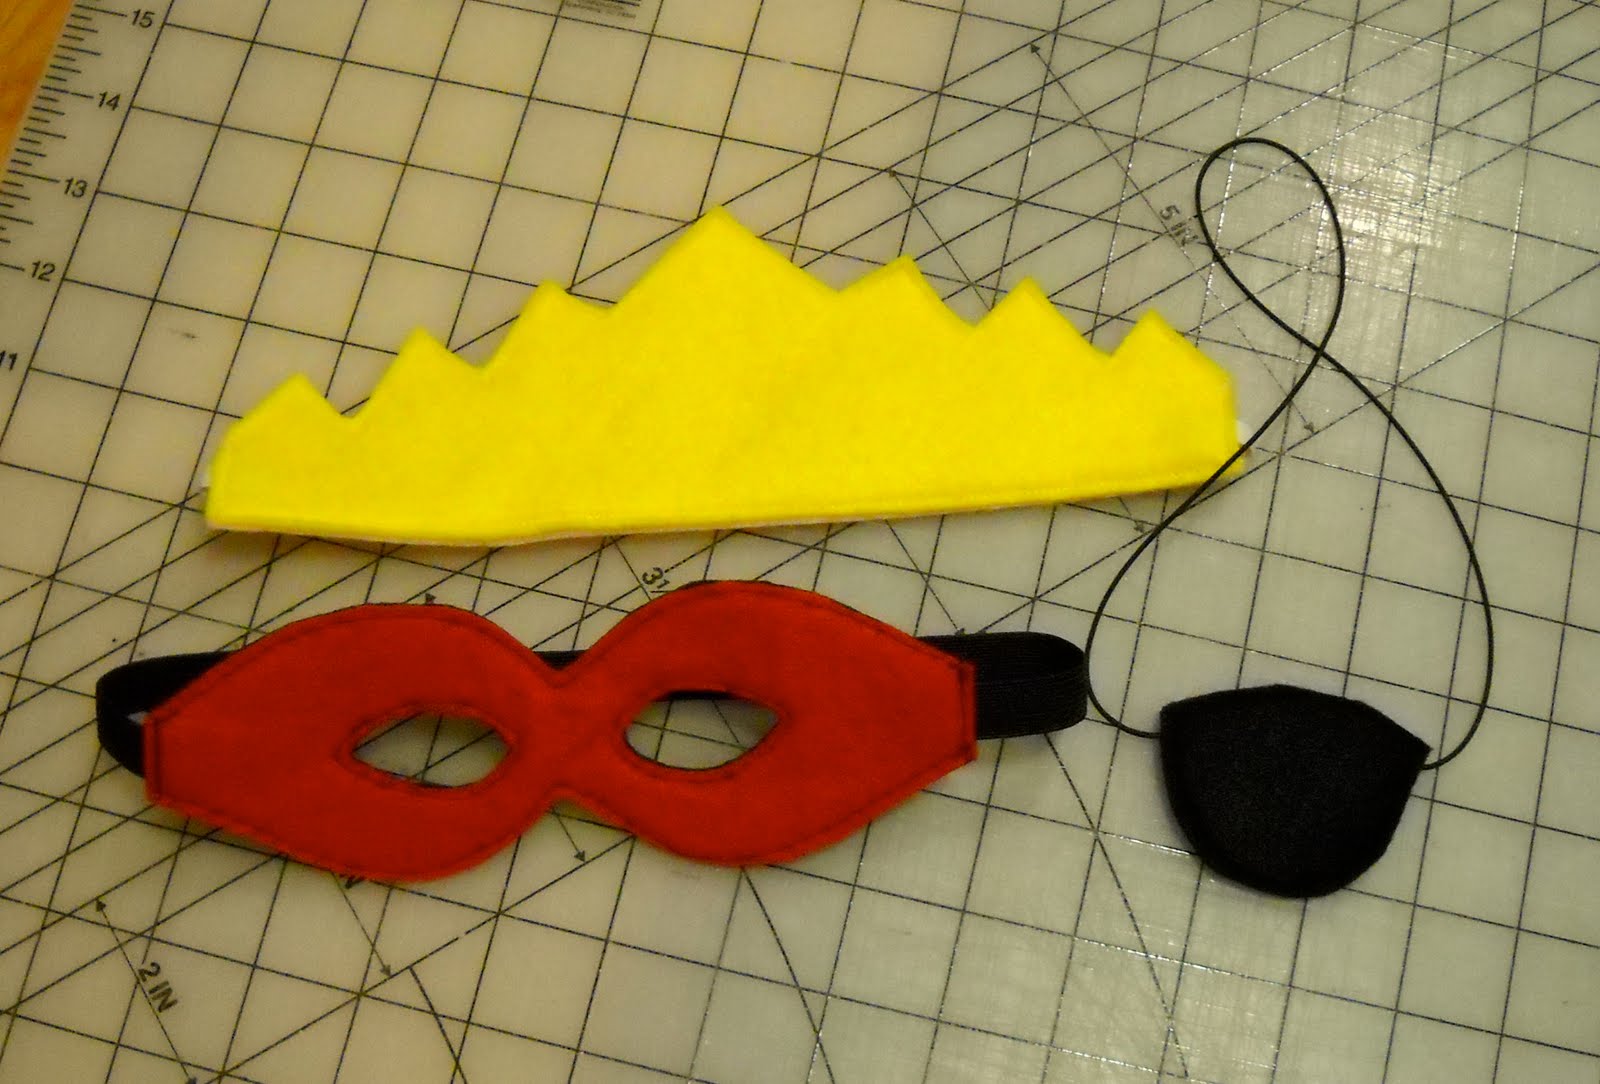
And done!
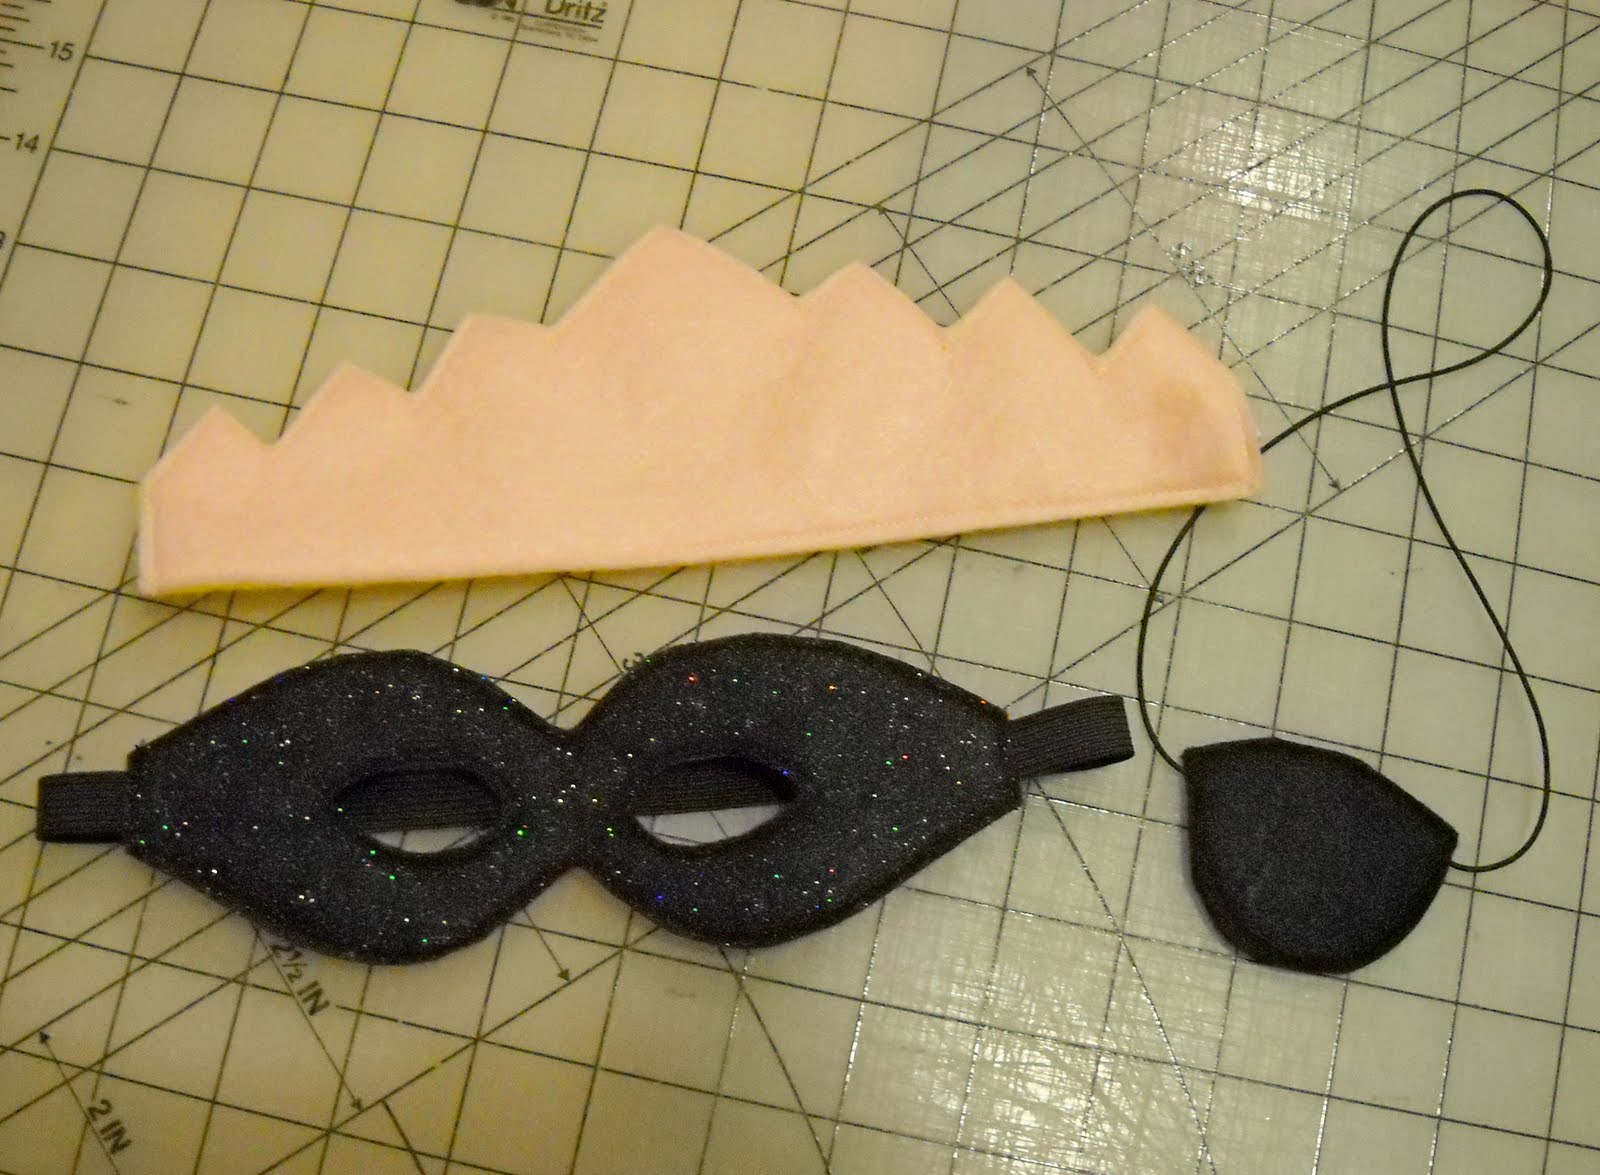
And here’s the reverse side: Feel free to embellish as you like, especially the crown!
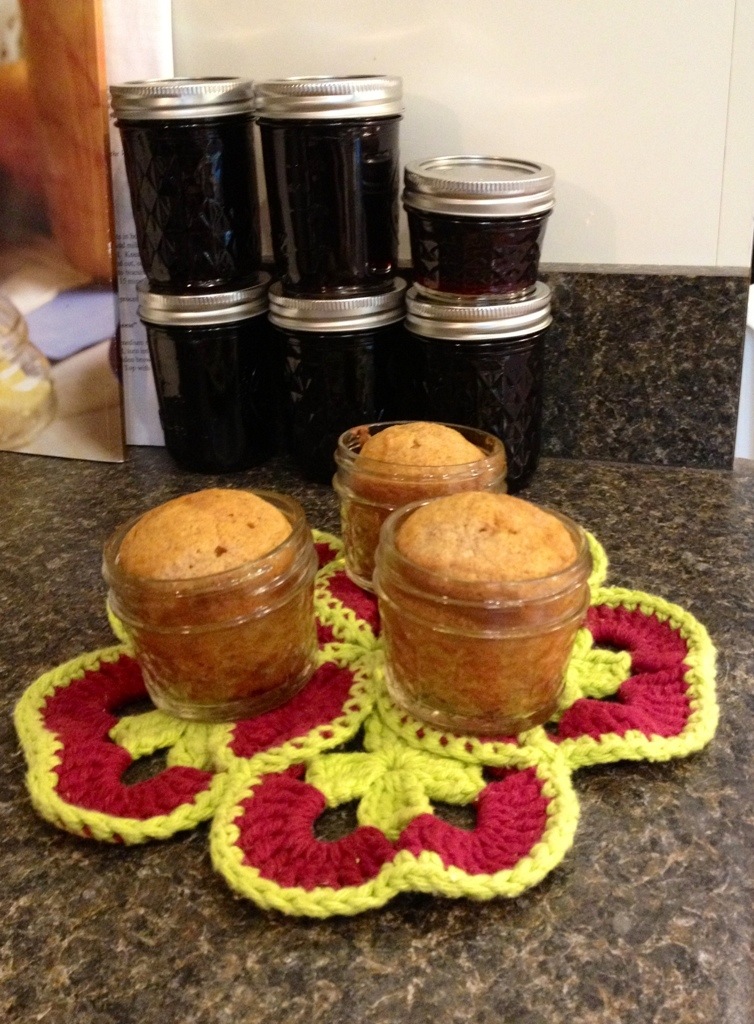
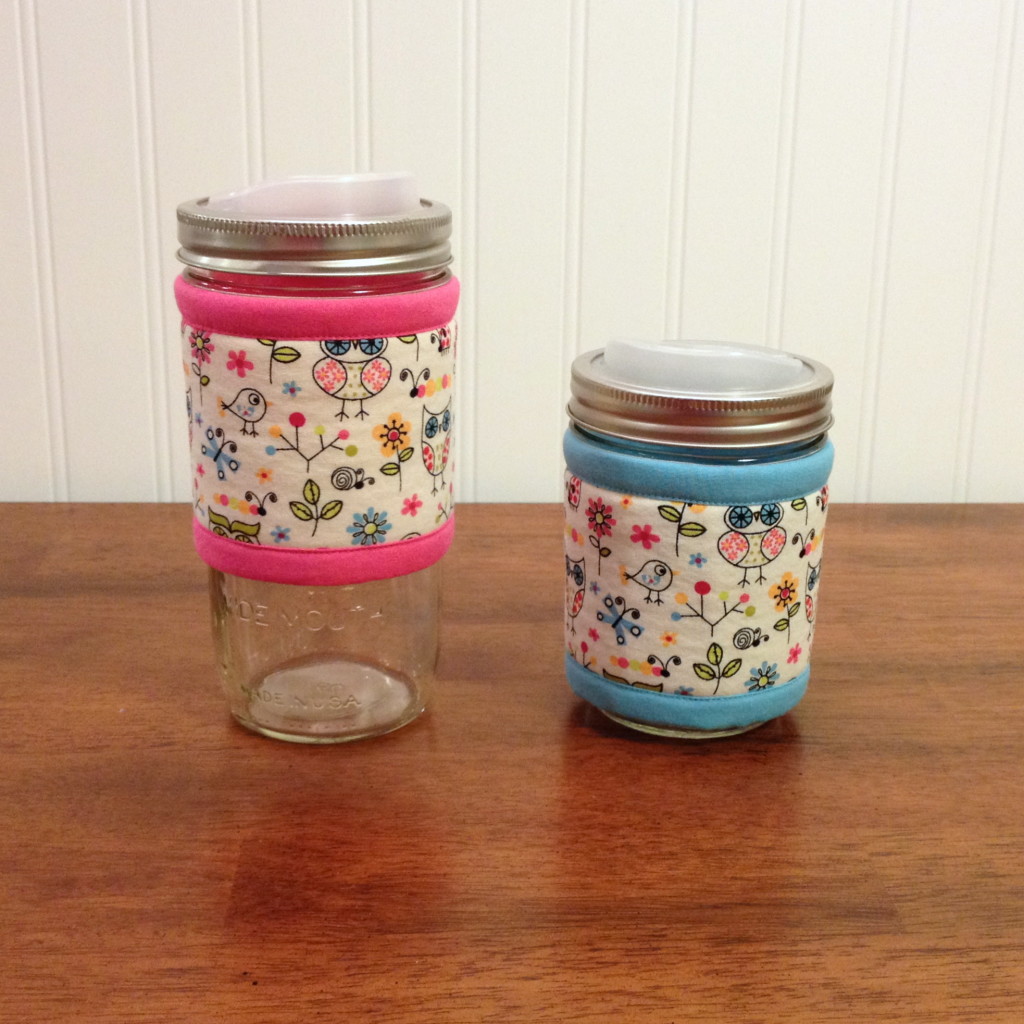 With a growing pile of bag fabric scraps too small for any kind of bag, but too big for my frugal nature to throw away, I started thinking about making jar cuffs. Considering all my other mason jar items, it seemed a natural thing to do. Besides, they are cute and keep your hands happy when you are carrying a hot or icy drink.
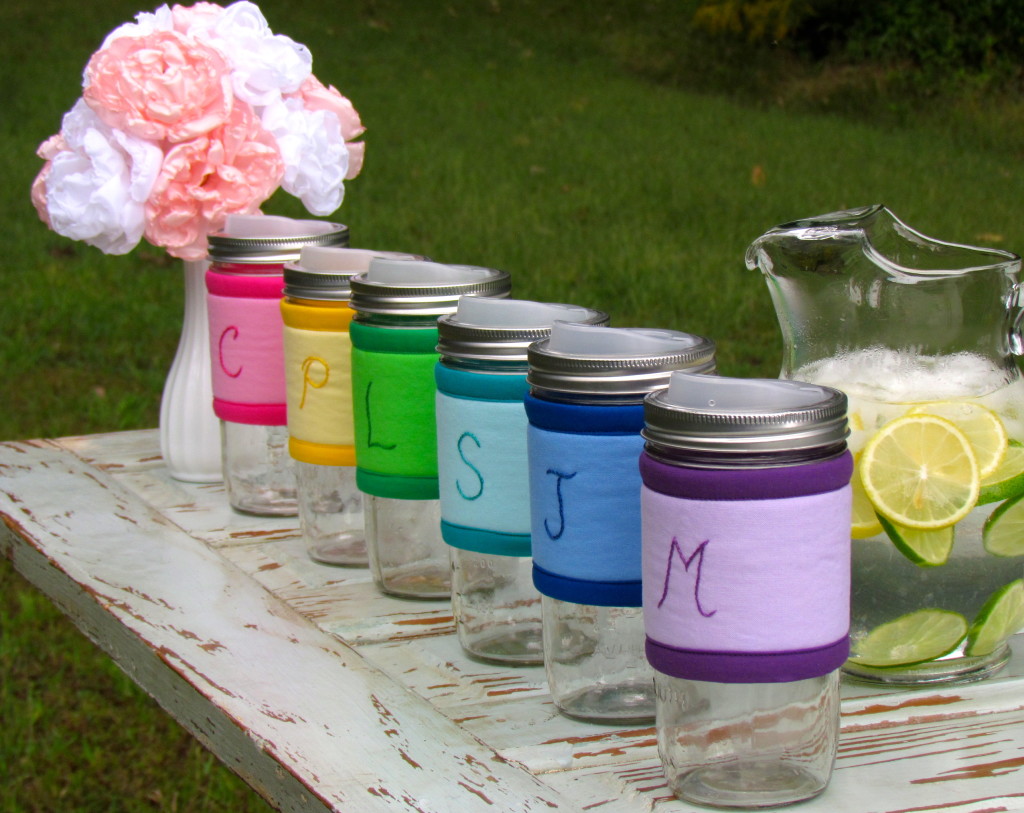 Or hey, just pick your favorite color, and I’ll stitch your initial on it! 😉
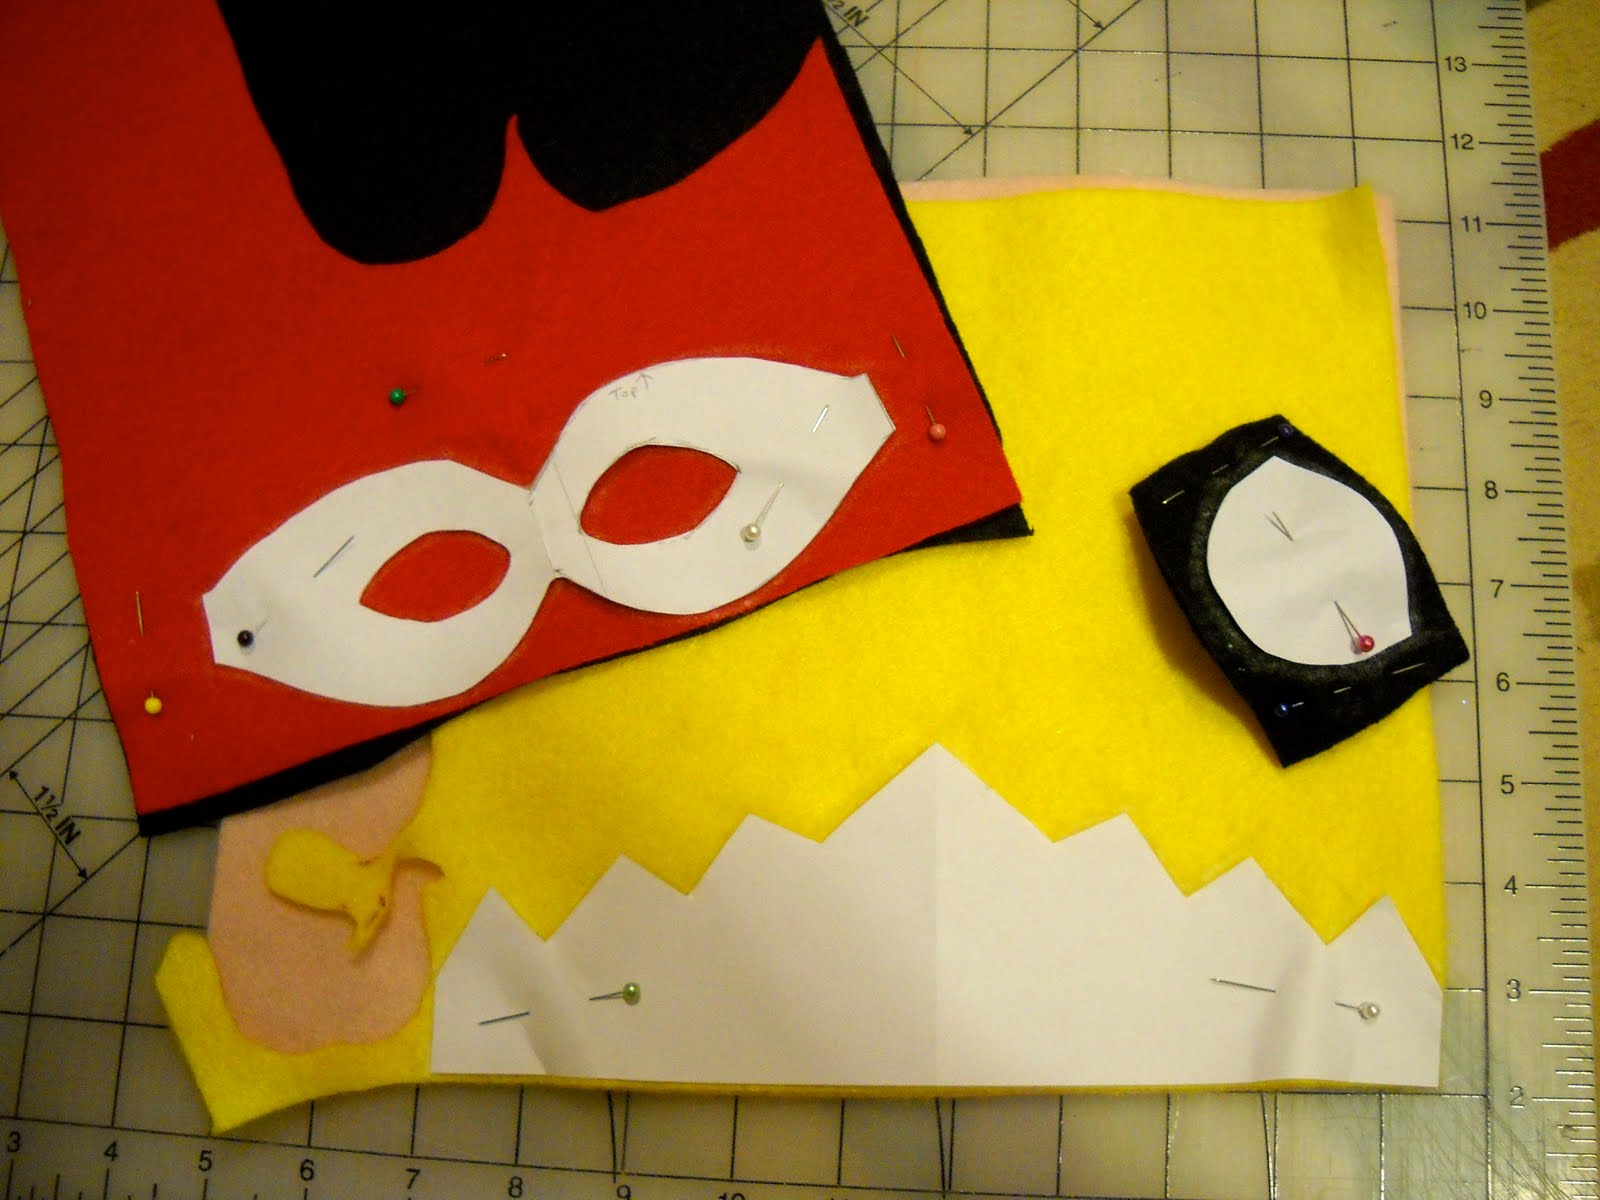


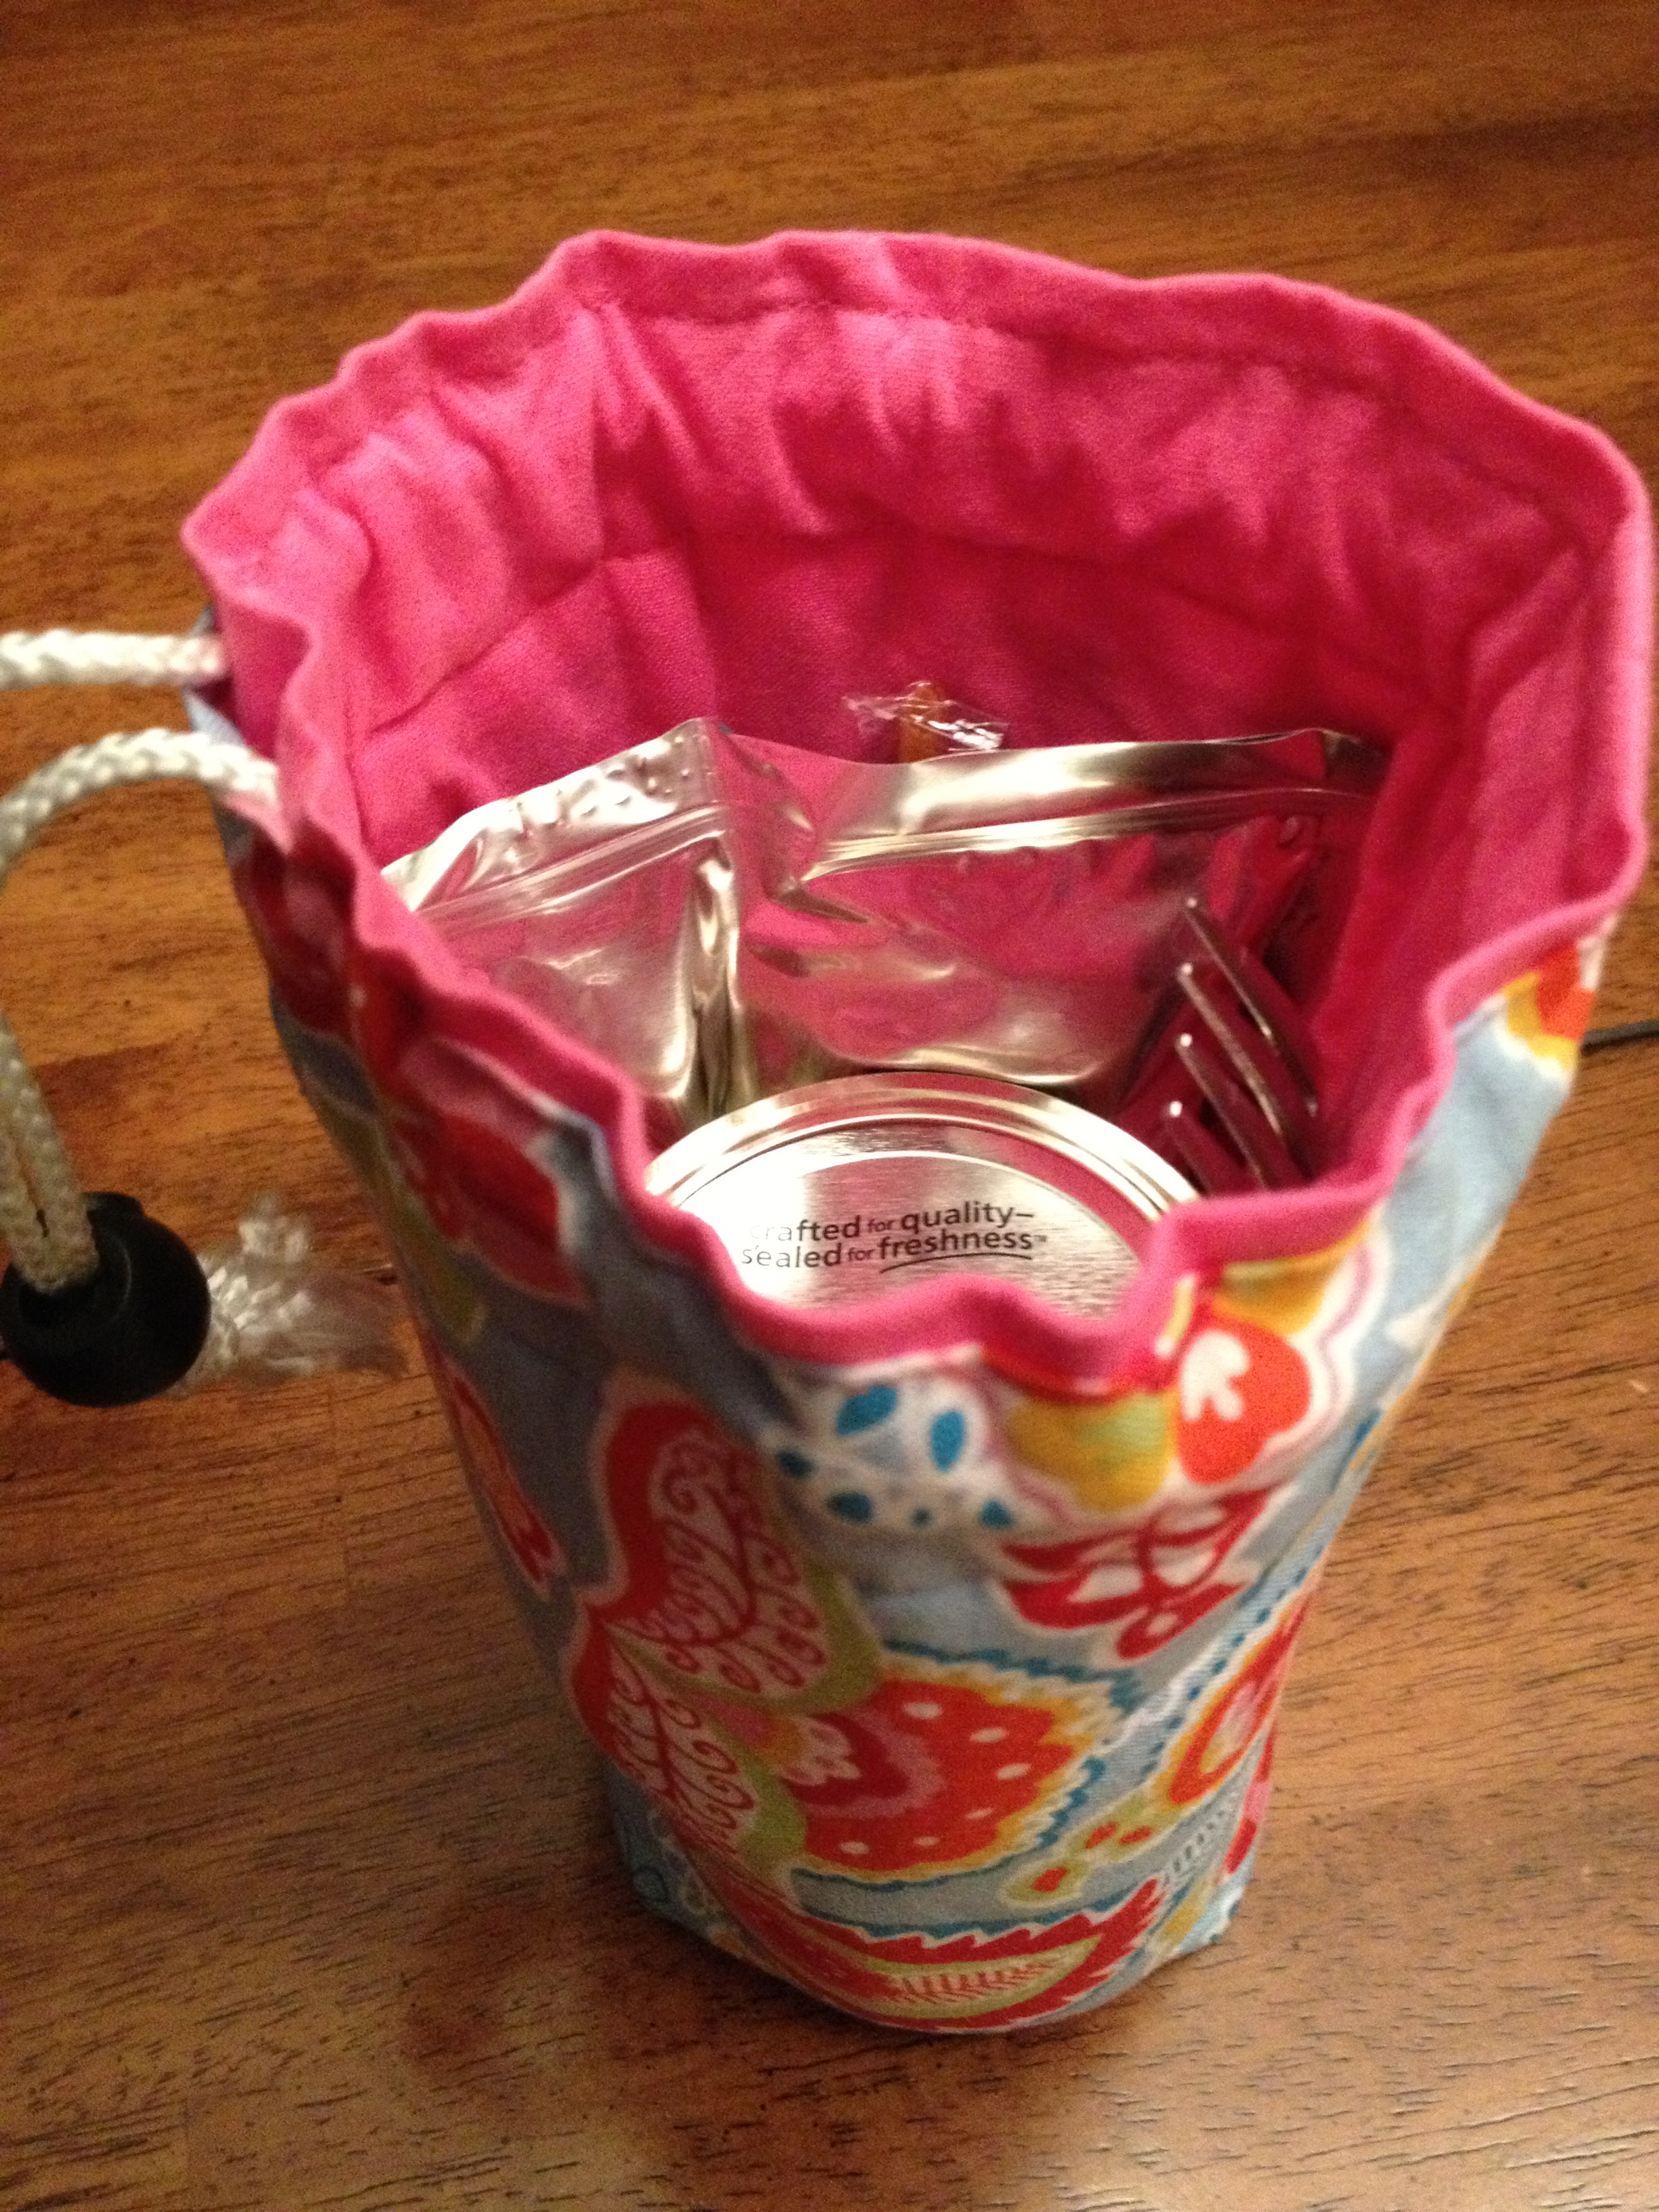


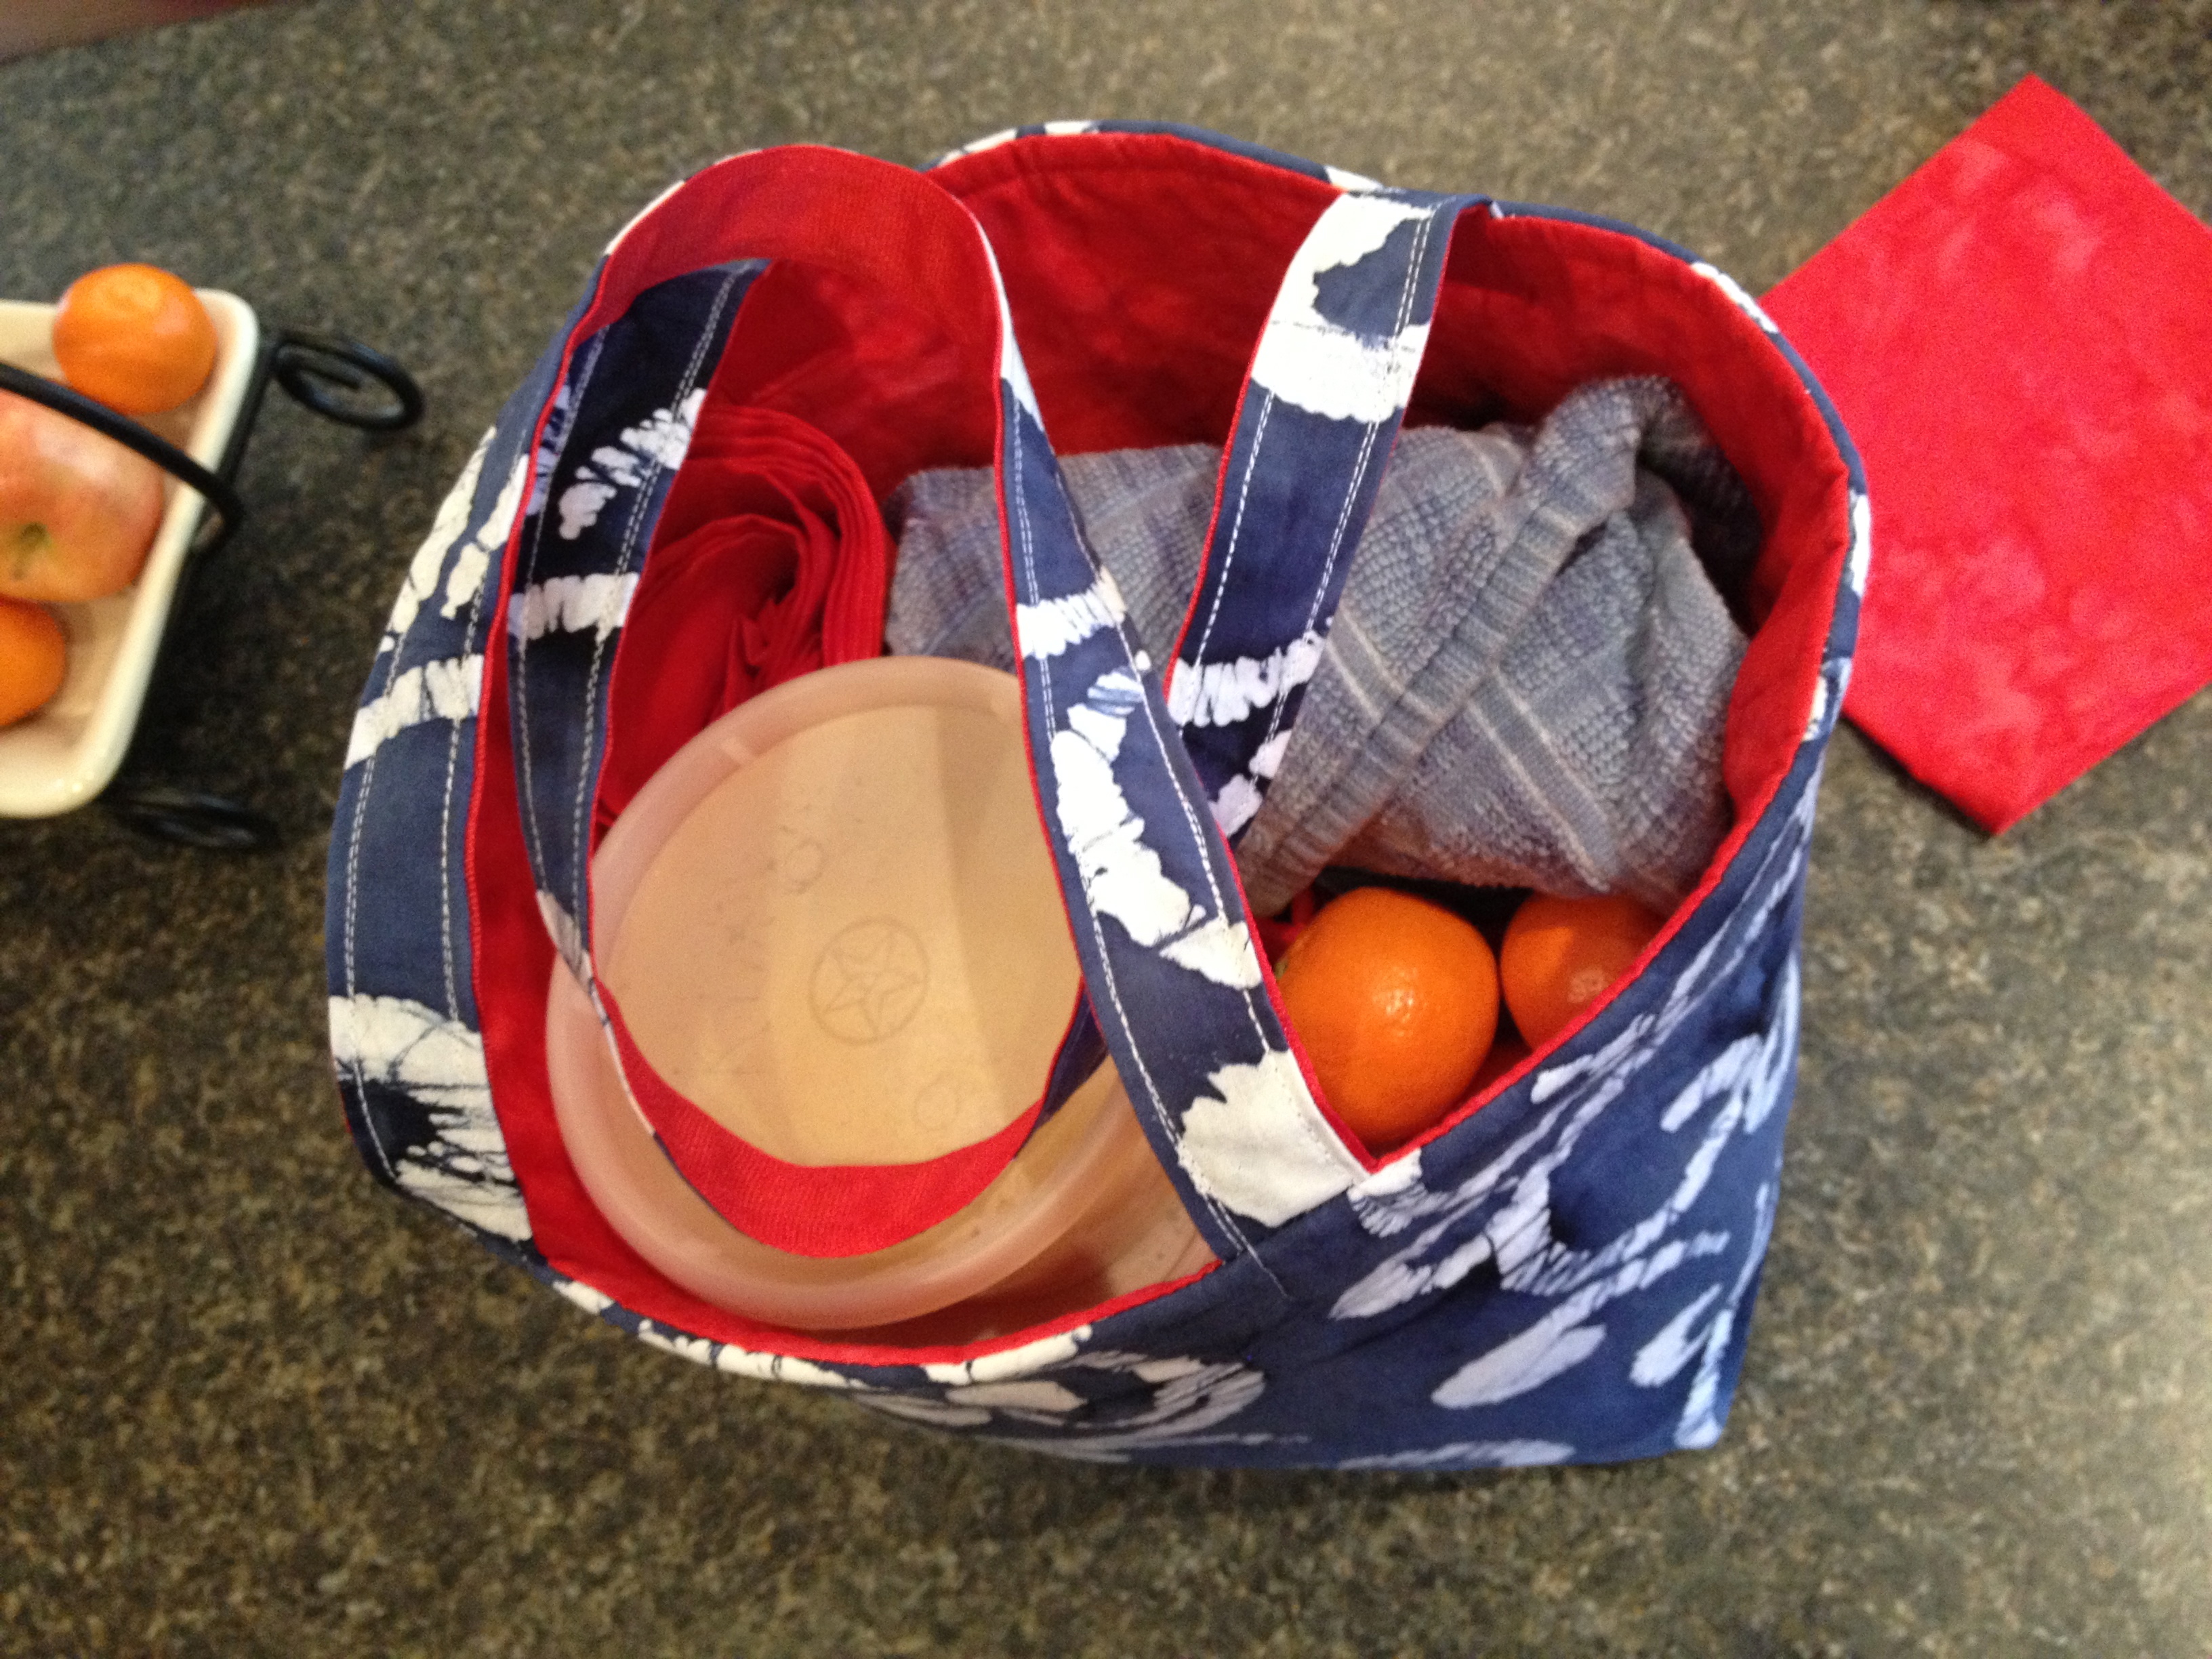
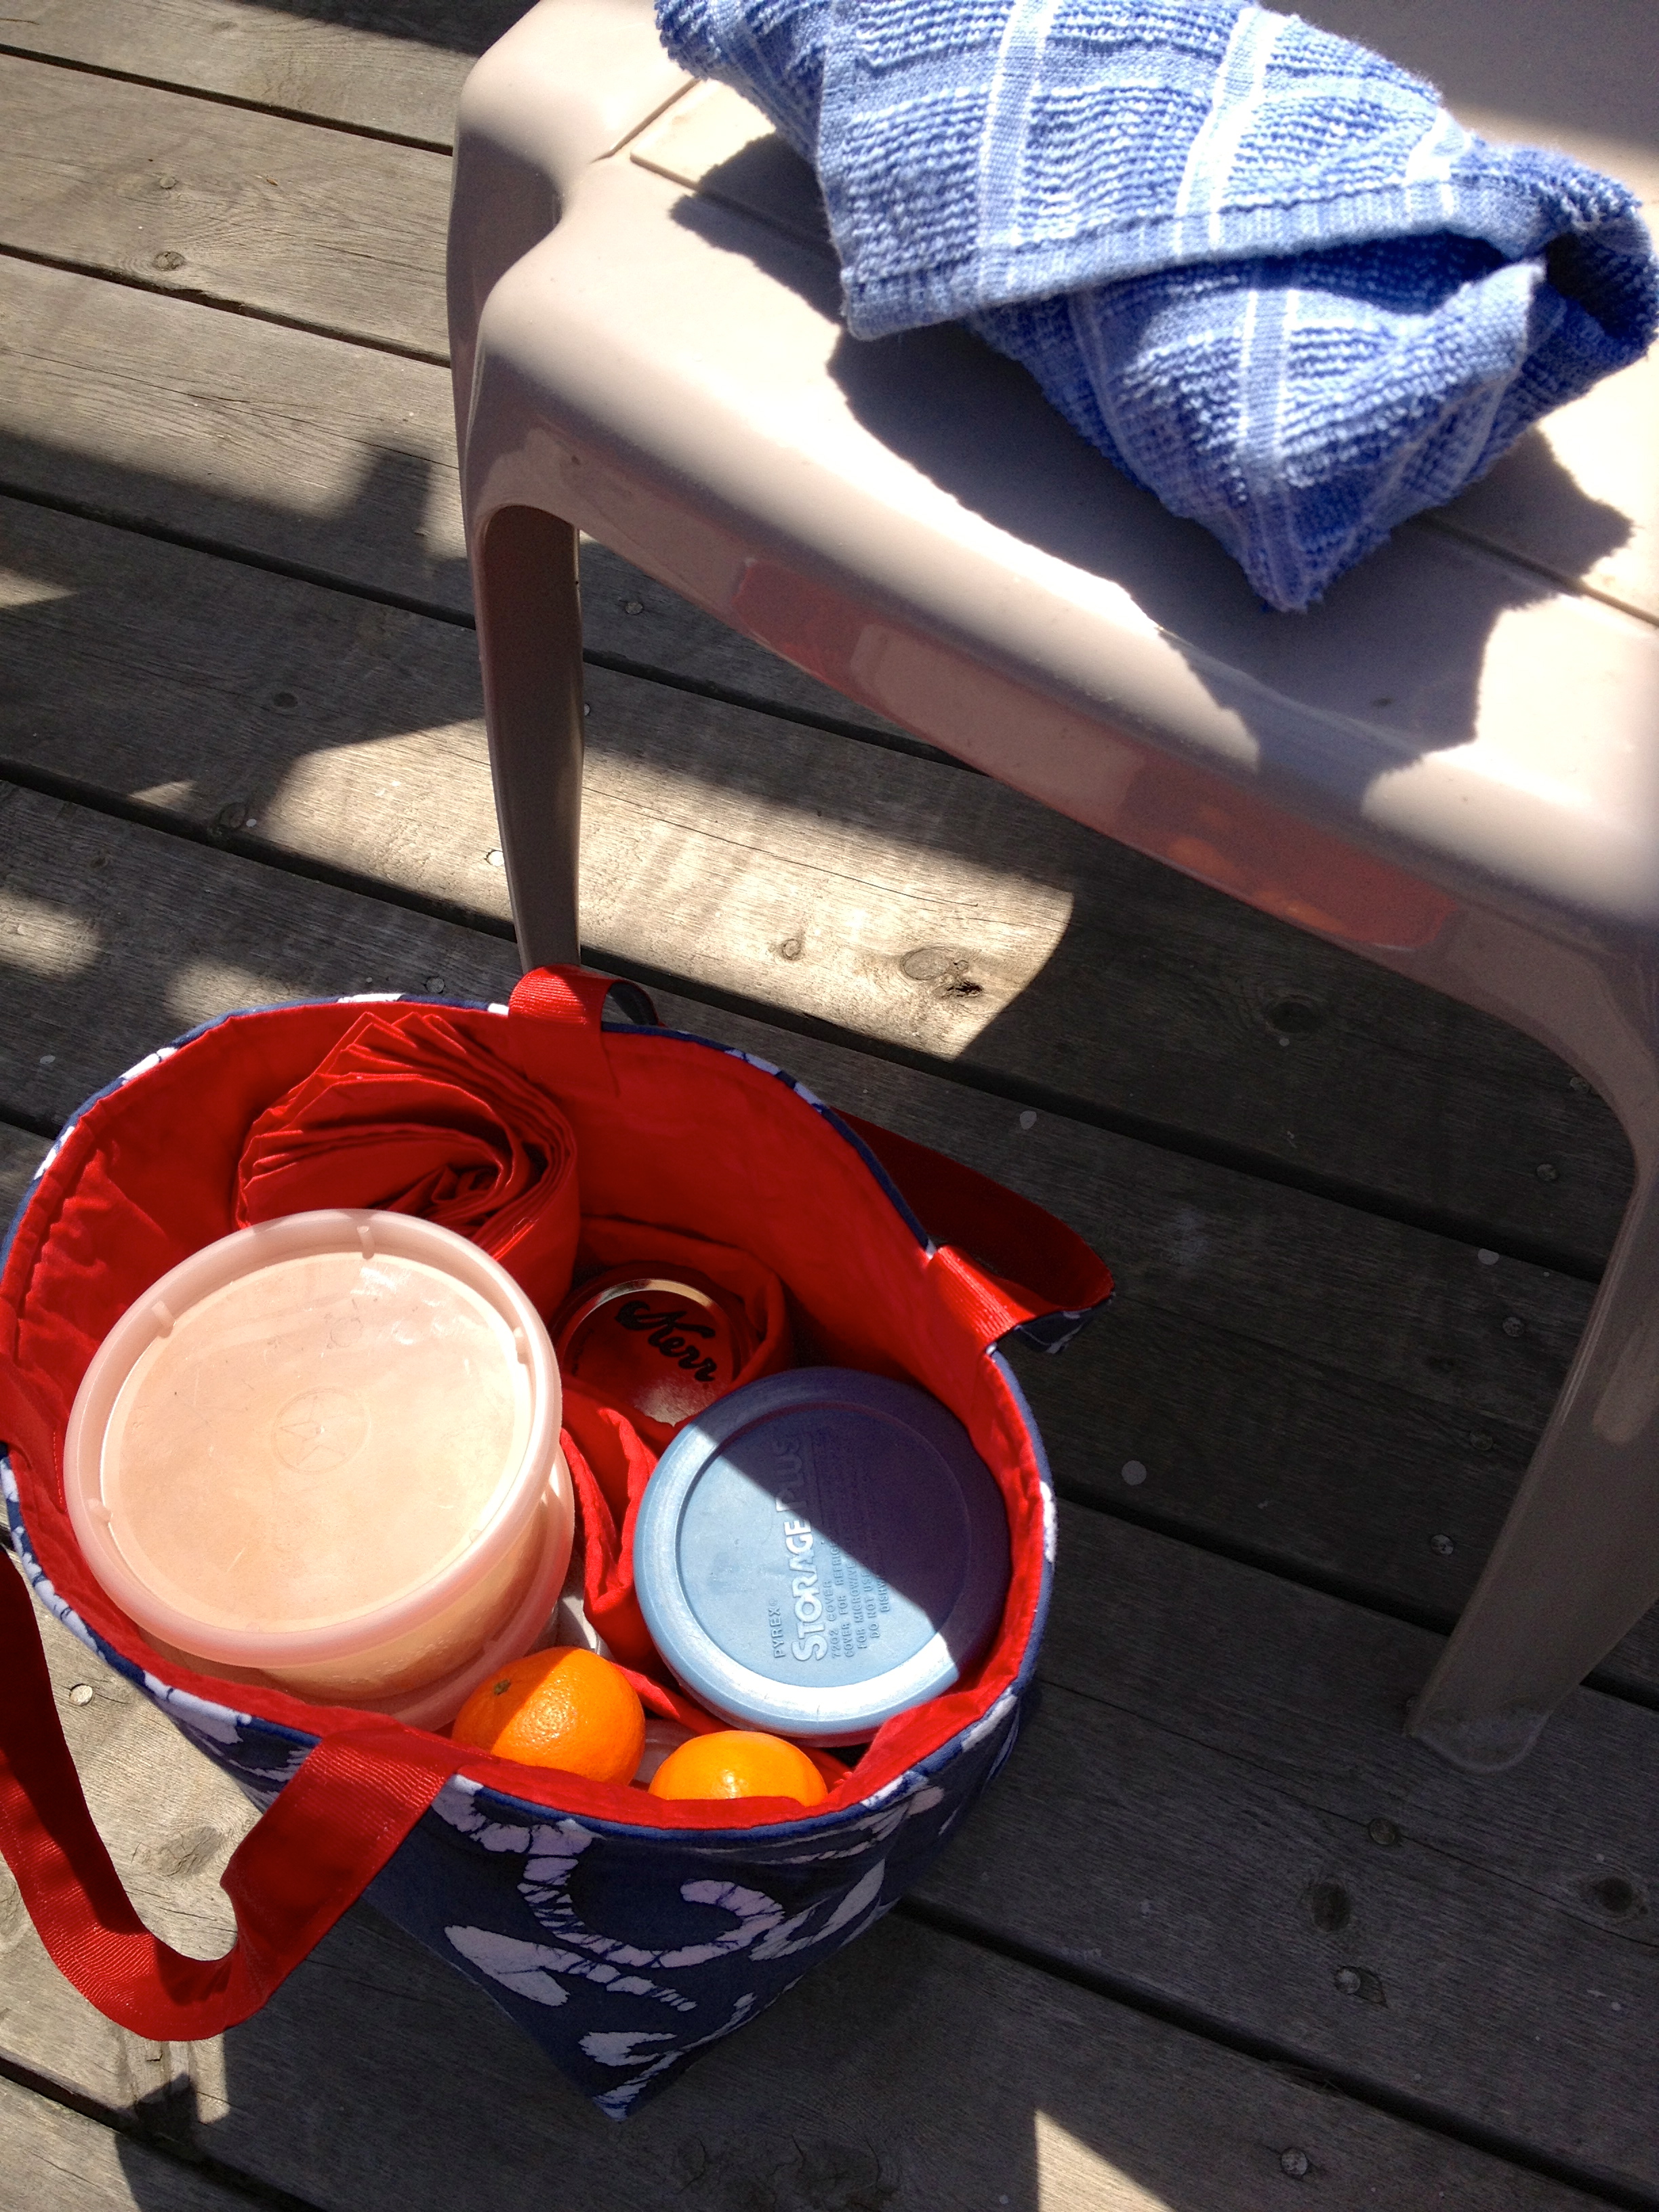
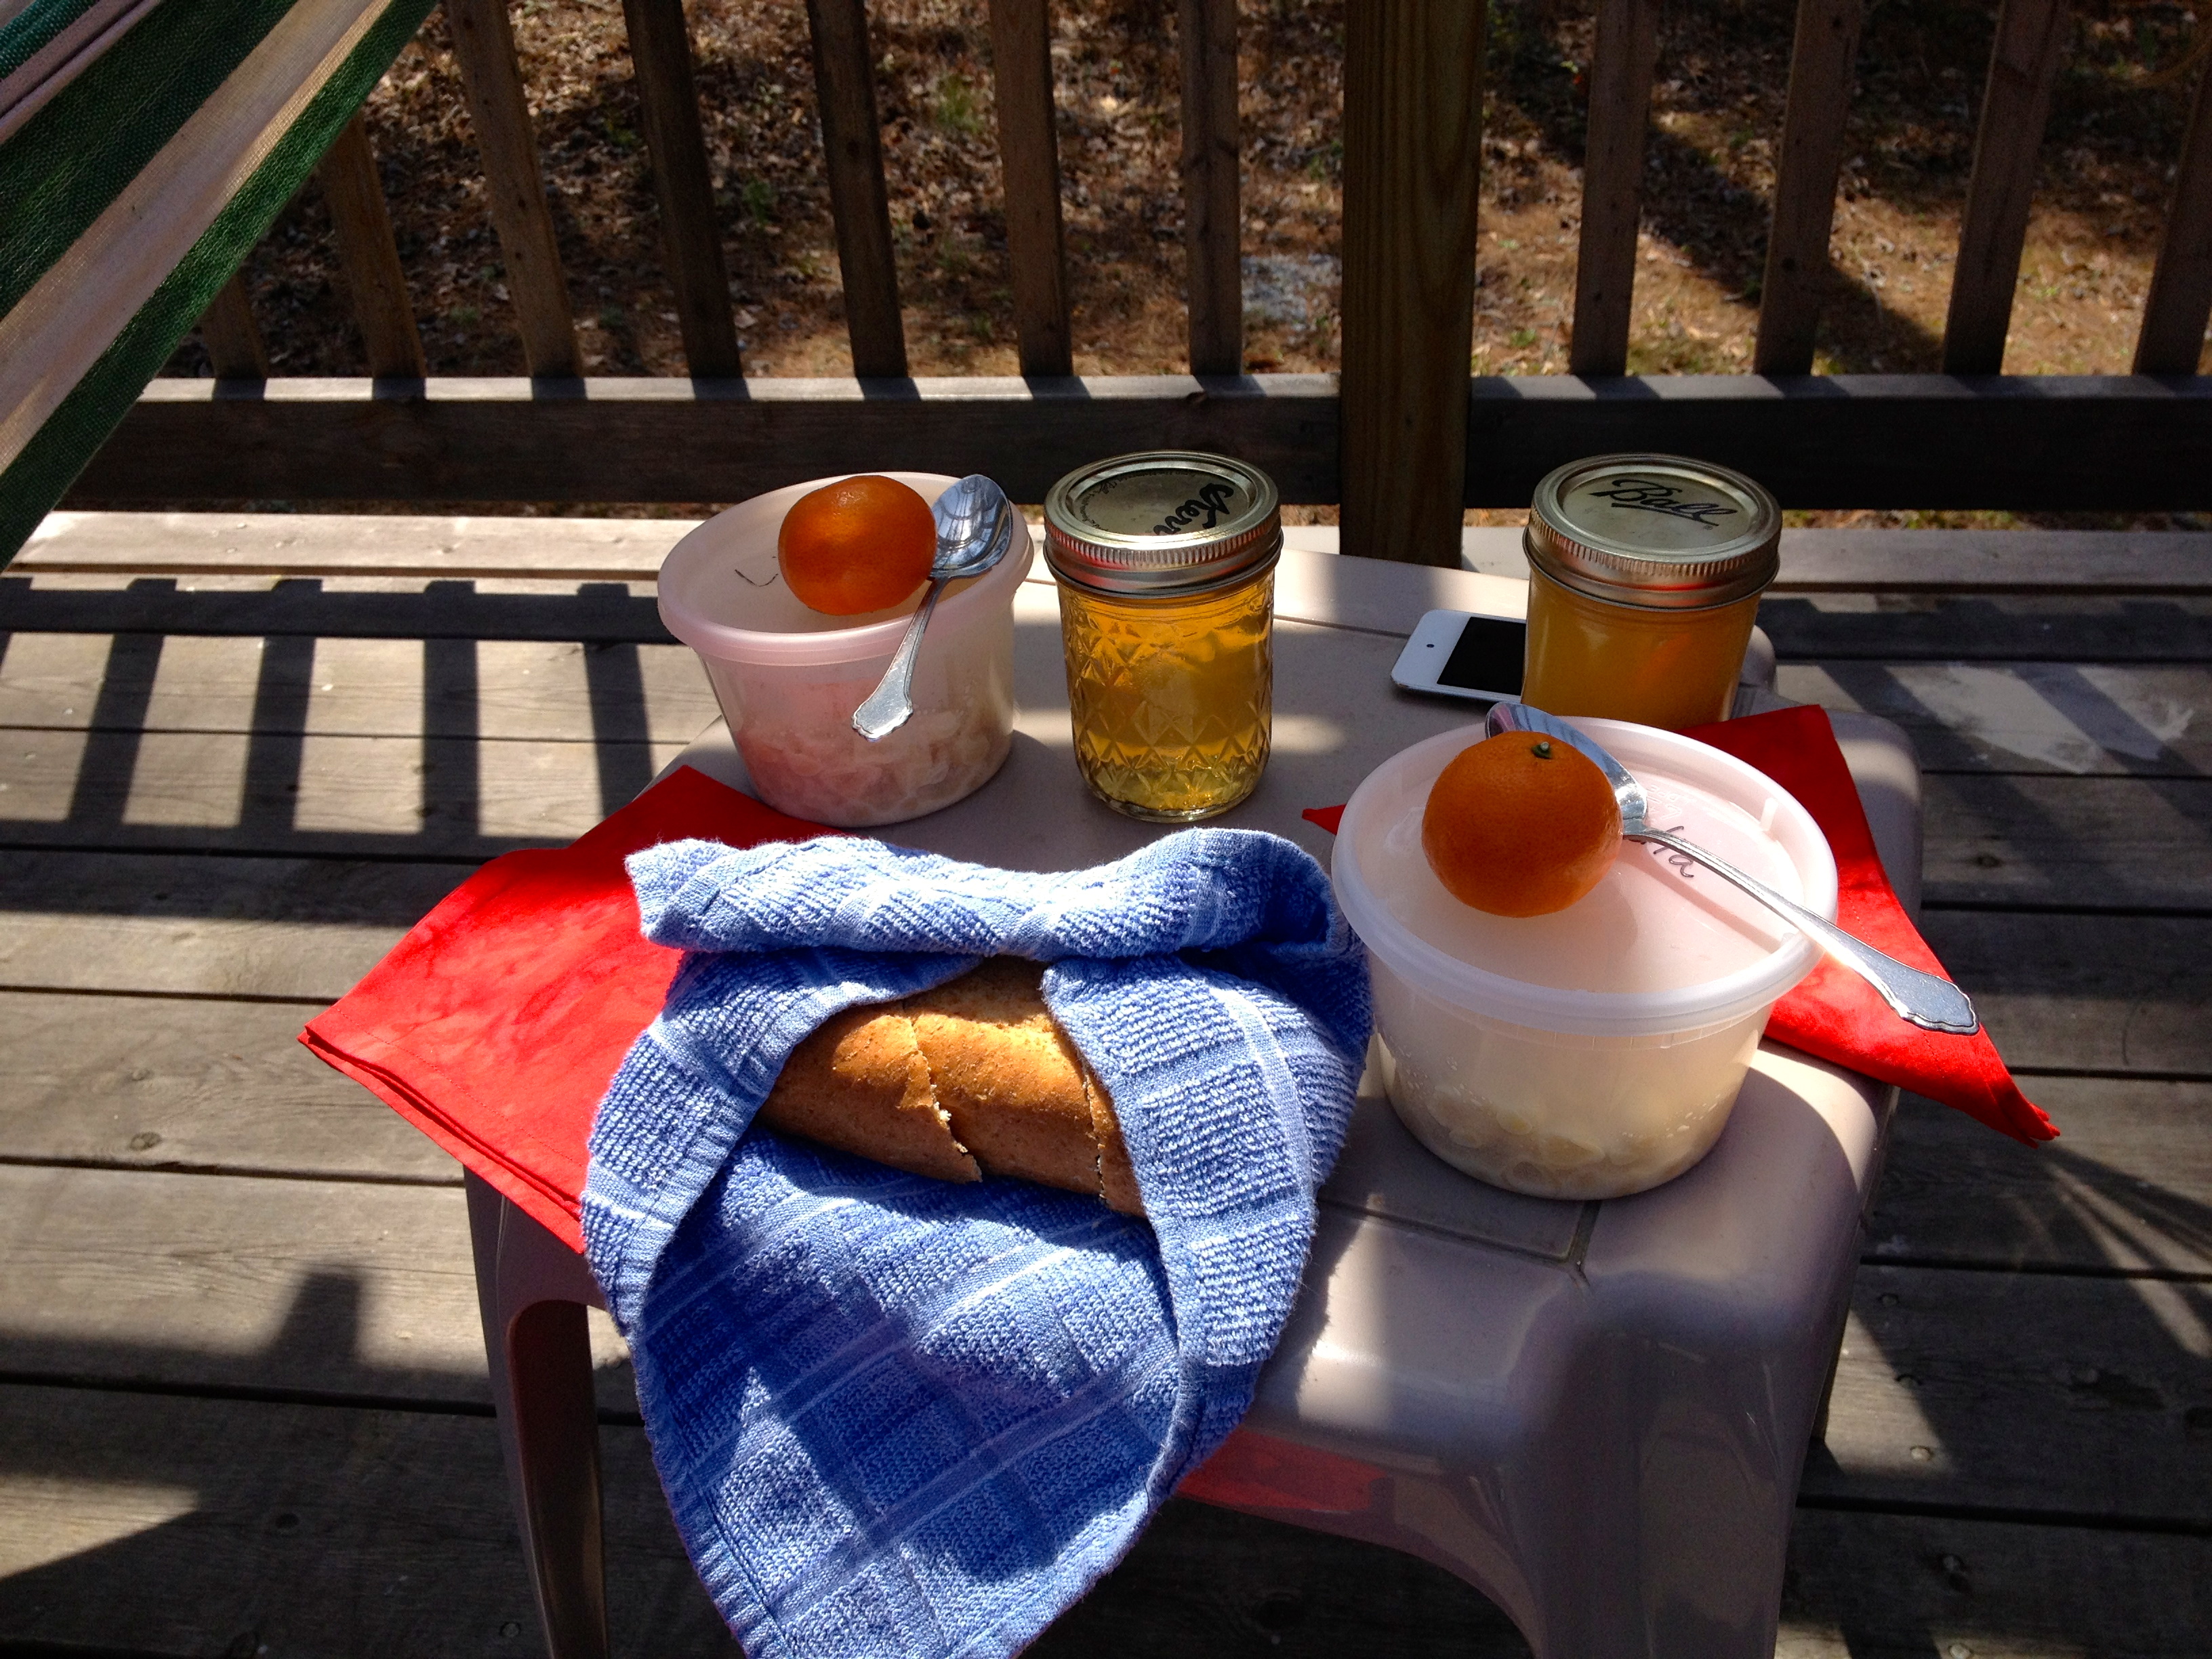
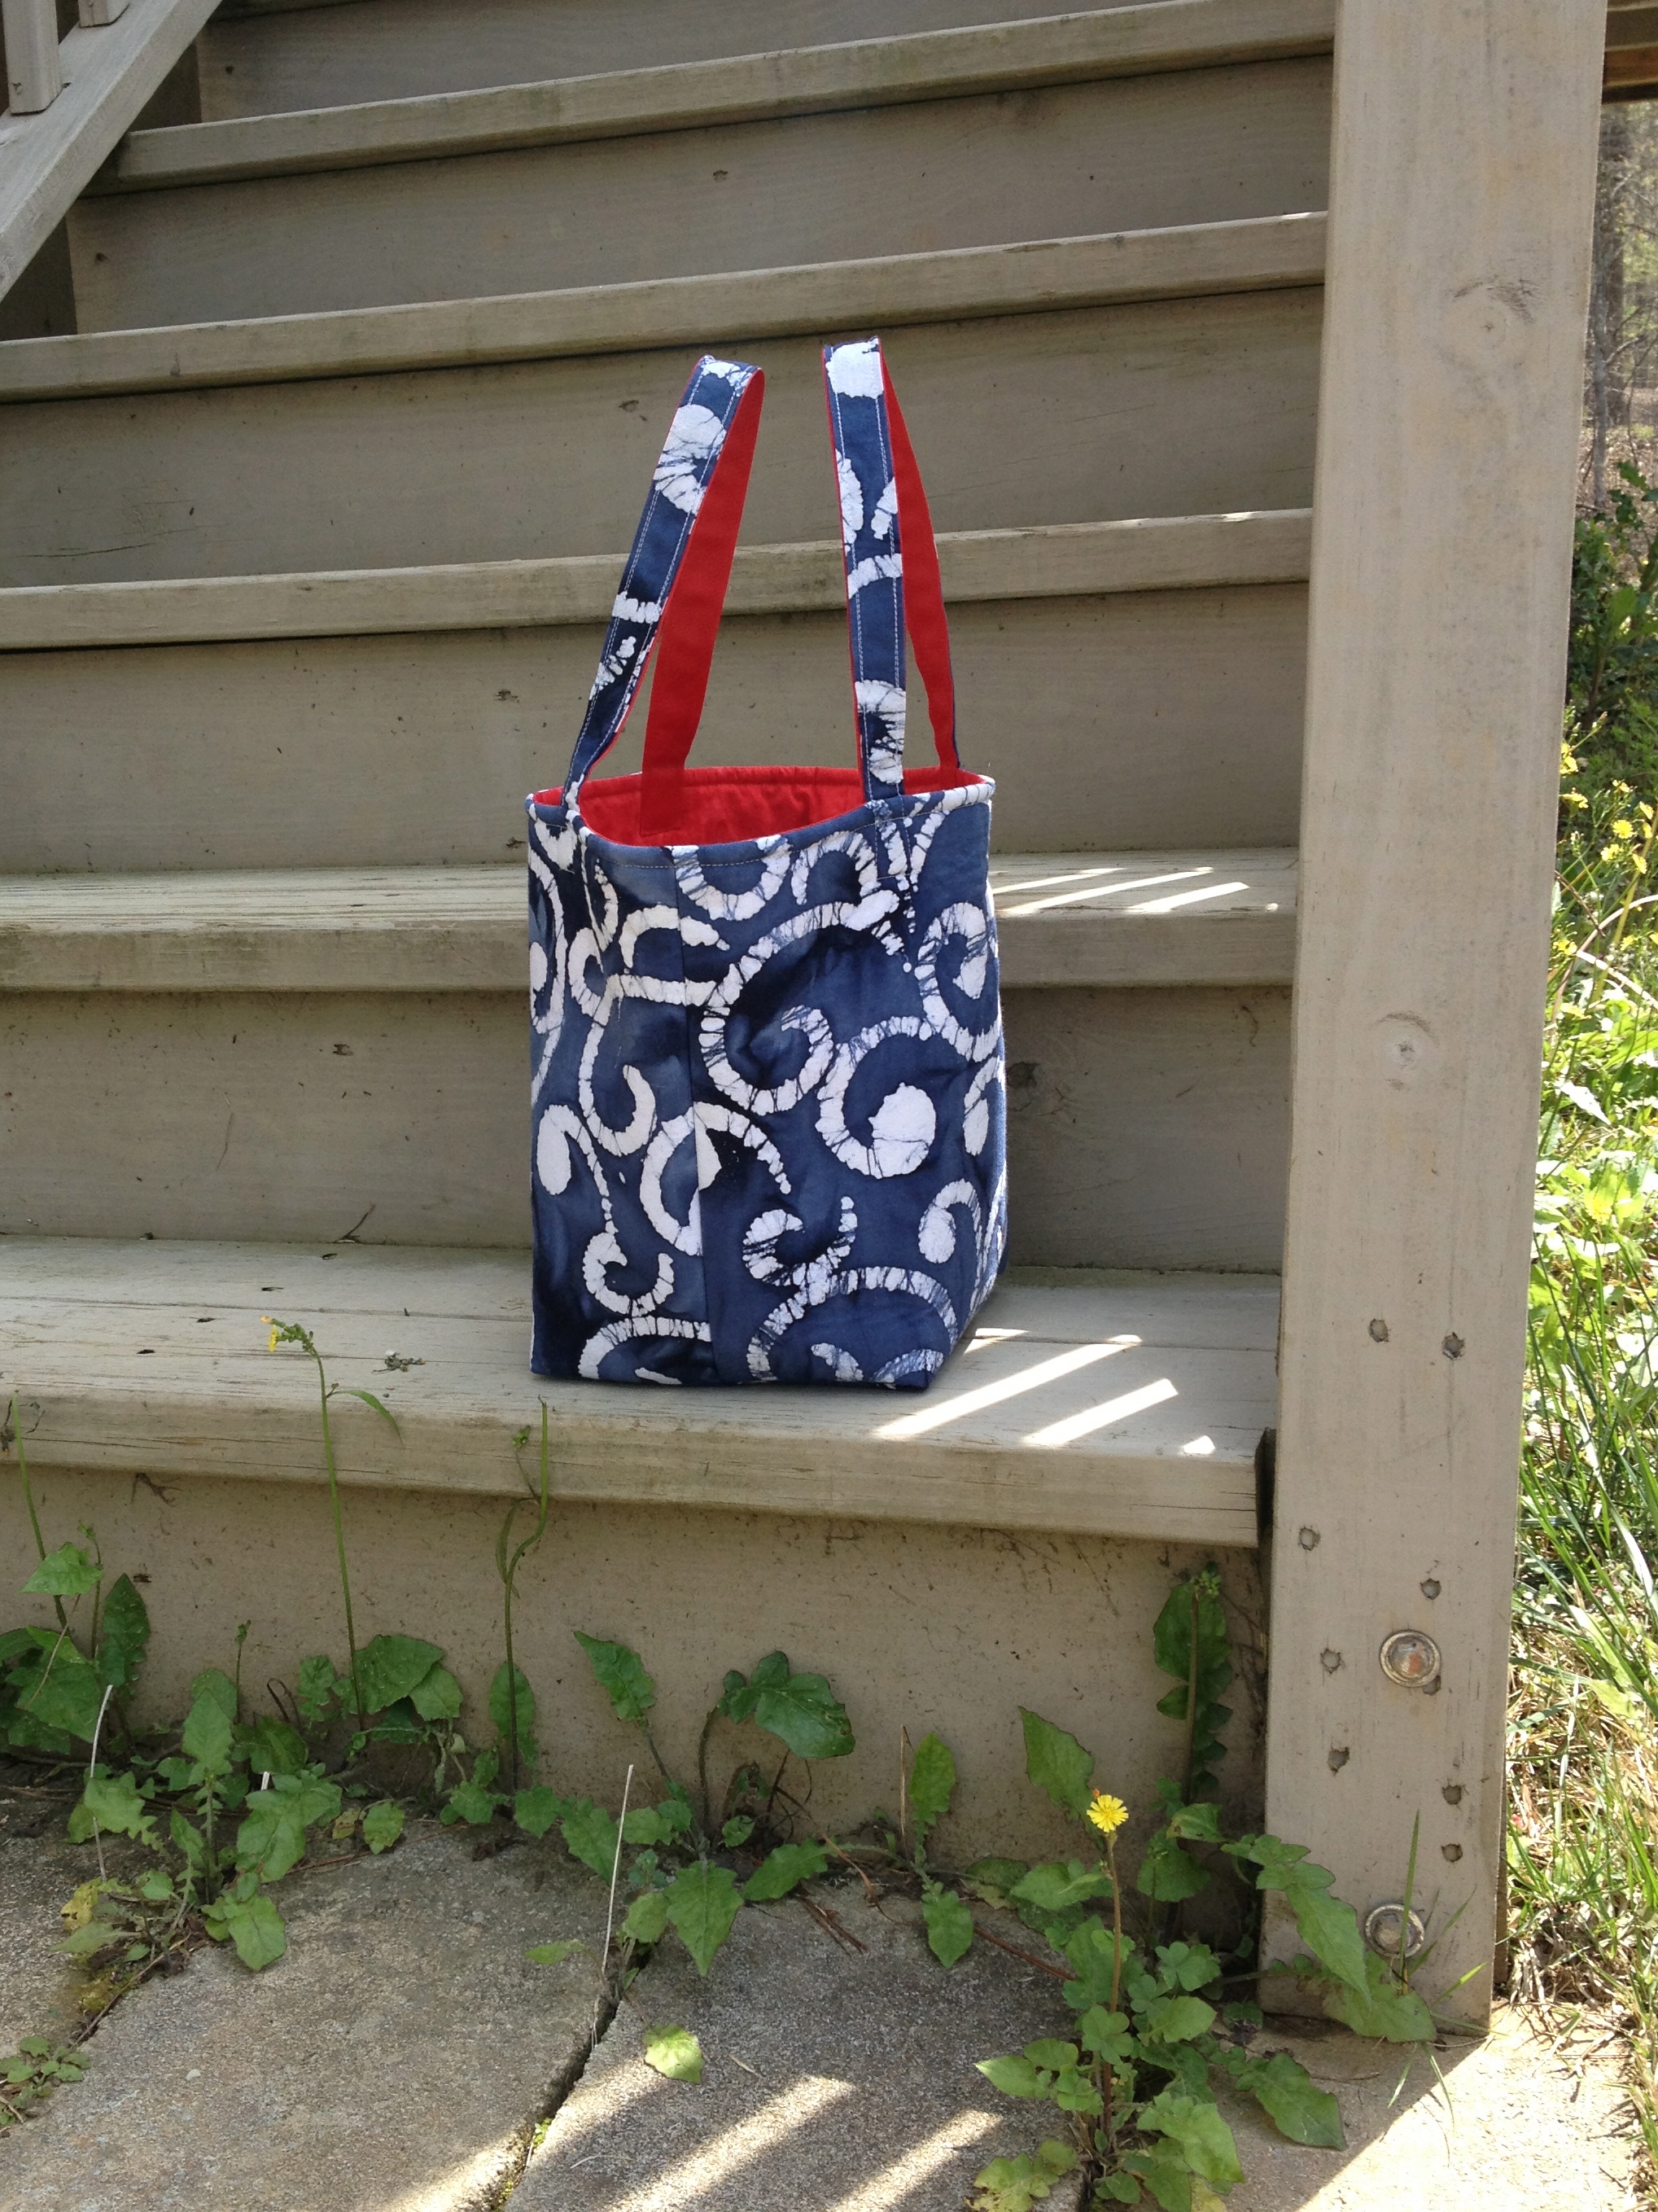
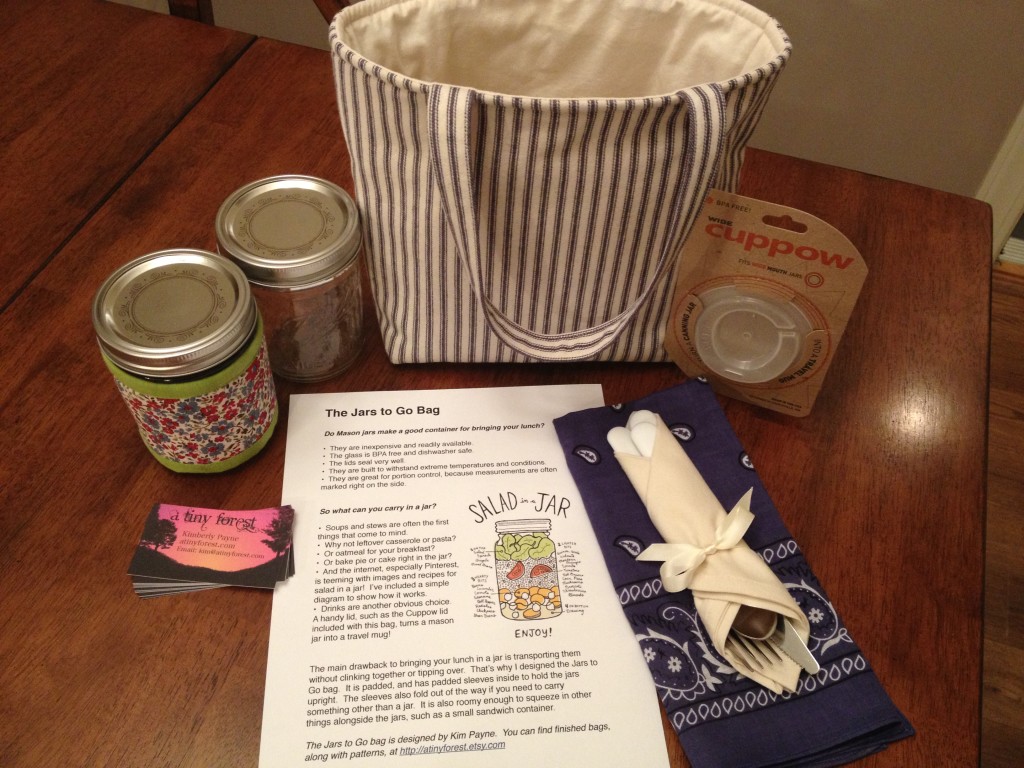 A few weeks ago, I was asked if I’d like to donate an item to a silent auction to benefit the American Cancer Society. I jumped at the chance. My mother is a cancer survivor, so the subject hits close to home for me. Encouraging people to bring a healthy lunch from home, rather than eating out so much, is one of the main reasons I make these bags and patterns.