special bag

I love to make things.  And making money making things is handy too.  But I also like to give, and there are causes near and dear to my heart that need and deserve funding.  When all those loves of mine can come together, it’s a wonderful thing!  So for a while, I’m going to have bags in my shop with special themes, and when they sell, the money will be donated to a charity.

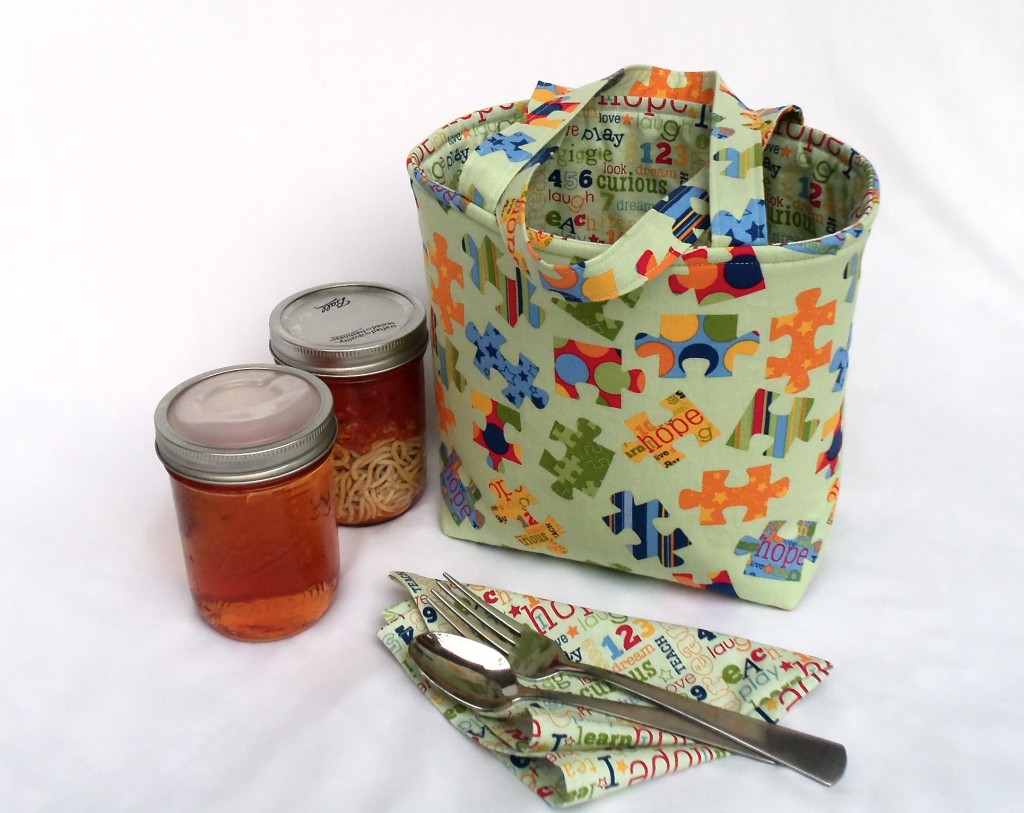
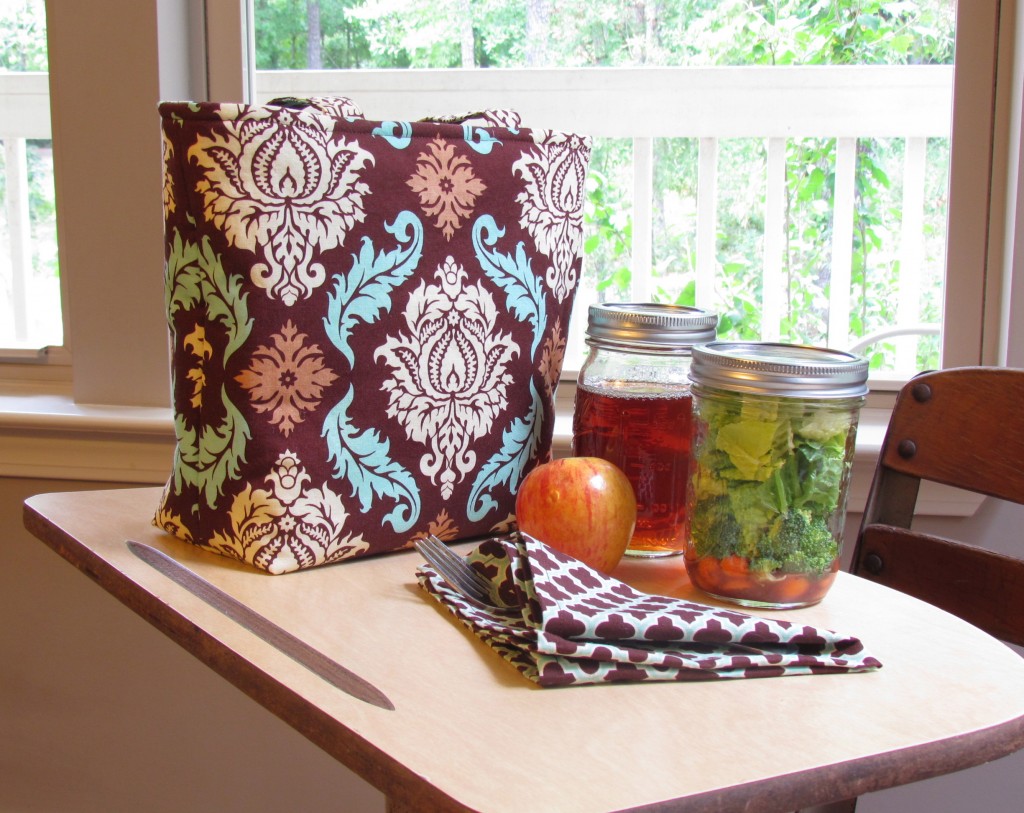
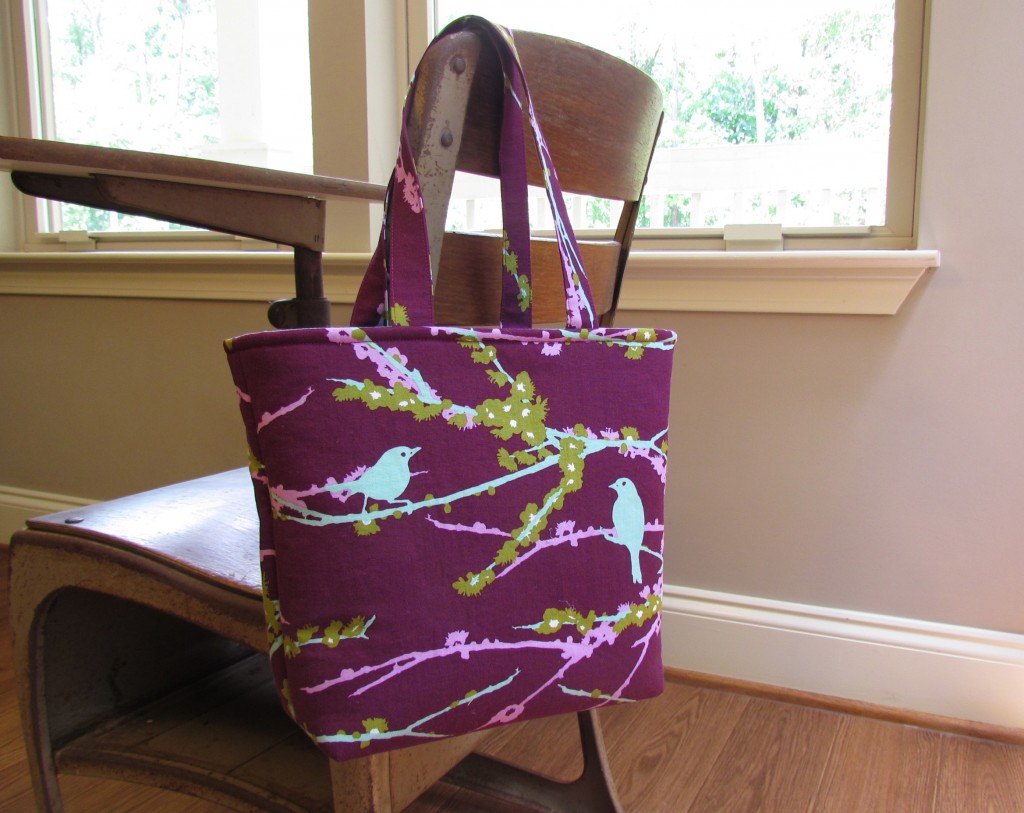
Here’s the first one.  My next-door neighbor has two sons, one on the autism spectrum, and we count them all dear friends.  She founded the A. Skate organization to help kids like her son (and their families) get out of the house, learn about skateboarding, socialize and have fun.  There is no cost to the kids who participate, so they depend on donations and volunteers.  When this bag sells, all the money will be donated to A. Skate.

The fabric is an autism awareness collection from Riley Blake called Pieces of Hope.  You can read more about it on their website.  A portion of their fabric sales will be donated to Autism Speaks.  Besides the fact that money will be donated to a worthy cause, the fabric is just adorable.  I love the colors.  And it’s nice and sturdy, too – very good quality.  If you would like to buy the fabric, it’s available on Hawthorne Threads.


modifications

Know where I get some of my best ideas?  From my customers!  Over the past couple of weeks, I’ve been asked to make slight modifications to the basic Jars to Go Bag, all of them great and I’m glad I have a plan for the next time it comes up.  But this one?  This one’s going to become a staple in the shop, because I LOVE it.

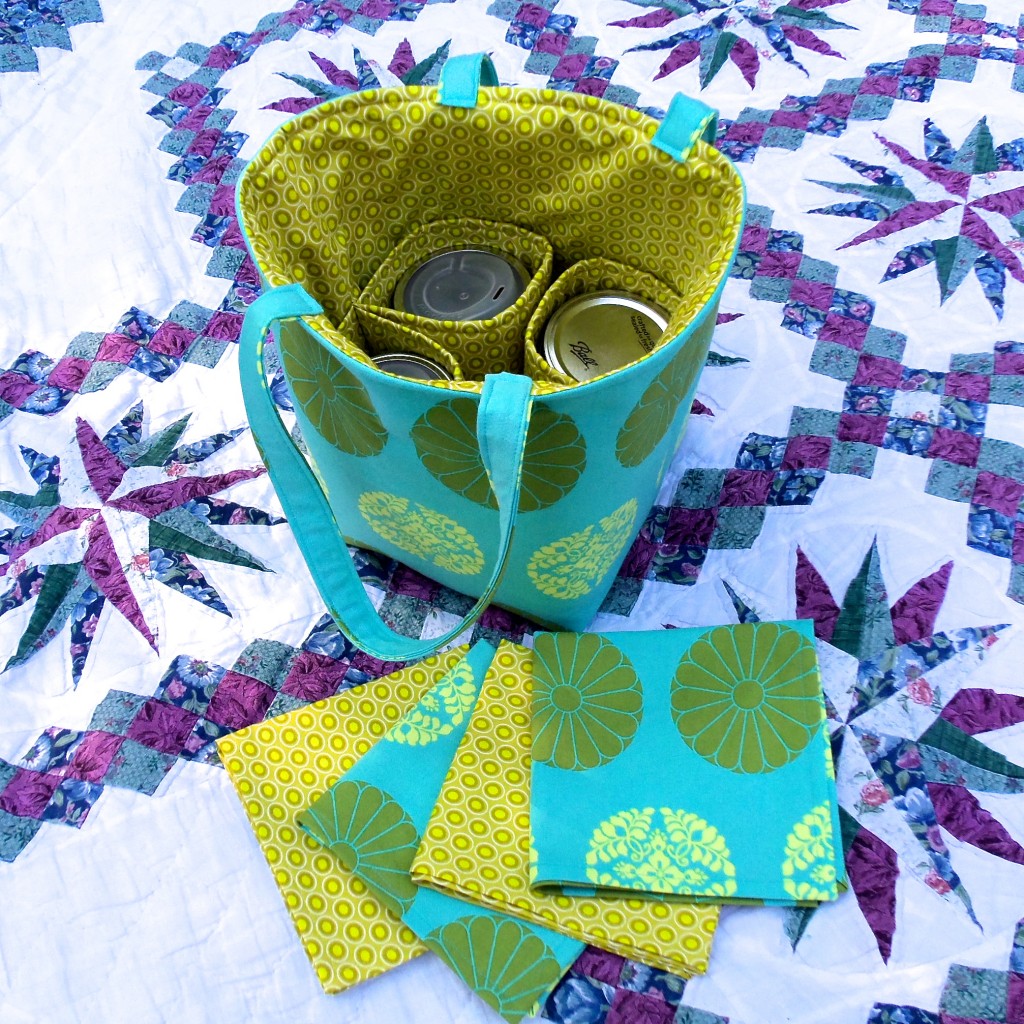
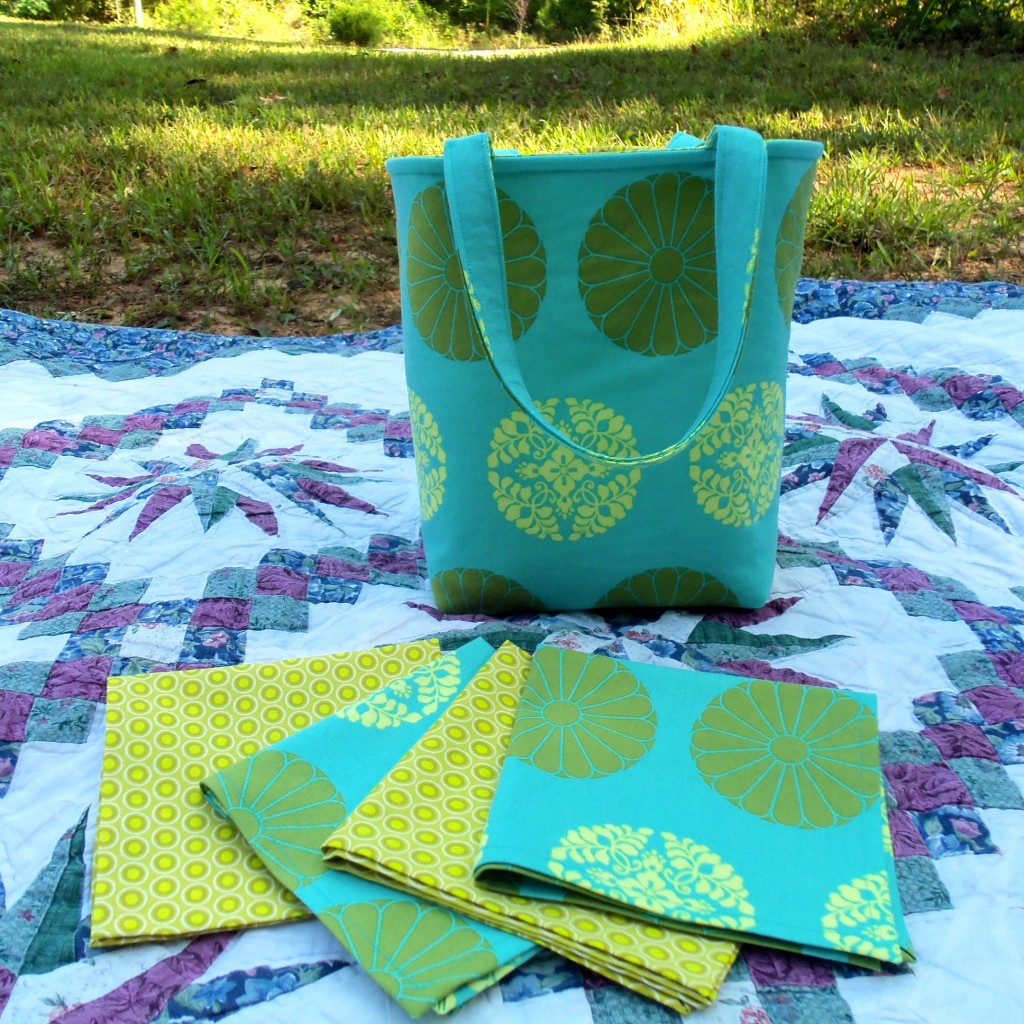
I was asked to make a Jars to Go bag to hold 4 pint jars instead of 2.  I love the combination of fabrics more and more as I work with them – Amy Butler’s Pressed Flowers and Pat Bravo’s Oval Elements from Hawthorne Threads.  As with any pattern, there’s a little figuring out as I go along – for example, I added another layer to the handles for strength (four jars are pretty heavy!)  But I just adore how it turned out.  I can see this as a picnic basket, or to take to a potluck.  It seems there’s room in the top for some small plates or bowls.  And of course, it needed extra matching napkins!

Enjoy!

signs of life

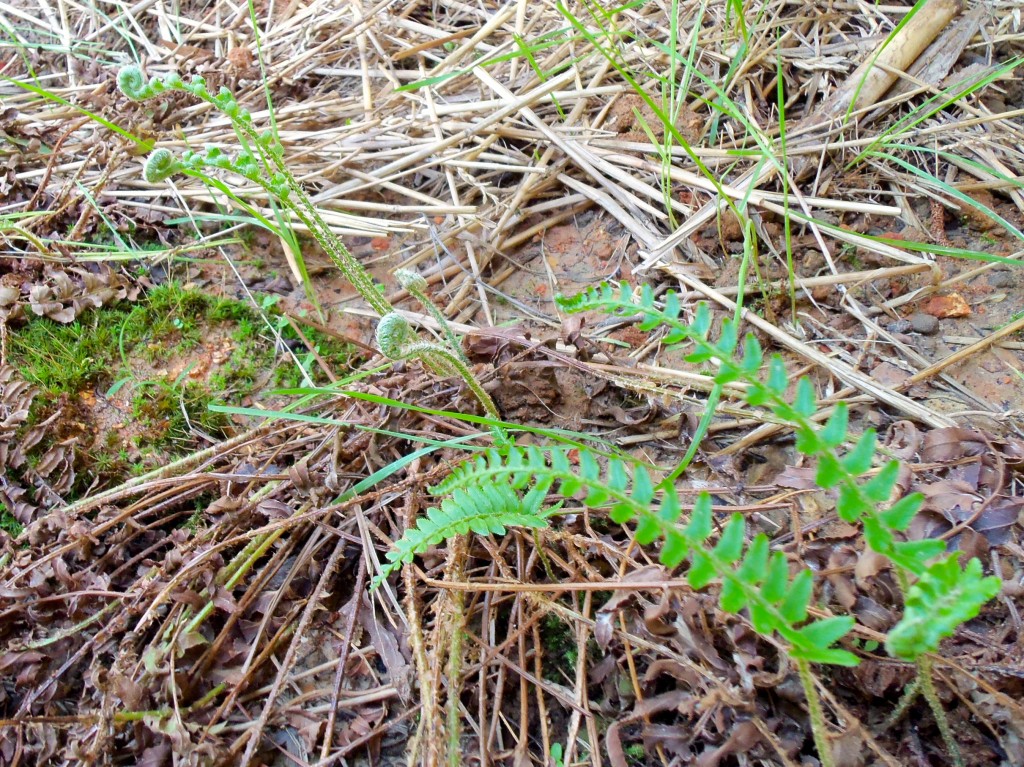
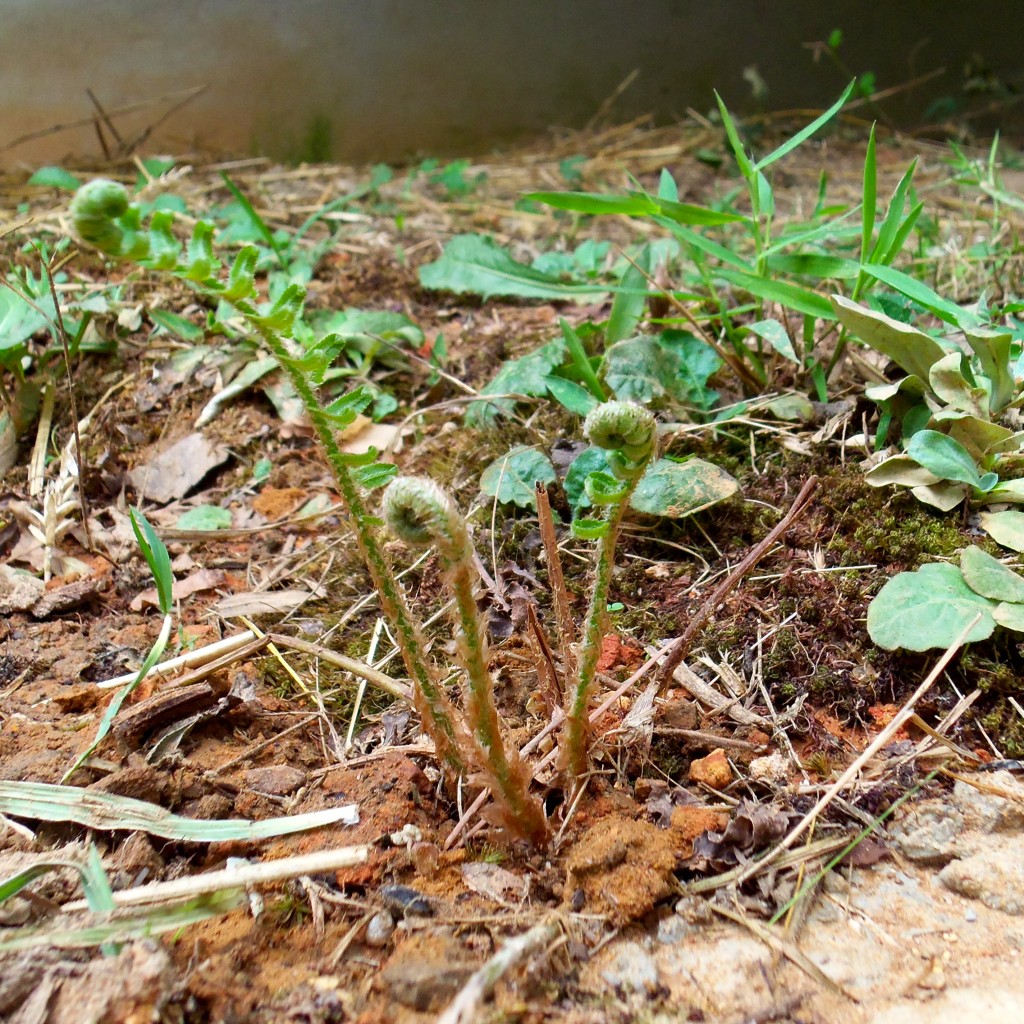
An update on the ferns – it’s alive!  Curled fiddleheads and shiny new fronds are poking up from underneath the brown, dead ones.  Looks like they may make it after all.

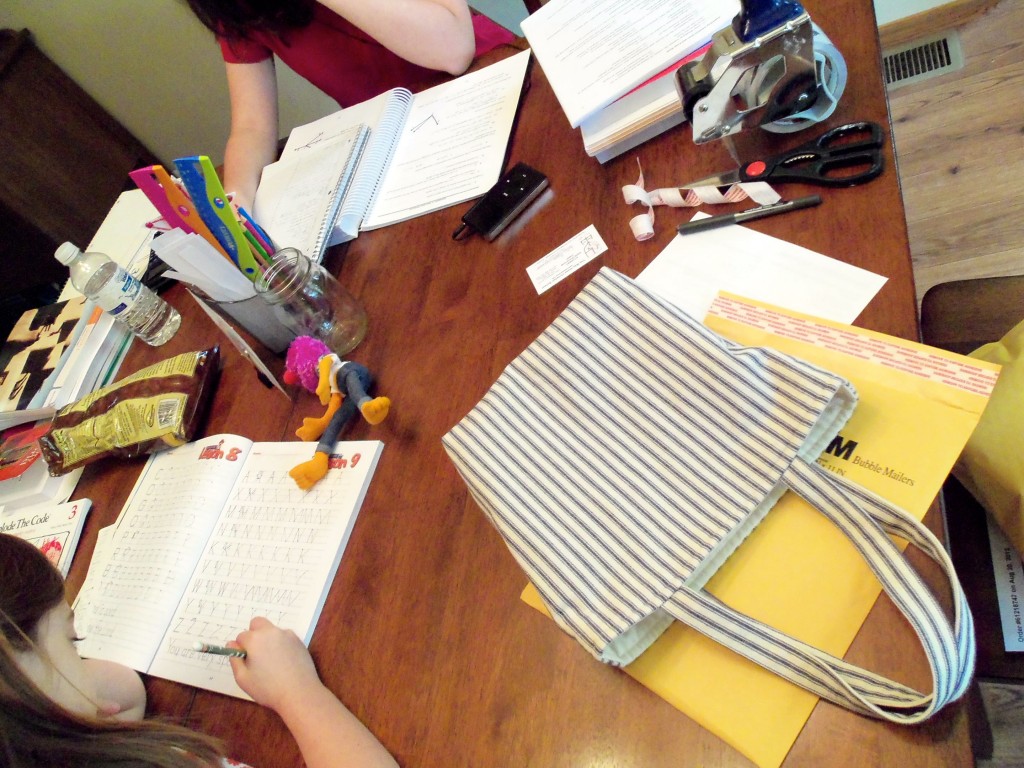
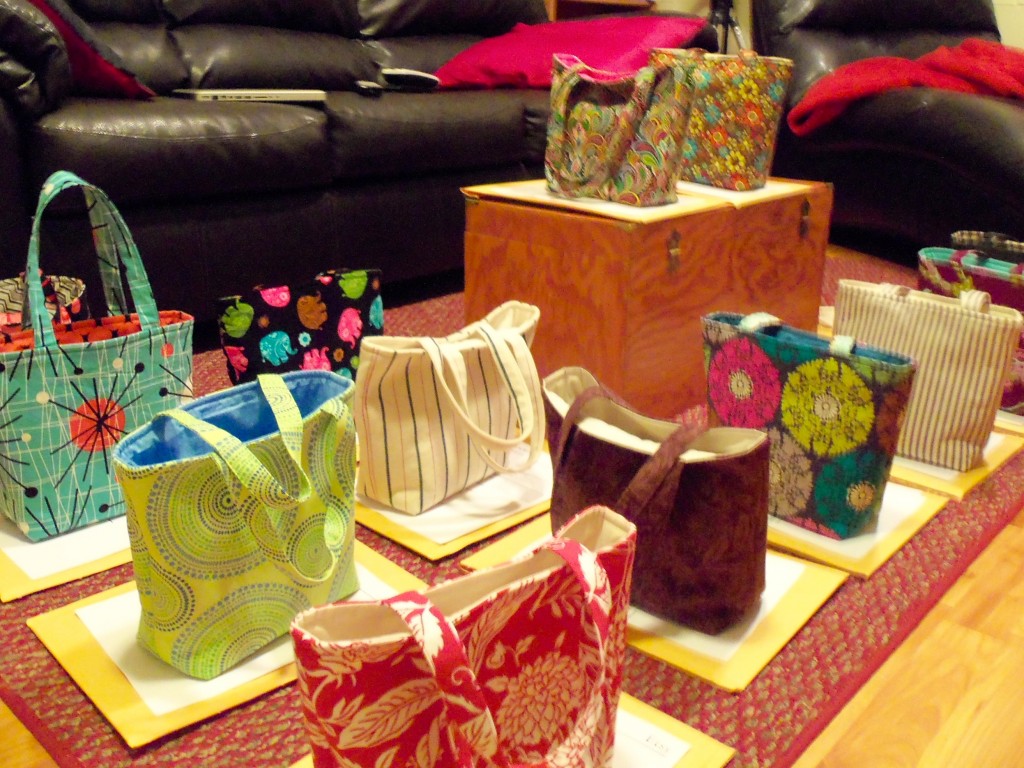
And that’s not the only sign of life around here!  The lovely Marisa of the Food in Jars blog was kind enough to review the Jars to Go bag.  The results were more than I could ever have dreamed.  See all these bags?  On top of orders?  On top of envelopes, that they are about to be packed in and shipped out?  And this is just one batch from the past week!  Besides bags, I’ve sold patterns upon patterns, and met some of the nicest customers ever!  This event has filled me with such hope and gratitude.

The shop is fairly empty at the moment, but if you’d like a bag or a pattern, go take a look!

ferns

My favorite place in the “tiny forest” is not one you might guess.  It’s under the porches and overhangs, the shady places where ferns and moss have come up volunteer.  Especially beside the back steps, under my kitchen window – it always looks so cool and green and lush.

Gradually, though, something happened.  The backfill around the basement settled, and we needed more dirt there to avoid water problems later.  That meant burying my favorite place in the whole yard.  We also had to jack up the porches, because they had settled too.

But I was proud of myself.  I didn’t cry or beg or get upset.  I got a shovel and dug up my ferns and moss.  The men who came to help with the porches and the dirt offered to dig them up for me.  I said no.  If I dug them up myself, I’d have no one to be upset with if they don’t make it.  We put the ferns in boxes in the shade to keep them safe.

The plan is to put pea gravel under the porches, with the ferns around the edge of that.  But days passed and we couldn’t get to it, and the ferns were looking more stressed by the day.  So this morning we decided we could work around the ferns when we spread the gravel – they needed to be in the ground.  So here are the poor ferns in my favorite place now:

I wish I could find a “before” picture to show you how it used to look.  The ferns look pretty crispy right now, but I think they’ll perk up.  They will probably even benefit from being thinned out a bit.  I’ll keep you posted.

Even after all the upheaval, look what I found coming up as I worked under the porch:

Life just finds a way.  🙂

It’s comin’ up a cloud right now – they should like a nice long drink.  🙂

RIP pin magnet

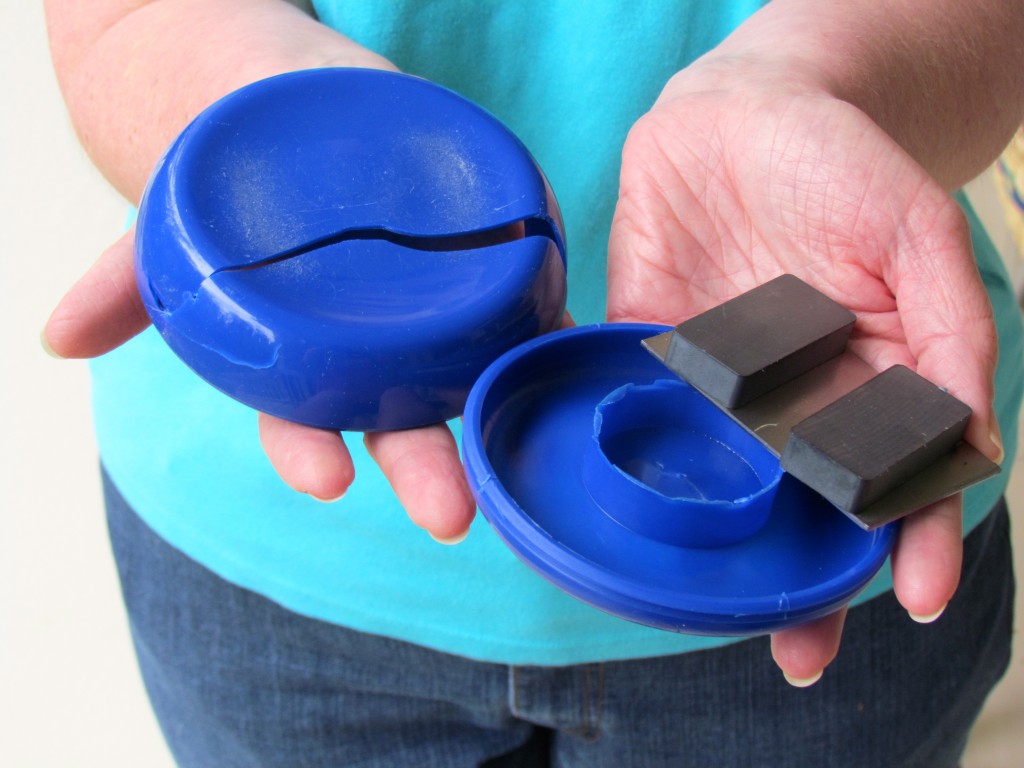
In case you haven’t noticed, I’m making lots of bags lately.  Yesterday I cut out a few more at the kitchen table.  When I finished, I (rather precariously) stacked my cut-out bags, shears, pins, etc. on the cutting board and headed back down the stairs.  At the bottom step I heard a CRASH; my pin magnet thingy had fallen to its death.

Now, the pin magnet has been with me for many years.  Normally if something breaks that I’ve had such a long time, I’m sad about it.  It’s like losing a friend.  But not this time.  Pin magnets are great… for pins that actually stick to it.  There’s always those few in the mix that won’t stick, and fall into the carpet for you to find the hard way.  And the ones that do stick, become magnetized.  That means that they stick to your scissors and anything else metal.  Joy.  And you can’t even call it a pincushion, because there’s nothing cushiony about them.

For a long time I’ve wanted to replace the pin magnet.  But in a busy, frugal life, when something is at least functional, I often put up with its flaws rather than replace it with something I’d rather have.

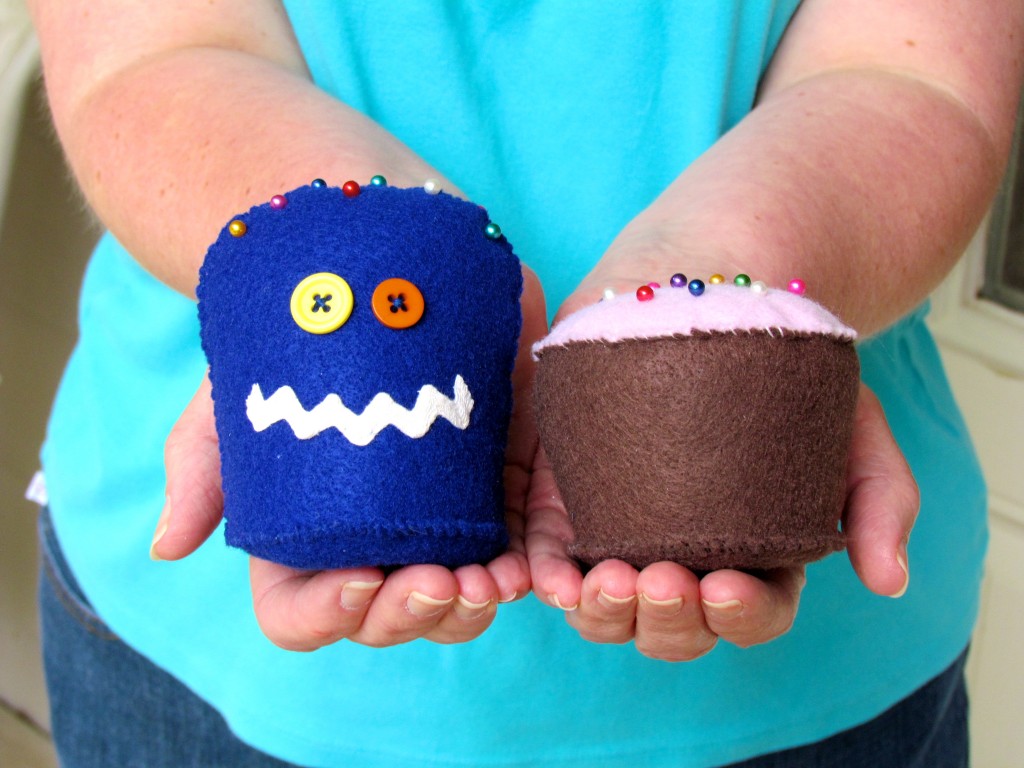
Last fall I taught a basic sewing skills class to a few teens.  For their “final exam” I created a pattern for them to follow and gave them all the supplies they would need to make their choice of pincushions:  a monster with silly pin hair, or a cupcake with pin sprinkles.  (Of course, the girls wanted to make the monsters, and the boys wanted to make the cupcakes.  That’s fine.)  I did my best to not step in and help, and let them do it all on their own just to see if they could.  They all did a fine job, and had SO much fun!  But I felt left out – I wanted a cute pincushion too!  But I couldn’t have one.  I had the pin magnet, and it was good enough.  *sigh*

But no more – NOW is my chance to have a cute pincushion!  Or a dozen, all over my sewing room, if I want!  And now you can too, because here’s the same pattern I gave to them – Happy Sewing!

Monster Pattern PDF             Cupcake Pattern PDF

I will be keeping the magnets from the pin magnet, because they do come in handy for finding dropped pins and needles.  But for storage, I’ll be using these!  Rest in pieces, pin magnet.

Kim’s Bulky Yarn Two-Needle Cap

Here’s another pattern from my old blog that I’ve moved here for your crocheting pleasure.  Original date of post was 12/29/09.  Once again, while I’m at it, I’ve put the pattern instructions into an easier-to-print PDF:  Two-Needle Cap

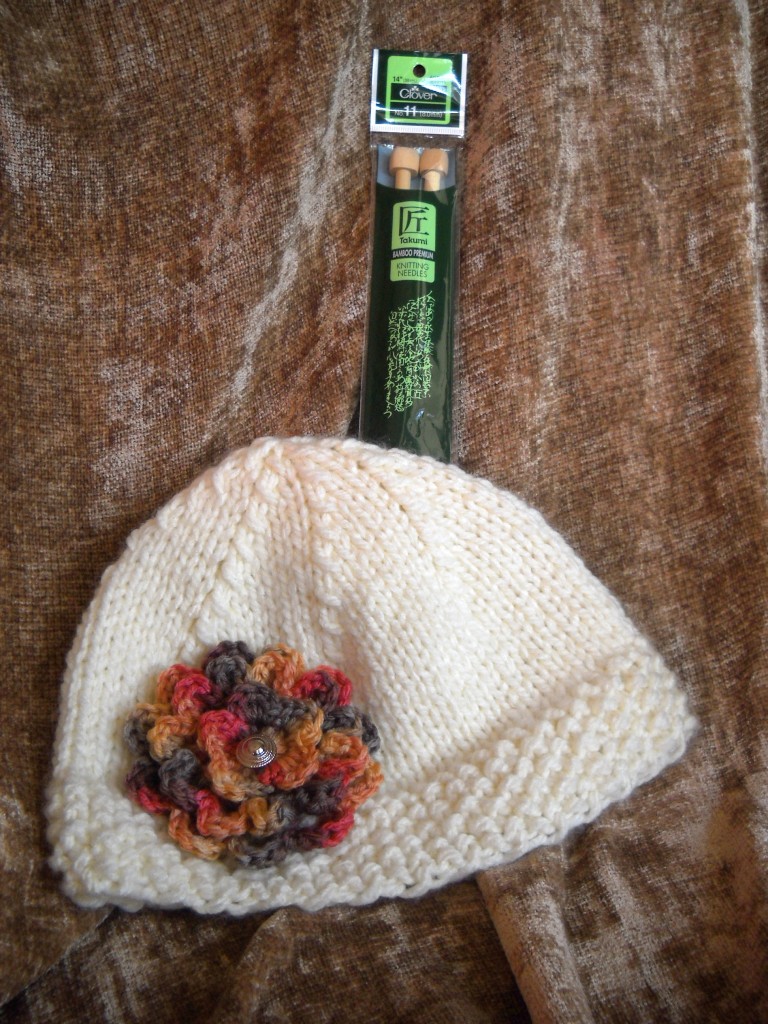
Here’s one of my favorite Christmas gifts – no, not the hat, the knitting needles! My dear, sweet husband went to an unfamiliar store and asked around to try to find a good Christmas surprise for a knitter. He’s a keeper! The needles are bamboo, my first pair, and I really like them.

 So that’s how the hat project started – a new pair of needles I wanted to test out. My mother-in-law works with a program called Look Good Feel Better, and I wanted to make a chemo cap for them. I had some Serenity Chunky Weight yarn left over from my Wild Thing hat that I intended to use. But could I find a hat pattern, suitable for chemo patients, for two needles, size 11, and bulky yarn? Of course not. So I made up my own. And since I could not find such a pattern when I needed it, I thought I would share it here so that maybe someone else could use it.

 Kim’s Bulky Yarn Two-Needle Chemo Cap (for lack of a better title)

 Size 11 needles, Serenity Chunky Weight yarn or other similar bulky weight yarn; small amount of worsted yarn, button, and size J crochet hook for flower; yarn sewing needle.

 Gauge: 3 stitches and 4 rows to the inch in stockinette stitch

 Cast on 63 stitches.

 Rows 1-9 – work in seed stitch, *k1, p1* across.

 Rows 10-21 – stockinette stitch (knit one row, purl one row)


Begin decreases:

Row 22: *knit 7, knit 2 together*, repeat across

Row 23: purl

Row 24: *knit 6, knit 2 together*, repeat across

Row 25: purl

Row 26: *knit 5, knit 2 together*, repeat across

Row 27: purl

Row 28: *knit 4, knit 2 together*, repeat across

Row 29: purl

Row 30: *knit 3, knit 2 together*, repeat across

Row 31: purl

Row 32: *knit 2, knit 2 together*, repeat across

Row 33: purl

Row 34: *knit 1, knit 2 together*, repeat across

Row 35: purl

Row 36: *knit 2 together*, repeat across

 You should end up with 7 stitches. Break off your yarn, leaving a long tail for sewing. Thread the yarn through the remaining stitches and pull up tightly. Sew the seam and weave in ends.

 For the flower, I use the flower in this pattern, omitting the felting and adding a button in the center. They are unreasonably fun to make. If you only knit and do not crochet, here are some knitted flowers you might use.

And of course, if you prefer knitting in the round without a seam, just switch the purl rows to knit rows. You’ll also need to *p1, k1* on the even rows on the seed stitch portion to make it come out right (knit the purls, purl the knits).

 Happy Knitting!

 Note:  I am hearing from a few knitters that this hat has turned out short.  There is at least one reason for this:  It was first designed as a chemo cap, and therefore needed to be a bit small.  Chemo patients do not have the bulk of hair to fill out a cap.  So by all means, if you have hair, and if it looks short to you, work a few more rows before beginning the decreases!

Also, different types of yarn will have a different gauge on the rows per inch, so if you use a different yarn you may want to account for that as well.

So what CAN you carry in a canning jar?

Designing this bag has been an interesting adventure for me.  I was just looking for a good way to send my husband to work with leftover chili, spaghetti or casserole for lunch.  Little did I know that so many other people were trying the same thing, and had come up with such clever ideas!

Here are a few links to get you started:

A good post on Mason Jar Salads;

More salad recipes;

Many wonderful jar lunch ideas;

Adorable little pies in half-pints!

And here are some labels for printing so you know what’s in your jars.  Maybe put your name on it, so no one steals your jar out of the fridge at work?  Or write the cooking method and time?  There are many other fine label designs out there, but these would take less ink than many I saw.  I’d print them on paper, and just insert them between the lid and the ring.

Here’s a really cool thing I discovered:  Did you know that most blenders are designed with the correct size and threading to accept canning jars?  I had no idea!  Imagine the possibilities!  (Smoothies, here we come!)

And another thing I hadn’t considered is regulating portion sizes – the measurements are marked right on the side of many brands of jars.  Very convenient if you’re watching your diet.

 So here’s my contribution:

Once in a while, you might run across a “disposable” plastic container that EXACTLY fits the mouth of a canning jar.  So I thought – perfect way to bring raw veggies with dip!  Here it is all put together:

Here it is with the lid off – see how the lip of the container covers the top of the jar:

And here, all taken apart and ready to enjoy:

I’m sure it’s very obvious how it works, but just pack some veggies into the jar.  Put your dip into the plastic container and pop it into the top of the jar.  Place the lid and ring on, and tighten down as much as you can.  (It won’t go all the way down, because of the lip of the plastic container.)  Once assembled, I tipped it over to check, and saw no signs of leakage.  In case you’re wondering, this plastic container is from a 4-pack of whole kernel corn at Wal-Mart.    I would not recommend washing the plastic in the dishwasher, microwaving, or heating in any way; but I’d be willing to use it for a cold dip.